













Frothed milk plays an important role in many hot drinks, influencing texture, temperature, and overall mouthfeel. While cafés often use specialist equipment, similar results can be achieved at home with basic tools and a clear understanding of simple techniques.
Factors such as milk type, heating temperature, and aeration all affect how foam develops and holds its structure. Learning how these elements work together helps improve consistency and confidence when preparing hot drinks in a home kitchen.
All information is provided for general information only. Taste, appearance, and availability may vary.
Photos are for illustrative purposes only.
Choosing The Right Milk
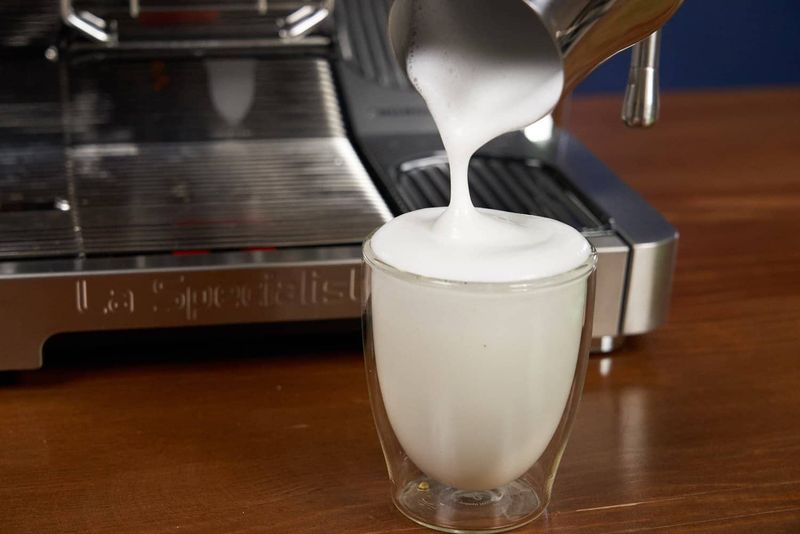
Whole milk is your best mate here. Its higher fat content creates that rich, creamy foam you're craving, making it brilliant for lattes and cappuccinos.
If you're after something lighter, 2% milk strikes a decent balance between texture and frothability. Skim milk froths up airy and voluminous but lacks the luxurious mouthfeel.
Plant-based fans, take note: oat milk is the champion among non-dairy options, thanks to its natural creaminess. Soy froths well too, though it can separate in hot drinks.
Almond milk? Less stable foam, but still worth experimenting with if that's your preference.
Understanding Foam Texture

Microfoam is what separates the pros from the amateurs. It's that silky, glossy texture with tiny, uniform bubbles that blend seamlessly into your coffee.
Large, soapy bubbles? That's a sign you've over-aerated or positioned your frother incorrectly.
The goal is velvety smoothness, not a bubble bath.
Different drinks call for different foam densities. Cappuccinos love thick, stiff foam, whilst flat whites prefer thin microfoam that integrates beautifully.
Practice helps you recognise the visual cues – glossy shine means you're on the right track.
Manual Frothing Methods
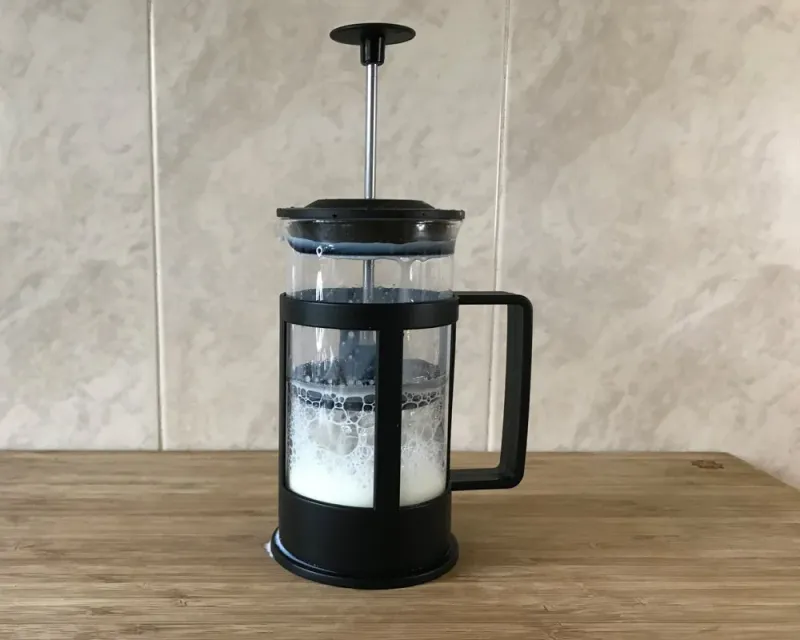
No fancy gadgets? No worries.
A French press works brilliantly – just heat your milk, pour it in about one-third full, then pump that plunger vigorously for 30 to 60 seconds until it doubles in volume.
Alternatively, grab a mason jar. Fill it halfway with warm milk, screw the lid on tight, and shake like your life depends on it for about a minute.
Pop it in the microwave for 30 seconds afterwards to stabilise the foam. Both methods are dead simple and surprisingly effective for creating café-style froth without spending a penny.
Using Electric Frothers
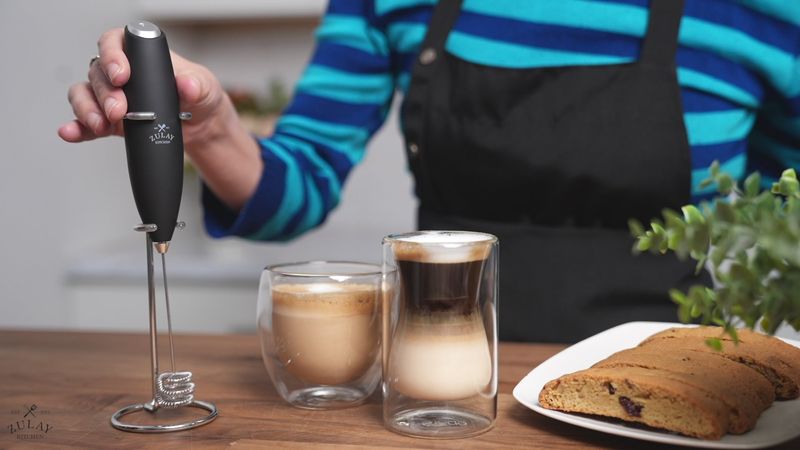
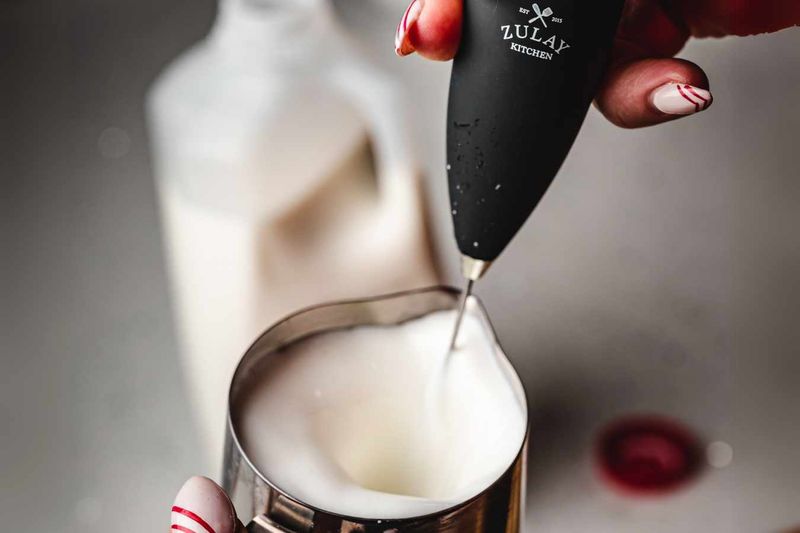
Handheld frothers are brilliant little gadgets – affordable, quick, and perfect for beginners. Heat your milk first, pour it into a tall container, then insert the frother just below the surface and switch it on.
Move it gently up and down until you've got the foam you want. Takes about 20 seconds, tops.
Automatic milk frothers are even easier – just pour in cold milk, press a button, and let the machine do its thing. They're pricier but worth it if you're making frothed drinks daily.
Either way, electric frothers save time and deliver consistent results every single time.
Temperature And Timing Tips
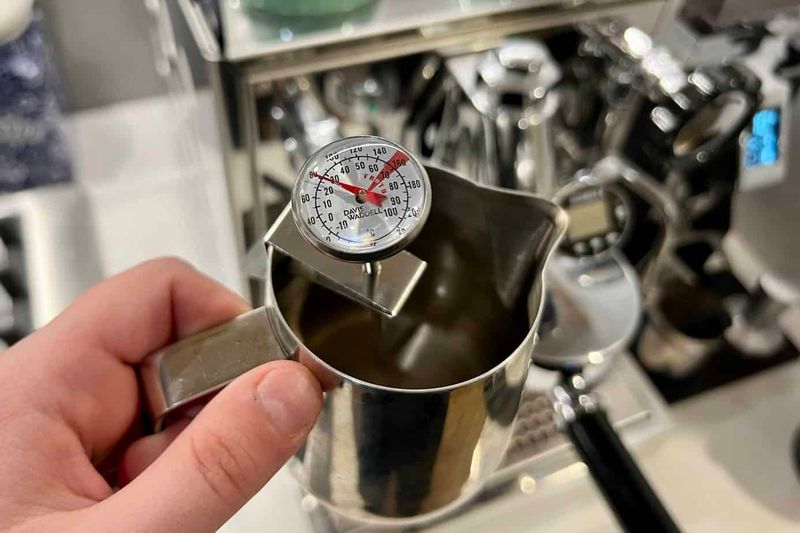
Temperature is absolutely crucial. Aim for 140 to 155°F (60 to 68°C) – that sweet spot where the milk froths beautifully without scalding.
Go beyond 160°F and you'll ruin the taste, plus the foam structure falls apart. Use a thermometer if you're unsure, or just touch the pitcher – it should feel hot but not unbearable.
Timing matters too. Froth for 30 to 60 seconds depending on your method.
Overdoing it creates large bubbles and a weird texture. Under-frothing leaves you with flat, disappointing milk.
Find that Goldilocks zone through practice.
Common Frothing Mistakes
Using old milk is a rookie error. Always start with fresh, cold milk straight from the fridge – it froths better and tastes miles better too.
Another classic mistake? Dirty equipment.
Milk residue affects both flavour and foam quality, so clean your tools immediately after every use.
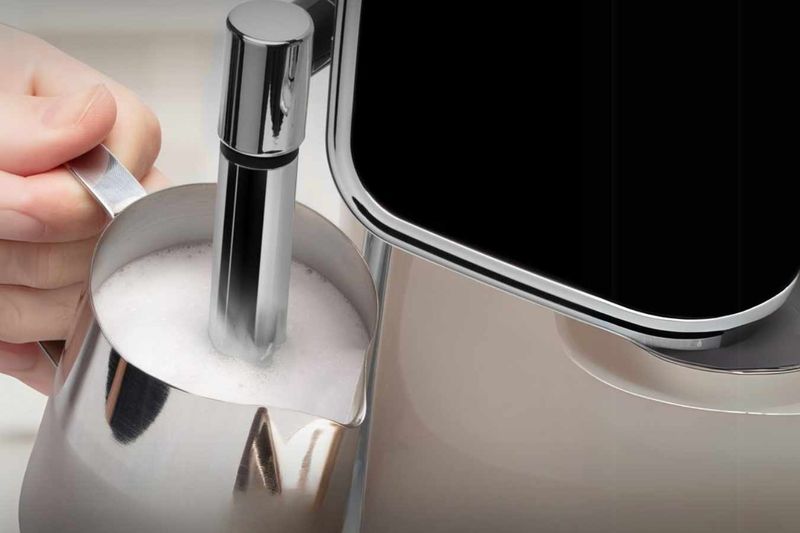
Positioning matters as well. If your steam wand or frother is too deep, you won't incorporate enough air.
Too shallow, and you'll create giant bubbles. Keep the tip just below the surface and adjust as the milk expands.
Small tweaks make massive differences.
Cleaning And Care Basics
Clean your frothing tools straight away – dried milk is a nightmare to remove and harbours bacteria that'll ruin your next brew.
For steam wands, purge them immediately after use and wipe down with a damp cloth. Handheld frothers need a quick rinse under warm water, whilst automatic frothers often have removable parts you can chuck in the dishwasher.
French presses and mason jars? Wash with hot soapy water.
Neglecting this step leads to build-up, off flavours, and equipment that doesn't work as well. A few seconds of cleaning saves future hassle.
Serving And Storage Guidance

Serve your frothed milk immediately – foam breaks down quickly, especially if it's sitting around. Pour it straight into your coffee for the best texture and temperature.
If you've made too much, you can refrigerate leftover milk, but don't expect the foam to survive. It'll separate and flatten within minutes.
When pouring, tilt your cup slightly and pour from a low height for smooth integration. Want latte art?
Pour steadily from close to the surface, then wiggle the pitcher gently as you finish. Practice makes perfect, so don't stress if your first attempts look wonky.



