













Nothing quite compares to the joy of biting into a perfectly fluffy Victoria sponge cake, with its golden layers sandwiched together by sweet jam and cream.
This beloved British classic has graced tea tables for generations, yet many home bakers struggle to achieve that ideal light texture and balanced flavour.
With the right technique and a bit of patience, you can master this timeless treat and impress your family and friends with bakery-quality results every single time.
This content is for general information only. Taste, appearance, and availability may vary depending on ingredients and preparation. Photos are for illustrative purposes only and may not represent the exact dishes.
1. Gather Your Essential Ingredients
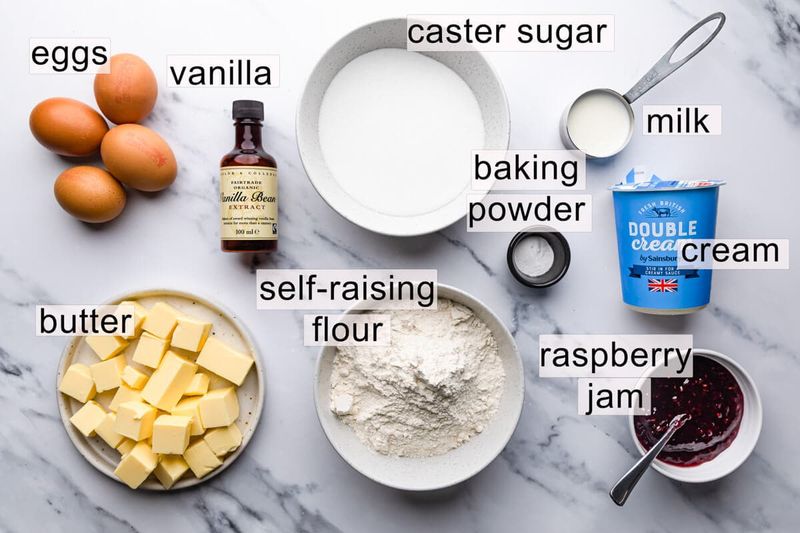
Success begins with quality ingredients measured precisely. You'll need equal weights of butter, caster sugar, self-raising flour, and eggs – typically 225g each for a standard cake.
Room temperature butter creams beautifully, whilst fresh eggs provide better structure. Don't forget strawberry jam and double cream for the filling.
Vanilla extract adds that extra special touch that transforms ordinary ingredients into something magical.
2. Prepare Your Kitchen Setup
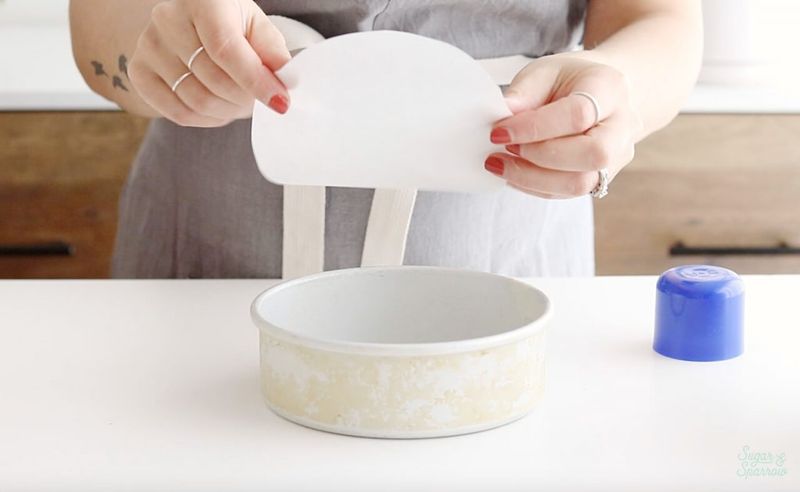
Preheat your oven to 180°C (160°C for fan ovens) and position the rack in the centre. Grease two 20cm sandwich tins thoroughly with butter, then dust lightly with flour.
Line the bases with baking parchment for foolproof removal later. Gather your mixing bowls, electric whisk, and wooden spoon within easy reach.
Proper preparation prevents panic and ensures smooth baking from start to finish.
3. Cream Butter And Sugar To Perfection
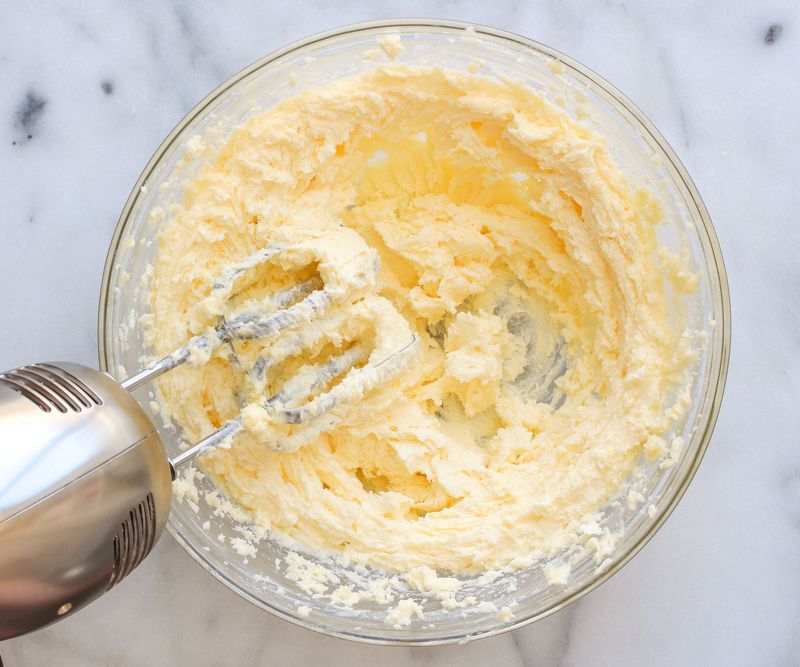
Beat softened butter and caster sugar together for at least 5 minutes until the mixture becomes pale, fluffy, and nearly doubles in volume. This crucial step incorporates air, creating your cake's light texture.
The mixture should look almost white and feel noticeably lighter when properly creamed. Scrape down the bowl sides occasionally to ensure even mixing.
Patience here pays dividends in your final result.
4. Add Eggs Gradually And Carefully
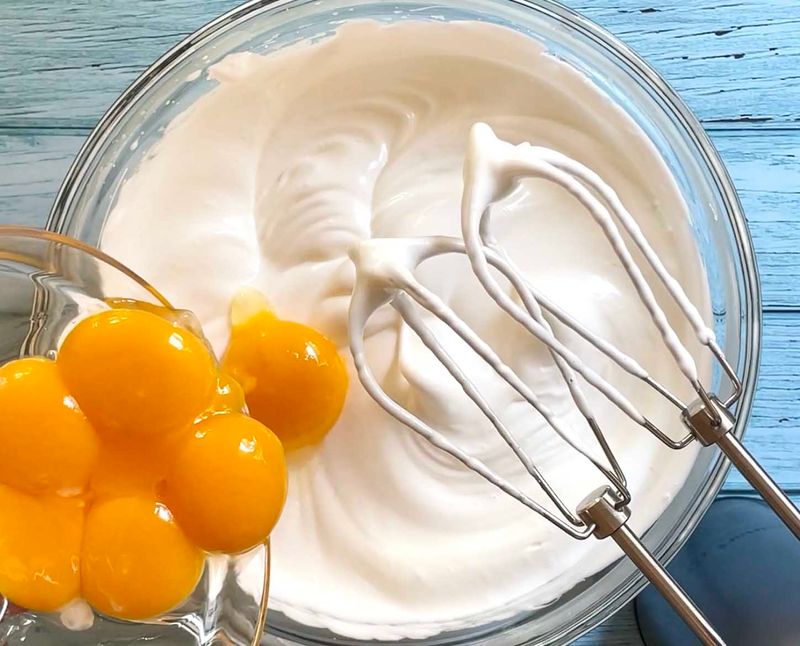
Beat eggs lightly in a separate bowl, then add them slowly to your creamed mixture, about a tablespoon at a time. This gradual approach prevents the mixture from curdling and splitting.
If the mixture does start to curdle, add a spoonful of flour and continue beating gently. Each addition should be fully incorporated before adding more.
Patience during this stage ensures a smooth, professional-looking batter.
5. Fold In Flour With Gentle Care
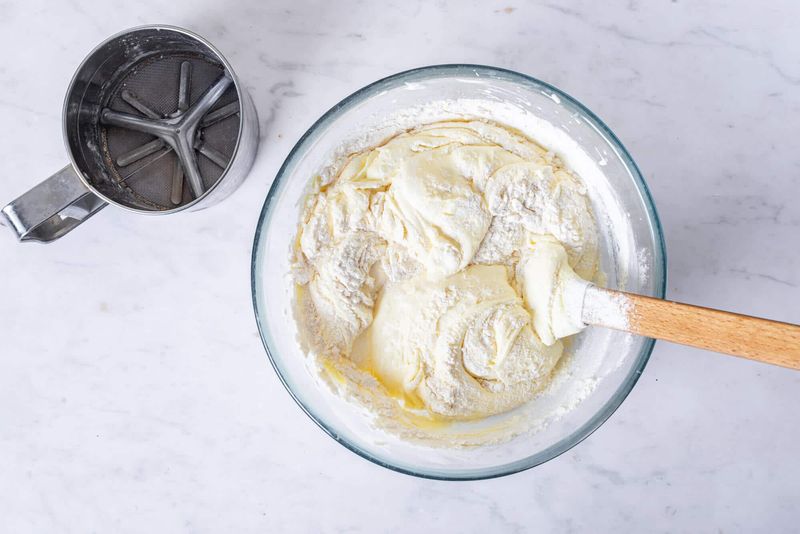
Sift the self-raising flour directly over your mixture, then fold it in using a large metal spoon or spatula with gentle, cutting motions. Avoid vigorous stirring which develops gluten and creates a tough cake.
Turn the bowl as you fold, ensuring all flour disappears completely. The batter should look smooth and drop easily from the spoon.
Gentle handling preserves those precious air bubbles you worked so hard to create.
6. Divide Batter Between Tins Evenly
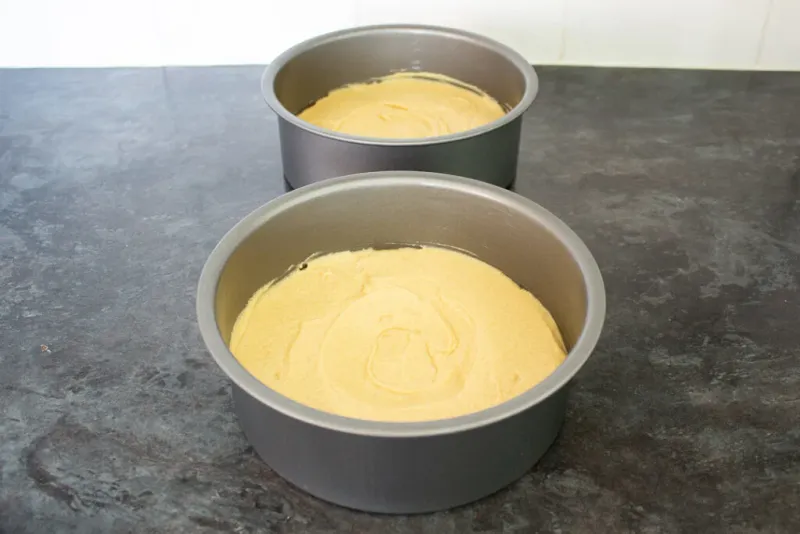
Spoon the mixture into your prepared tins, dividing it as evenly as possible for uniform layers. Use kitchen scales for perfect accuracy, or simply eyeball it if you're feeling confident.
Gently level the surface with the back of a spoon, creating a slight hollow in the centre. This compensates for the cake's natural tendency to dome during baking.
Even distribution ensures both layers bake at exactly the same rate.
7. Bake Until Golden And Spring Back
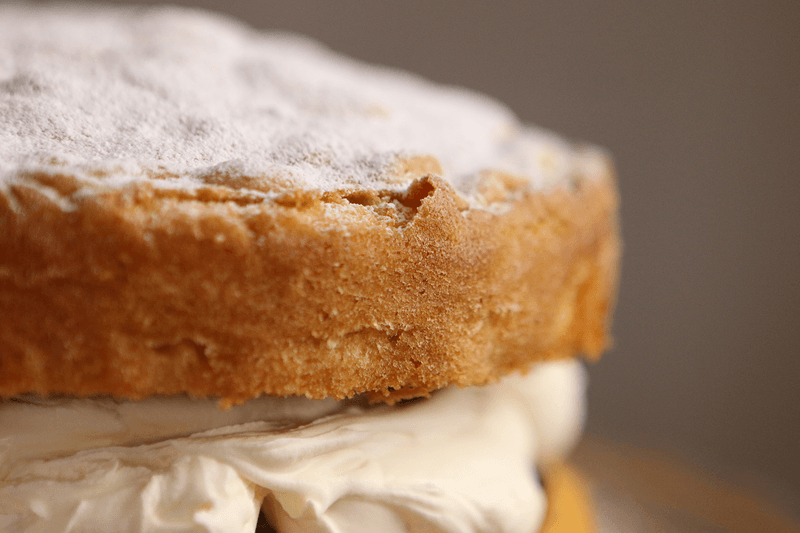
Place both tins in your preheated oven and bake for 20-25 minutes without opening the door. The cakes are ready when they're golden brown and spring back lightly when pressed.
A skewer inserted into the centre should come out clean with perhaps a few moist crumbs. Avoid overbaking, which creates dry, crumbly texture.
Trust your senses – properly baked sponges smell wonderfully buttery and sweet.
8. Cool Cakes Completely Before Handling
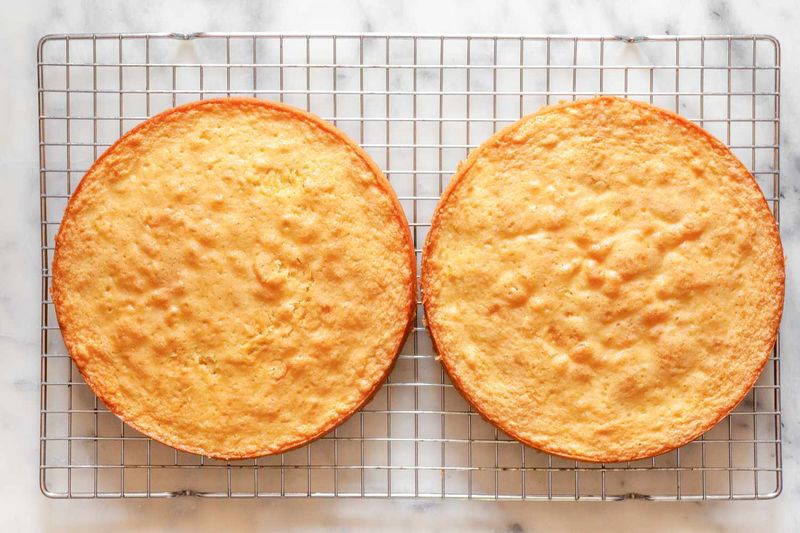
Leave the cakes in their tins for 5 minutes, then turn out onto wire cooling racks. This brief resting period prevents the delicate sponges from breaking apart.
Allow them to cool completely before attempting to fill – warm cakes will melt your cream and make the jam run everywhere. Cooling takes about 30 minutes but ensures perfect assembly.
Patience now prevents disappointment later when you're ready to serve.
9. Assemble With Jam And Cream
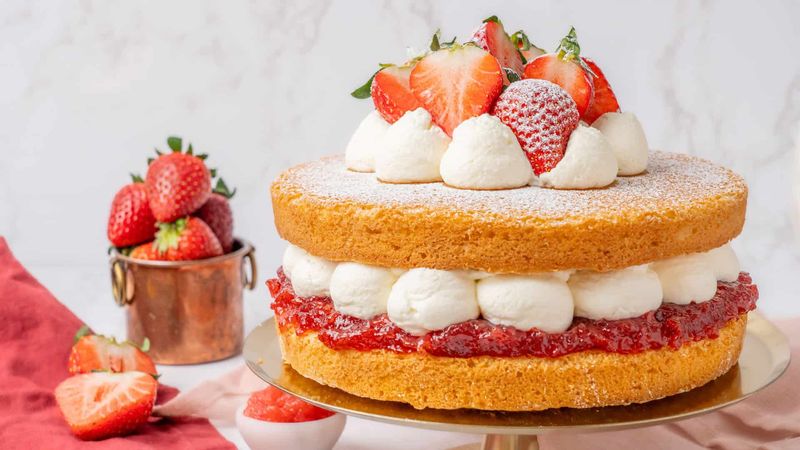
Place one layer cut-side up on your serving plate and spread with a generous layer of strawberry jam, leaving a small border around the edges.
Whip double cream to soft peaks and spoon over the jam, spreading gently to the edges. Top with the second layer, pressing down very lightly.
The slight pressure helps the layers bond together whilst keeping everything beautifully intact.
10. Dust with Icing Sugar And Serve
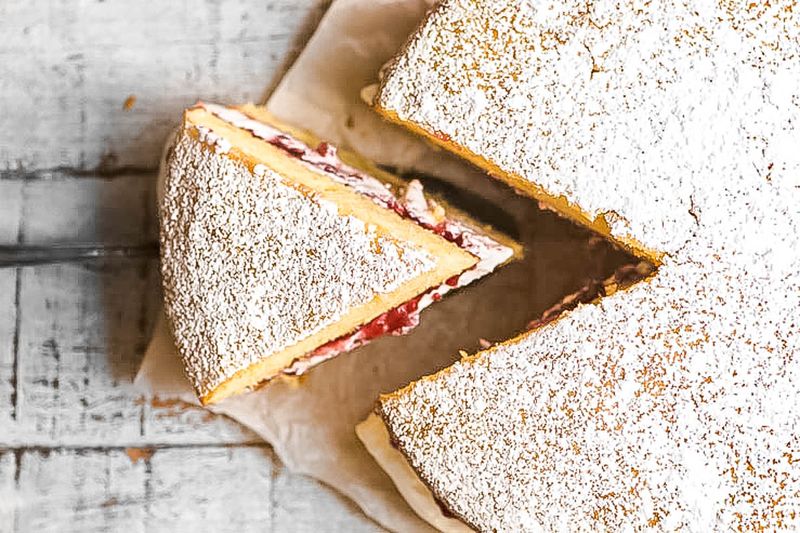
Finish your masterpiece with a light dusting of icing sugar through a fine sieve for that classic bakery appearance. This final touch adds sweetness and creates an elegant presentation.
Cut into generous wedges using a sharp knife, wiping the blade between cuts for clean slices. Serve immediately with a proper cup of tea.
Your perfect Victoria sponge is now ready to delight everyone who tastes it.



