













Tiny pancakes have a way of making breakfast feel a little more cheerful before the day properly begins. Watching small rounds of batter puff gently in the pan brings back the simple fun of weekend mornings and unhurried kitchens.
Many people enjoy them because they cook quickly, look playful on the plate, and are easy to customise with whatever toppings happen to be nearby. There is something satisfying about serving a stack that feels both comforting and a bit whimsical.
You might already have memories tied to pancakes that make this version especially tempting to try.
All information is provided for general informational purposes only. Cooking results, ingredient choices, and preparation methods may vary depending on equipment, dietary preferences, and individual skill levels.
1. Mix Flour, Sugar, Baking Powder, And Salt
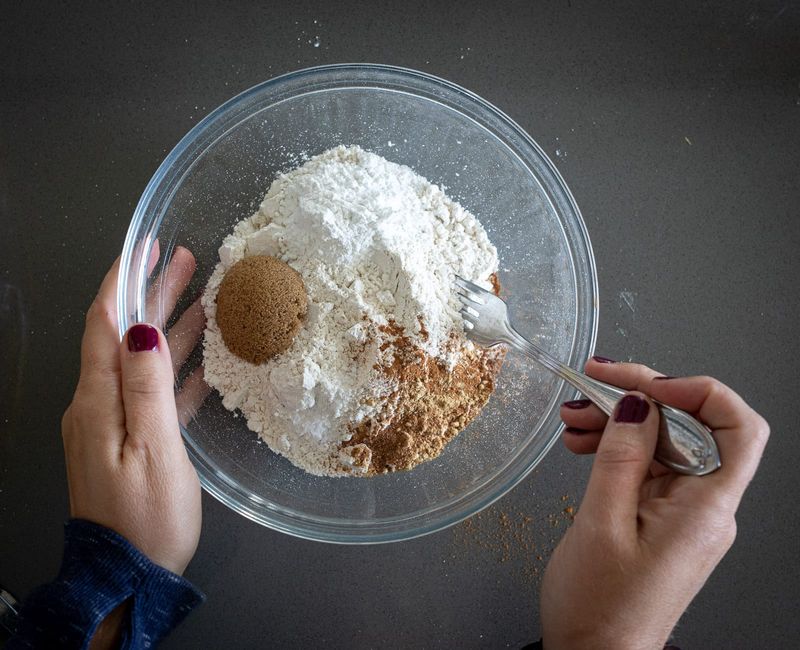
Start by grabbing a medium-sized mixing bowl and tossing in your dry ingredients. You'll need plain flour as your base, a touch of sugar for sweetness, baking powder to create those lovely air pockets, and a pinch of salt to balance everything out.
Give these ingredients a proper whisk until they're completely blended and there aren't any lumps hiding in the corners. This step might seem boring, but it's absolutely crucial for creating pancakes that rise evenly and taste consistently delicious throughout.
2. Whisk Milk, Egg, And Melted Butter Together
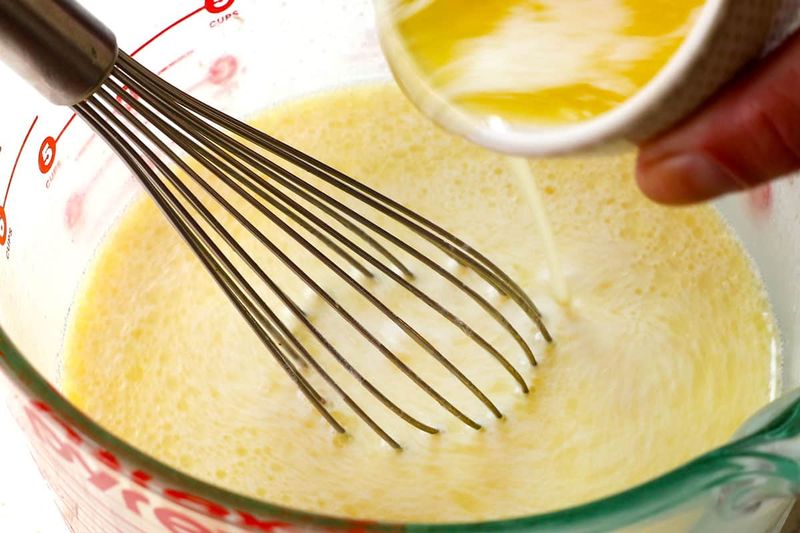
In a separate bowl or measuring jug, crack open your egg and give it a quick beat before adding the milk. Pour in your melted butter whilst it's still slightly warm, then whisk everything together until the mixture looks smooth and uniform.
The butter should be melted but not scorching hot, or you'll end up cooking the egg accidentally! This wet mixture is what gives your pancakes their rich flavour and tender texture that makes them so irresistible.
3. Combine Wet And Dry Ingredients Gently
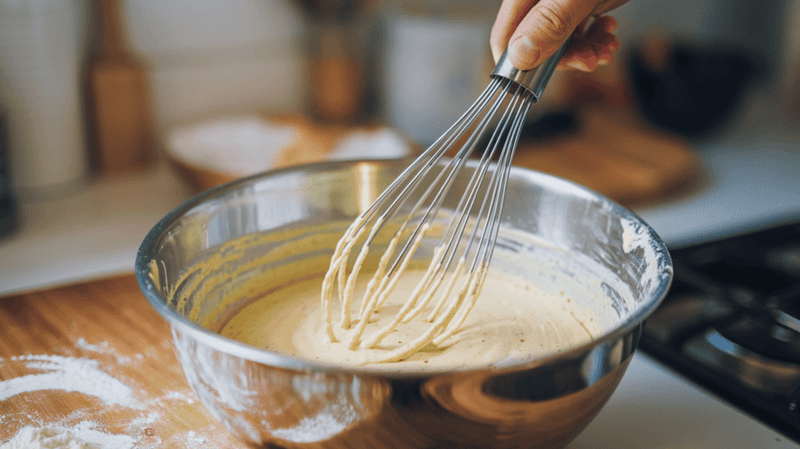
Pour your wet mixture into the bowl with the dry ingredients, but here's the secret: don't overmix! Use a wooden spoon or spatula to fold everything together with gentle, sweeping motions until the ingredients are just combined.
Your batter should look slightly lumpy, and that's absolutely perfect. Overmixing develops the gluten in the flour, which leads to tough, rubbery pancakes instead of the fluffy clouds you're aiming for.
A few small lumps are your friends here!
4. Heat A Lightly Oiled Pan Over Medium Heat
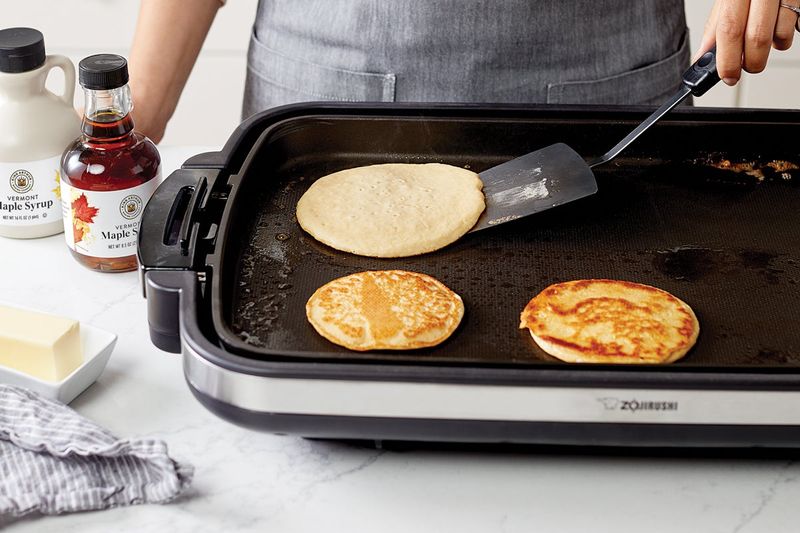
Place your non-stick frying pan or griddle on the hob and set it to medium heat. Whilst it's warming up, brush the surface with a tiny bit of vegetable oil or melted butter using a pastry brush or kitchen paper.
You want just enough oil to prevent sticking without making your pancakes greasy. Test if the pan's ready by sprinkling a few drops of water on the surface - if they sizzle and dance about, you're good to go!
5. Pipe Or Spoon Small Batter Circles Onto The Pan
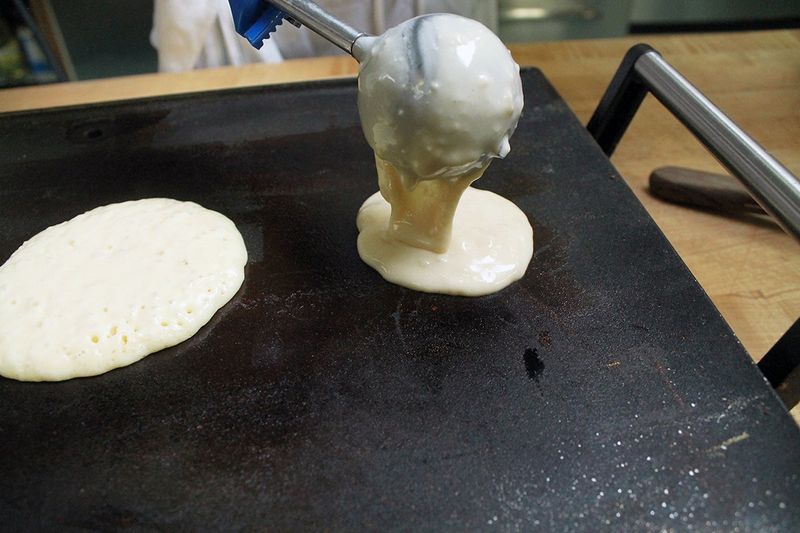
Now comes the fun part! Using a teaspoon, tablespoon, or even a piping bag if you're feeling fancy, drop small amounts of batter onto your heated pan.
Aim for circles about five to eight centimetres across -roughly the size of a biscuit.
Leave enough space between each pancake so they don't merge together whilst cooking. You should be able to fit four to six tiny pancakes on a standard-sized pan, depending on how generous you are with your portions!
6. Cook Until Tiny Bubbles Form On Top
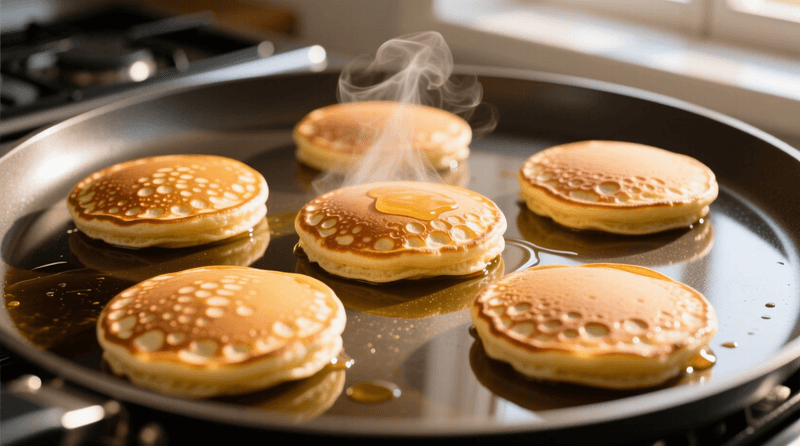
Resist the urge to touch or peek underneath your pancakes just yet. Instead, watch the surface carefully as they cook.
You'll start seeing tiny bubbles forming and popping all over the top, creating little craters in the batter.
When the edges look set and slightly dry, and most of those bubbles have popped and stayed open, your pancakes are ready for their big flip. This usually takes about two to three minutes, depending on your hob's heat.
7. Flip Carefully With A Spatula
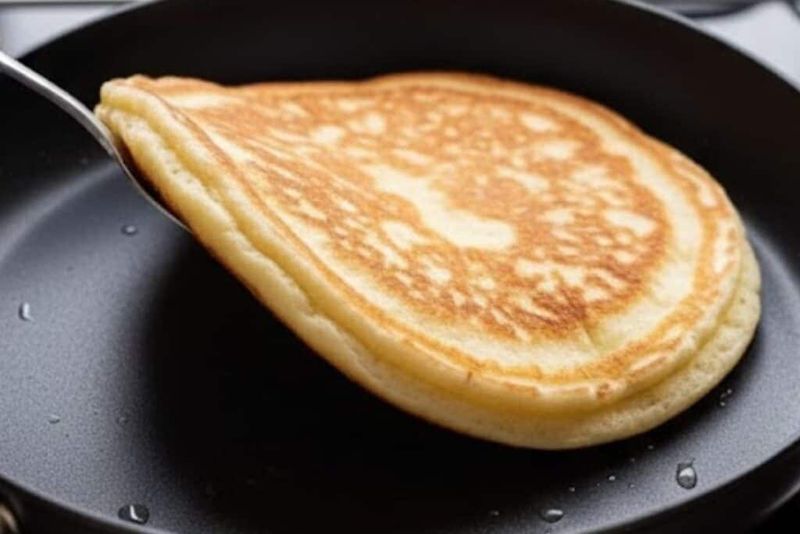
Slide a thin spatula underneath each pancake, getting right under the centre for the best control. With a quick, confident flick of your wrist, flip each one over in a smooth motion.
Don't worry if your first flip isn't perfect - even professional chefs have wonky pancakes sometimes! The small size of these pancakes actually makes them easier to flip than regular ones, so you'll get the hang of it quickly.
Just stay calm and trust your spatula-wielding skills!
8. Cook The Other Side Until Golden
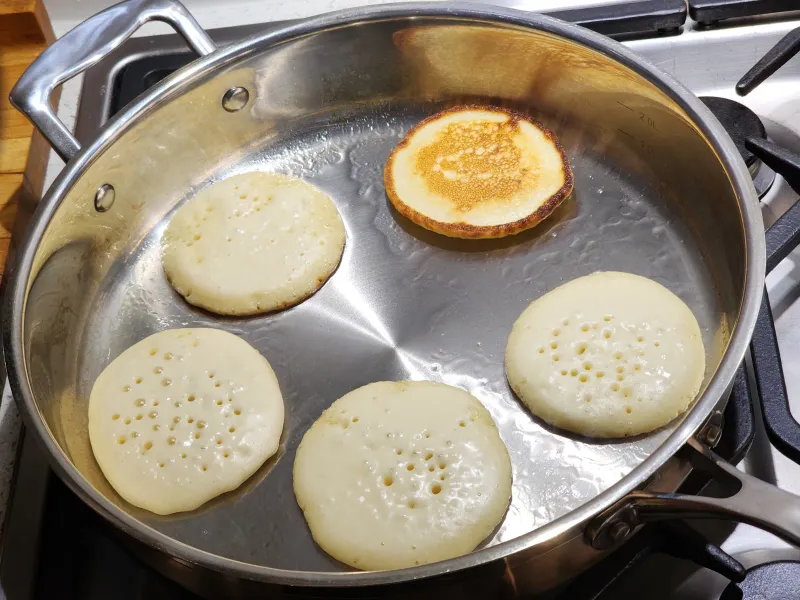
The second side cooks much faster than the first, usually taking only about one to two minutes. You're looking for a lovely golden-brown colour that matches the first side you cooked.
Give one pancake a gentle press with your spatula - if it springs back and feels firm rather than squishy, they're done. The smaller size means these cook through quickly and evenly, so keep a close eye on them to avoid burning.
Perfect timing creates that ideal fluffy interior!
9. Remove And Keep Warm While Finishing The Batch
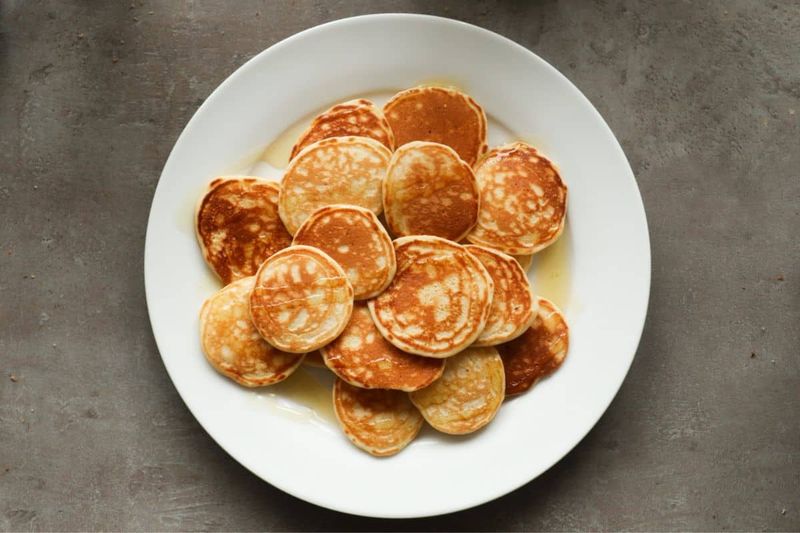
Transfer your finished pancakes to a plate and pop them in a warm oven set to about 95°C, or loosely cover them with foil to keep them toasty. This prevents them from going cold and sad whilst you cook the remaining batches.
Depending on your batter quantity, you might need to cook two or three batches. Remember to give your pan a quick wipe and add a tiny bit more oil between batches to maintain that perfect non-stick surface.
10. Serve With Syrup, Fruit, Or Butter
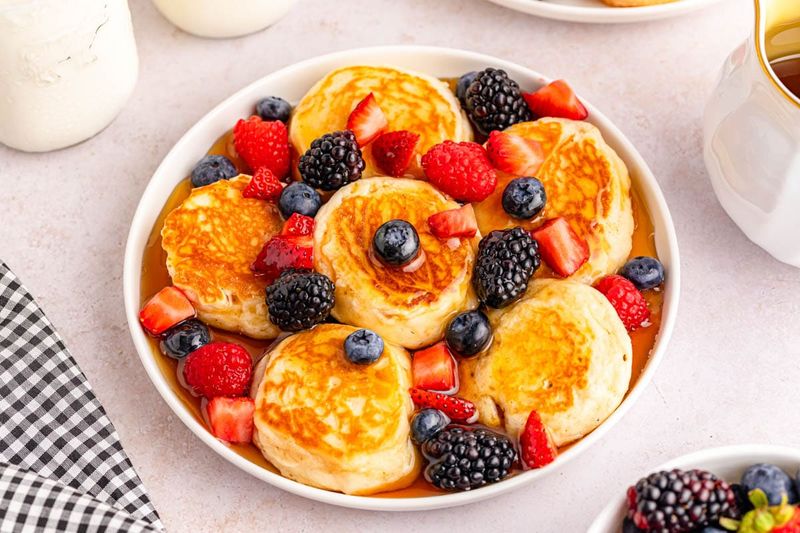
Pile your gorgeous tiny pancakes onto serving plates and let everyone choose their favourite toppings. Classic maple syrup is always a winner, but fresh berries, sliced bananas, or a dollop of Greek yoghurt work brilliantly too.
A small pat of butter melting on top adds richness and looks absolutely lovely. The beauty of tiny pancakes is that each bite can have a different topping combination, making breakfast feel like a proper adventure.
Enjoy them whilst they're still warm and fluffy!



