













Making dry-cured chorizo at home combines traditional preservation methods with careful attention to seasoning, curing, and storage. While the process requires patience, it allows home cooks to control flavour, spice levels, and ingredient quality.
Learning each stage helps reduce common mistakes and improves food safety during curing. Following a clear method can turn simple cuts of pork and spices into a flavourful charcuterie staple that stores well and adds depth to many dishes.
This content is provided for general informational purposes only. Safe meat handling, curing temperatures, and hygiene standards are essential when preparing cured meats.
Always follow verified food safety guidance and consult professional resources if unsure. Results may vary depending on ingredients, environment, and equipment.
Photos are for illustrative purposes only.
Choosing The Right Cut Of Pork

Pork shoulder is your best mate here, providing the perfect balance of meat and flavour. You'll want 85% shoulder paired with 15% back fat to get that proper texture and richness.
The fat isn't just filler; it keeps everything moist during the long curing process and carries all those gorgeous spices throughout. Ask your butcher for shoulder with good marbling, and don't be shy about requesting separate back fat if needed.
Quality matters more than you'd think, so choose well-raised pork when possible for better flavour.
Understanding Traditional Seasonings And Spices
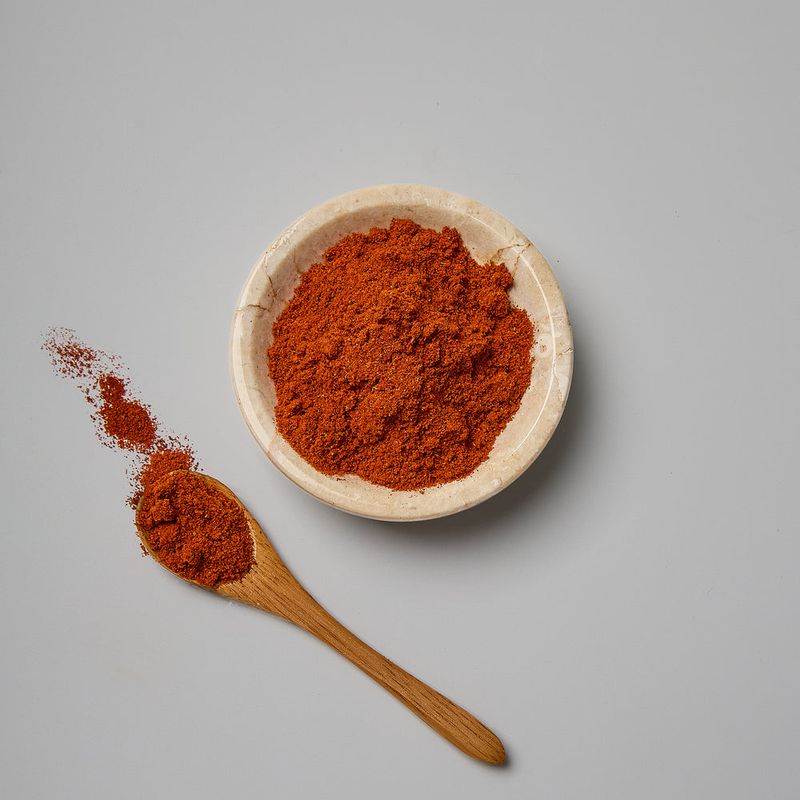
Pimentón de la Vera is the absolute star of chorizo, giving it that distinctive smoky-sweet character. You'll need both sweet (2% of meat weight) and hot versions (0.5%) for proper depth and a gentle kick.
Fresh garlic gets minced fine at 1% of your meat weight, whilst dried oregano adds herbal notes at just 0.2%. Don't skimp on quality here; cheap paprika tastes like dusty disappointment.
The Spanish stuff is smoked over oak, which makes all the difference between authentic chorizo and red-tinted sadness.
Preparing And Mixing The Meat Properly
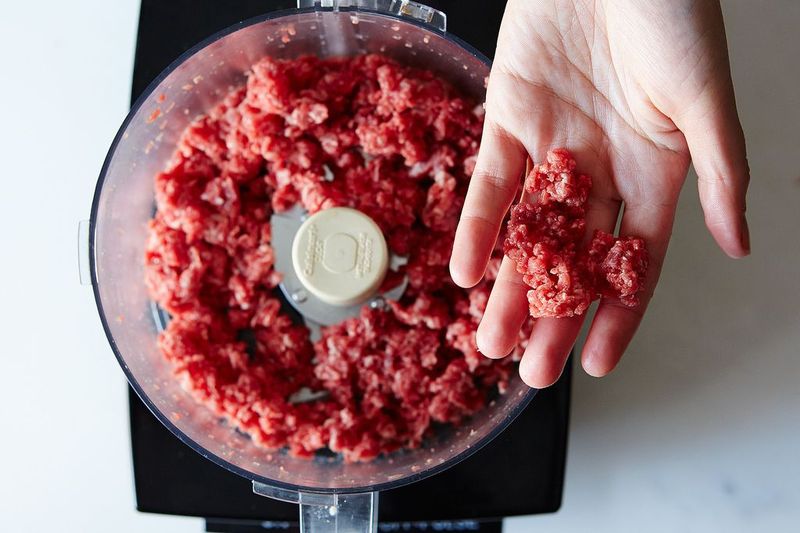
Cube your pork and fat into roughly one-inch chunks before anything else. Mix your salts (2.5% regular salt plus 0.25% curing salt), sugars (0.3% demerara and 0.4% dextrose), then toss with the cubed meat before freezing partially.
This firm-but-not-frozen state makes grinding much cleaner and prevents the fat from smearing. Run everything through a 7-8mm die twice, adding your spices and starter culture between grinds.
The final hand-mixing with wine creates that sticky, paste-like consistency that binds everything together brilliantly.
Selecting And Preparing Sausage Casings
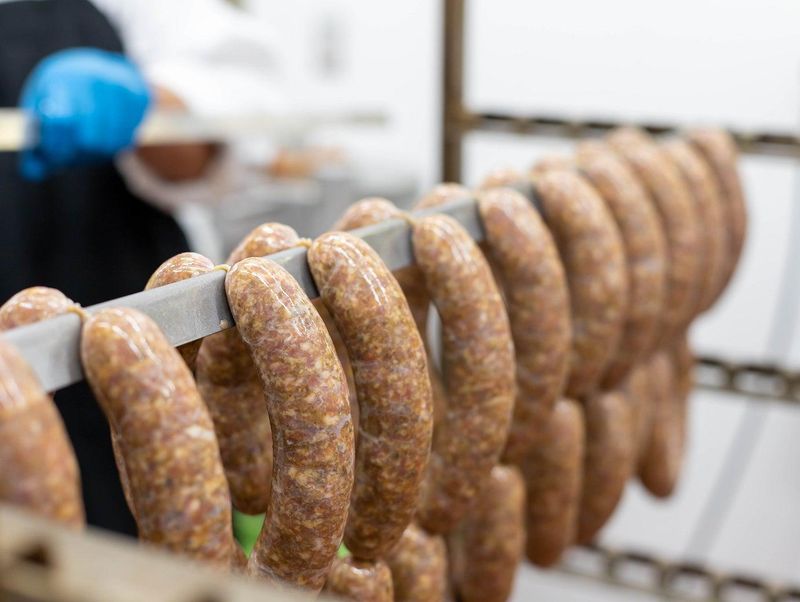
Beef middle casings between 30-50mm diameter are traditional for Spanish-style chorizo, giving you those chunky links. Natural casings need proper preparation; rinse them thoroughly under cool water first to remove any salt packaging.
Here's the clever bit: soak them in a mould solution made from Bactoferm Mold 600 diluted in chlorine-free distilled water for at least 12 hours. This beneficial mould creates that white bloom you see on proper cured sausages, protecting against nasty bacteria.
Keep casings moist until you're ready to stuff.
Stuffing And Shaping The Chorizo
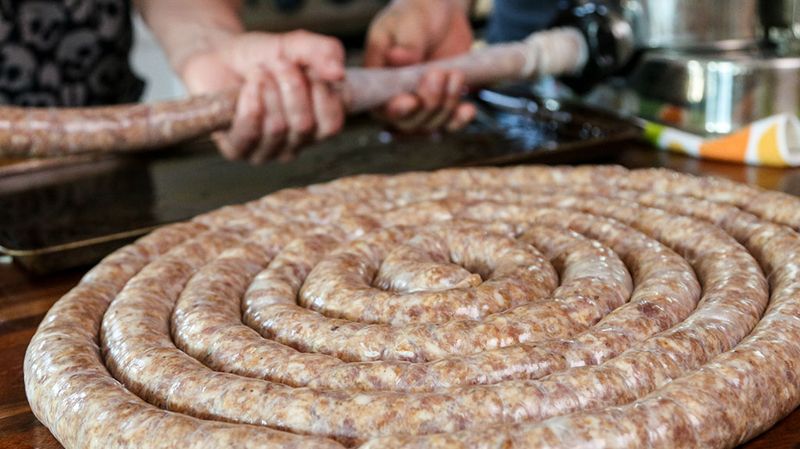
A proper sausage stuffer makes this job infinitely easier than fighting with piping bags. Feed your sticky meat mixture into the hopper and work steadily, keeping one hand on the casing to control filling speed.
Pack it firmly but not explosively tight; you want no air pockets lurking inside. Twist or tie into individual links at your preferred length, then prick the casings evenly with a sterilised needle.
These tiny holes let moisture escape during drying. Weigh each link carefully and record the numbers; you'll need them later.
The Importance Of Fermentation And Initial Resting
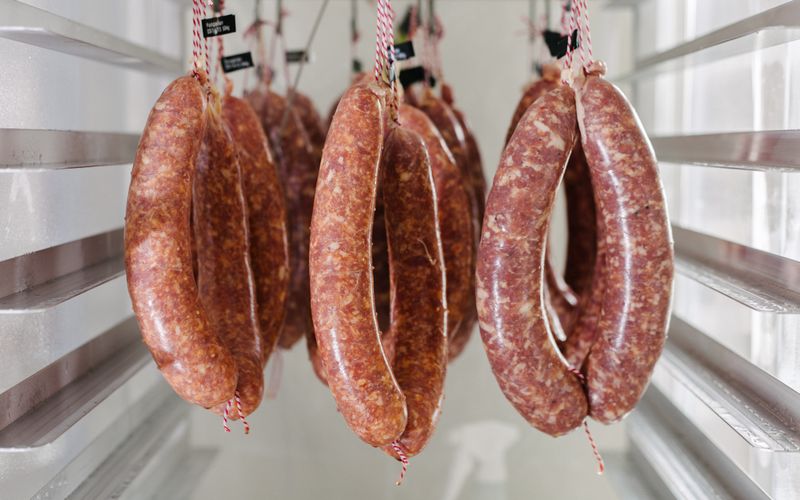
Fermentation isn't optional; it's what keeps your chorizo safe to eat. Hang your freshly stuffed links at 18-24°C with 90% humidity whilst the starter culture works its magic, dropping the pH below 5.3.
This acidification happens surprisingly fast with proper cultures, usually within 24 hours. The lower pH creates an environment where harmful bacteria simply can't survive, which is rather important when you're eating raw-cured meat.
Test with pH strips if you're keen on precision and safety, which you absolutely should be.
How To Cure And Dry Chorizo Safely
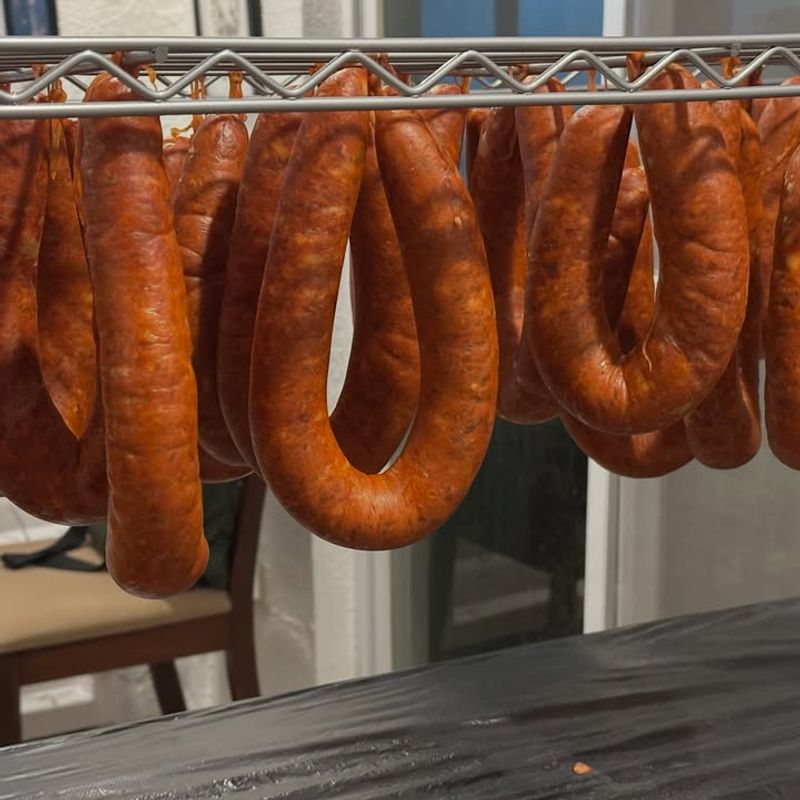
Once fermented, transfer your chorizo to a drying chamber set at 13-16°C with 80-85% humidity for the first fortnight. Patience becomes your greatest virtue here; rushing this stage risks spoilage or uneven drying.
After two weeks, drop humidity to 75% for the final stretch. The sausages need to lose at least 35% of their starting weight, though 50% gives you that proper firm texture.
Always check for any dodgy-smelling spots or weird coloured moulds; white or light green bloom is fine, but black or orange means trouble.
Monitoring Temperature And Humidity During Curing
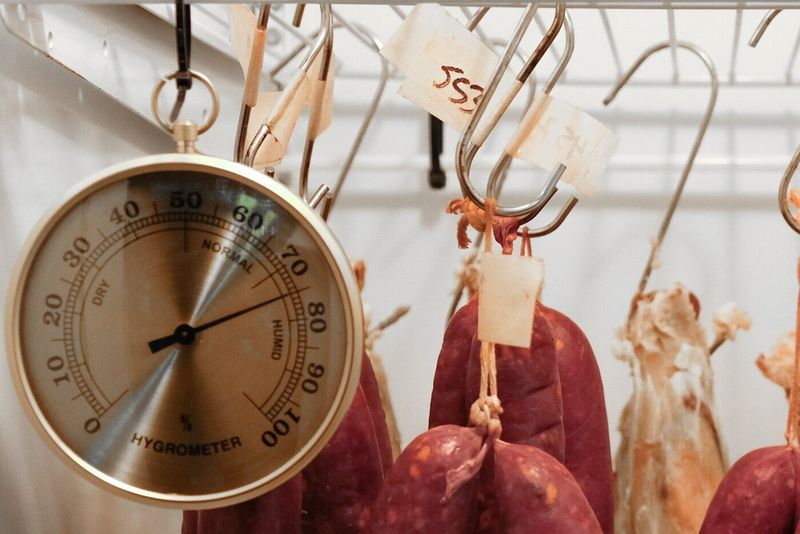
Consistent conditions matter enormously; wild swings in temperature or humidity can ruin months of work. Invest in a reliable digital hygrometer-thermometer combo and check readings daily, especially during the first week.
Too warm and you risk fat going rancid or bacterial growth; too cold and drying stalls completely. Humidity that's too low causes case hardening, where the outside dries too fast and traps moisture inside.
Keep a simple log if you're keen; spotting patterns helps troubleshoot any issues before they become disasters.
How To Store And Use Homemade Dry-Cured Chorizo
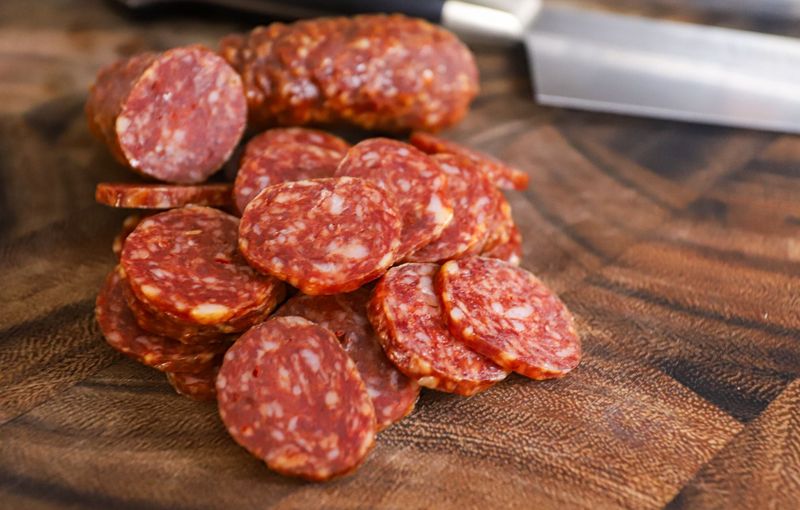
Once properly cured, your chorizo keeps brilliantly in the fridge for months, wrapped loosely in butcher paper. The white mould coating is completely edible and actually protects the sausage, so don't scrub it off frantically.
Slice thin for tapas, dice into stews, or fry until the fat renders and crisps the edges beautifully. The flavour intensifies over time, developing more complexity after a few weeks of ageing.
Share it proudly with mates; homemade chorizo is proper bragging material and tastes leagues better than commercial stuff.



