













Shortbread relies on just a few ingredients, which means technique plays a key role in getting the texture right.
Small details in preparation and baking often determine whether the finished result is crisp or overly soft.
In honour of National Shortbread Day on 6 January, this article focuses on practical tips that help produce shortbread with a clean snap and even bake, using simple, repeatable steps at home.
All information is provided for general interest only.
Baking results may vary depending on ingredients, equipment, and oven performance.
Photos are for illustrative purposes only.
Use Plain Flour Without Added Raising Agents
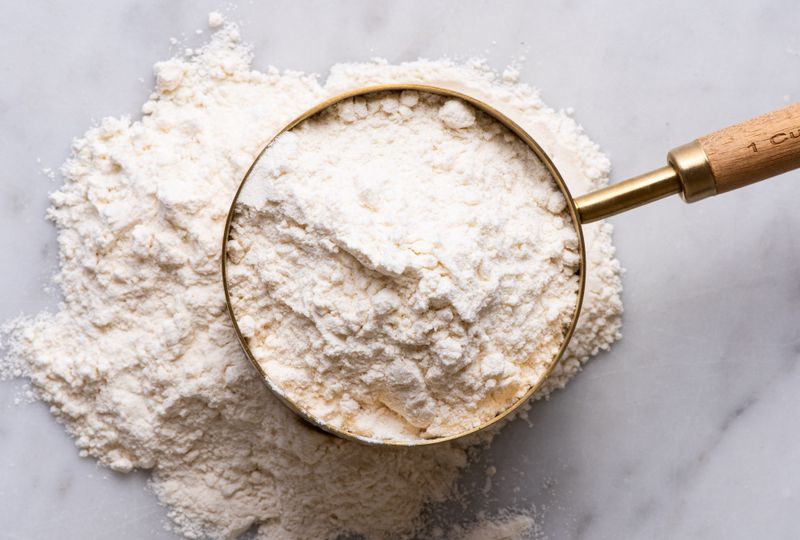
Self-raising flour might be brilliant for sponge cakes, but it's absolutely disastrous for shortbread.
Those added raising agents – baking powder or bicarbonate of soda – will make your biscuits puff up and turn soft instead of staying flat and crisp.
Plain flour keeps things simple and lets the butter do all the talking.
Some bakers even swap a portion of plain flour for rice flour or cornflour, which contain less gluten and create an even more delicate crumb.
Stick with plain, and your shortbread will have that classic, melt-in-your-mouth texture.
Use Cold Butter And Cut It In Thoroughly
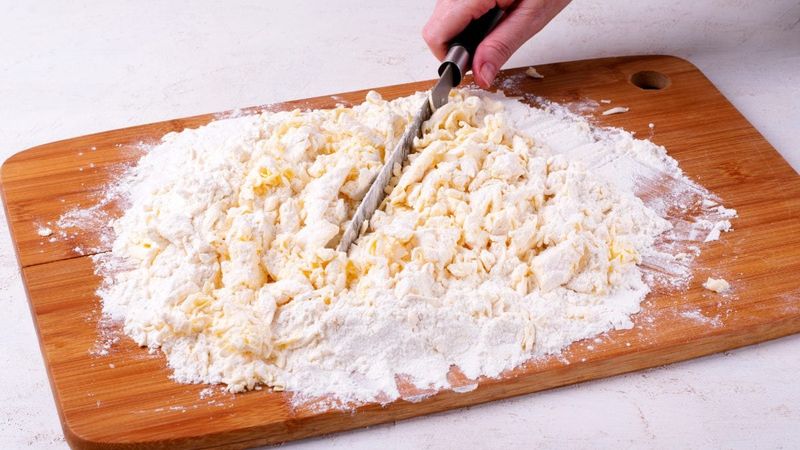
Cold butter is your secret weapon for achieving that trademark shortbread snap.
When butter stays chilled, it creates tiny pockets of fat throughout the dough that, once baked, turn into delicate layers of crispness.
Room temperature butter, on the other hand, gets absorbed too quickly into the flour, resulting in a dense, cakey texture that's miles away from proper shortbread.
Cut your cold butter into small cubes and work it into the flour using a pastry cutter or your fingertips – just be quick about it so your hands don't warm it up too much.
Measure Ingredients Accurately
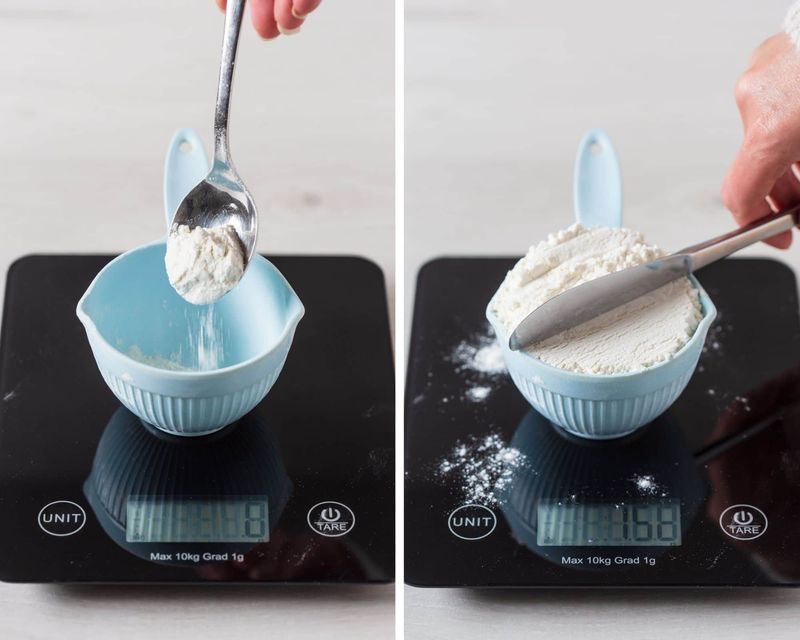
Baking is chemistry, and shortbread is no exception – even a tablespoon too much flour can turn your biscuits into dry, crumbly disappointments.
Grab yourself a digital kitchen scale if you haven't already; weighing ingredients is far more accurate than using cups, which can vary wildly depending on how you scoop.
The classic shortbread ratio is one part sugar, two parts butter, and three parts flour, so keep those proportions sacred.
A little precision now means perfectly balanced flavour and texture later.
Avoid Overworking The Dough
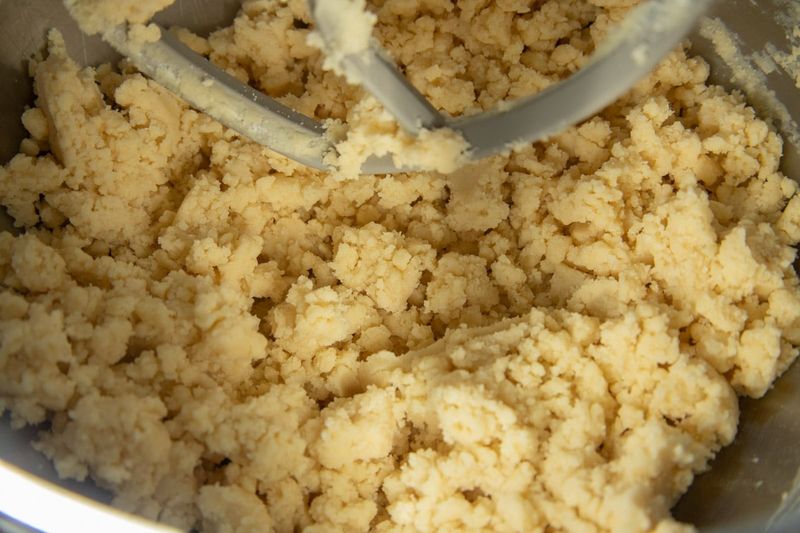
Here's where many bakers go wrong: they treat shortbread dough like bread dough, kneading and mixing until it's smooth as silk.
Big mistake.
The more you work the dough, the more gluten develops in the flour, and gluten is the enemy of that delicate, crumbly texture you're after.
Mix just until the ingredients come together – it should look a bit shaggy and rough, not polished and uniform.
A light touch is everything; think of it as coaxing the dough rather than wrestling it into submission.
Chill The Dough Before Baking
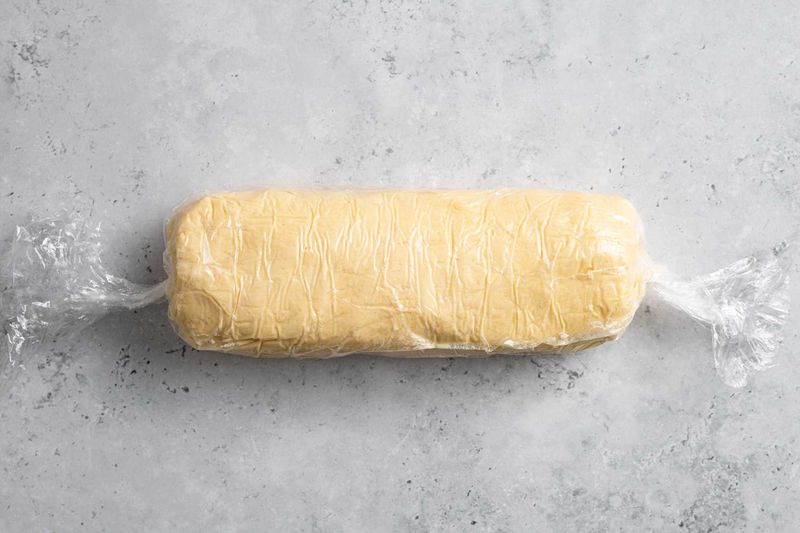
Patience might not be your strong suit, but trust me – chilling your dough is worth the wait.
Pop it in the fridge for at least thirty minutes (an hour is even better) to firm up the butter and relax any gluten that's developed.
This prevents your shortbread from spreading too much in the oven and helps it hold its shape beautifully.
Chilled dough also bakes more evenly, giving you that consistent golden colour and crisp texture from edge to centre.
Consider it a mandatory pit stop on the road to shortbread perfection.
Bake At A Moderate, Even Temperature
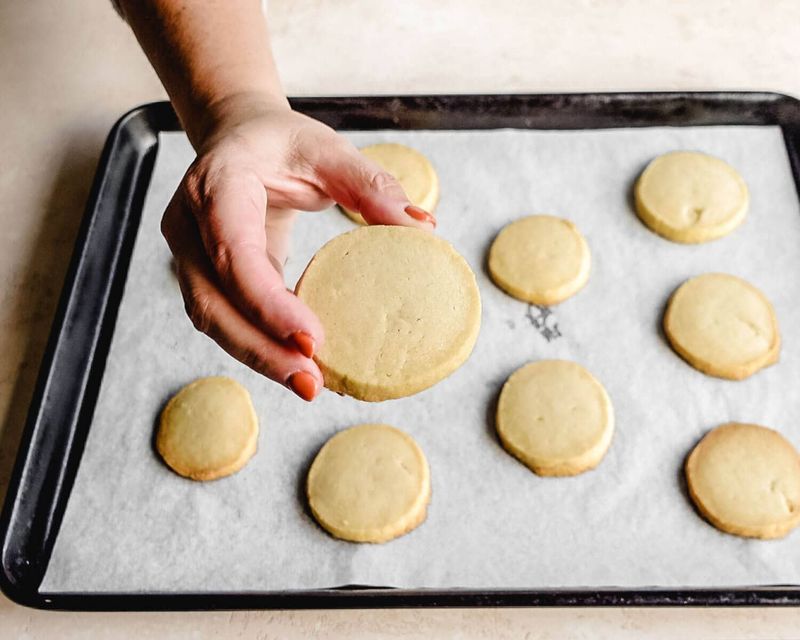
Shortbread isn't in a hurry, and neither should your oven be.
A moderate temperature – around 160 to 170 degrees Celsius – gives the biscuits time to dry out gradually and develop that signature crispness without browning too quickly.
High heat might seem efficient, but it'll leave you with burnt edges and soft centres, which is the opposite of what we're going for.
Use an oven thermometer if you're not sure your oven runs true; even a ten-degree difference can affect your results.
Low and slow wins the shortbread race every time.
Allow The Shortbread To Cool Fully Before Handling
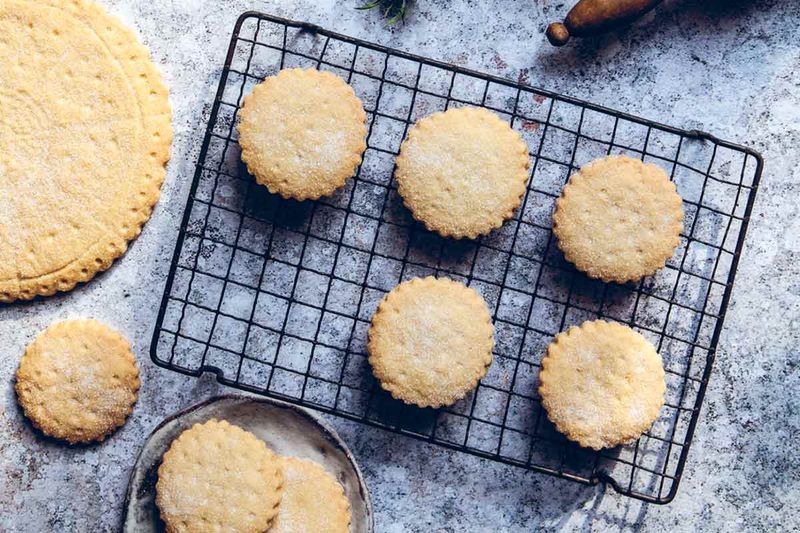
I know it's tempting to grab a piece straight from the oven, but hold your horses – warm shortbread is fragile and will crumble into a buttery mess if you move it too soon.
Let the biscuits rest on the baking tray for about five minutes to firm up slightly, then transfer them carefully to a wire rack to cool completely.
As they cool, the butter solidifies and the texture transforms from soft and tender to beautifully crisp.
Rushing this step is a rookie mistake that'll cost you half your batch.
Store In An Airtight Container Once Completely Cooled
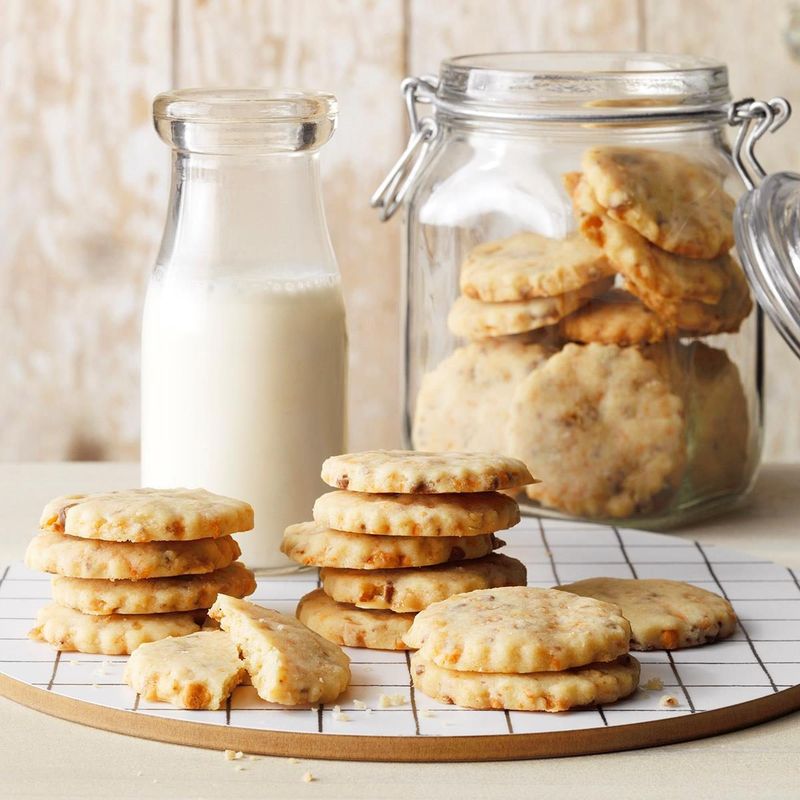
You've done all the hard work – don't let humidity ruin your masterpiece now.
Once your shortbread is completely cool (and I mean completely, not just lukewarm), tuck it away in an airtight container to keep moisture at bay.
Even a little bit of air exposure can turn crisp biscuits soft and stale within a day or two.
Layer them with greaseproof paper if you're stacking, and they'll stay fresh and crunchy for up to two weeks.
Proper storage is the final touch that keeps your shortbread tasting bakery-fresh until the very last crumb.



