













There’s something oddly satisfying about biting into a chewy little gummy bear and knowing you made it yourself.
The process is fun, quick, and a bit like a science experiment that ends in a sweet reward.
Once you get the hang of it, you might never look at shop-bought gummies the same way again.
All information provided is for general interest purposes only. Ingredient availability, product performance, and results may vary depending on technique and tools used. Photos are for illustrative purposes only.
Get Your Ingredients Right From The Start
You only need a few basics: fruit juice or squash for flavour, powdered gelatine for the bounce, a touch of sugar, and a spoon of liquid glucose or corn syrup for that smooth, elastic chew.
Bloom strength matters; most supermarket gelatine is around 200 bloom, which gives a good set for gummies.
Bloom the gelatine in cold water first so it hydrates evenly and melts without lumps.
Add a pinch of citric acid or lemon juice at the end for a tangy finish - it lifts the flavour and makes them taste more gummy bear than jelly.
Avoid fresh pineapple, kiwi, or papaya unless you heat the juice first; their natural enzymes can stop gelatine setting.
A drop or two of gel food colouring is optional, but it helps you match flavours to colours like a pro.
The Easy Equipment You'll Use
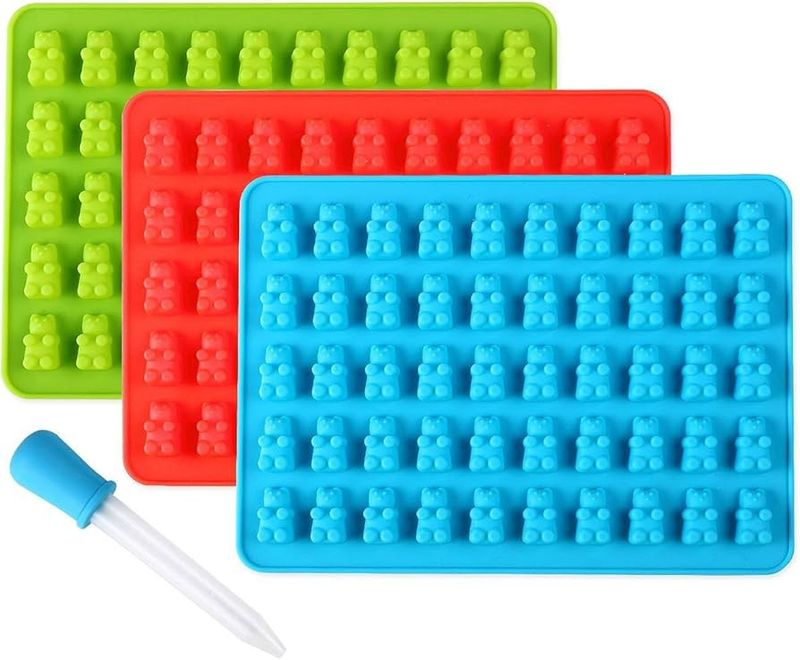
Silicone bear moulds are ideal because they flex, release cleanly, and come with tiny droppers that make filling neat.
No moulds? Use a small lined tray and cut cubes once set - the taste is identical.
A small saucepan, a silicone spatula, and a jug with a pouring lip will keep things tidy.
A digital scale is handy for accuracy and repeatable texture; small differences change firmness.
Have a baking sheet under your moulds before you start so you can move them without sloshing.
Keep a little kitchen paper nearby to wipe the dropper - less dribble, less mess.
Mix, Melt, And Keep It Gentle
Sprinkle gelatine over cold juice or water and let it bloom for five to ten minutes until spongy.
Warm the remaining juice with sugar and a spoon of glucose on low heat; you're dissolving, not boiling.
Add the bloomed gelatine and stir gently until completely melted and clear - avoid vigorous whisking, which adds bubbles and clouds your gummies.
Take the pan off the heat and let it cool just a touch before stirring in citric acid and any flavour extracts; high heat can dull flavours and weaken gelatine.
Taste a tiny spoonful and adjust sweetness or tang now - set gummies won't take seasoning later.
If bubbles appear, skim the top or give the pan a brief stand so they rise and pop.
Fill The Bears Like A Pro
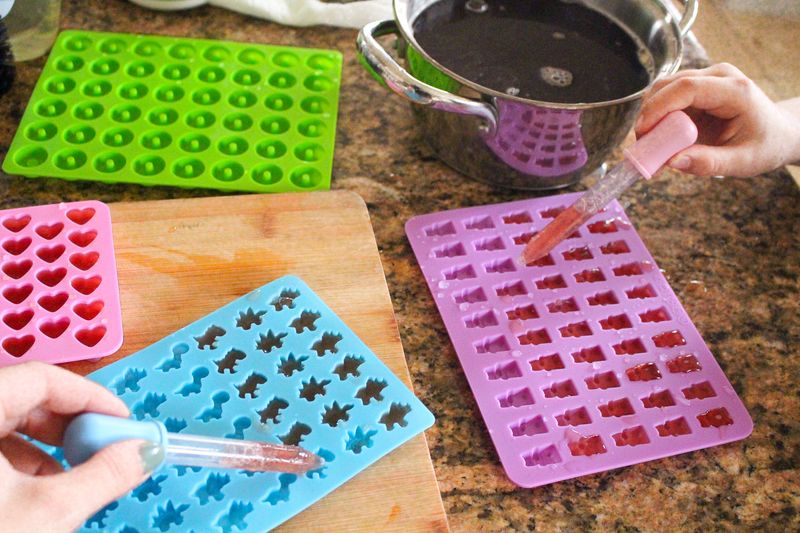
Set your silicone moulds on a tray, then use the dropper or a small jug to fill each cavity right to the rim.
Work fairly quickly; the mix thickens as it cools.
If it starts setting, gently re-warm the pan on the lowest heat until fluid again.
For layered colours, half-fill, chill for ten minutes, then top with a second colour.
A steady hand and wiping the dropper often keeps edges crisp and ears perfectly shaped.
Pop the tray in the fridge for at least an hour, or leave at cool room temperature until fully set and resilient to the touch.
Unmould, Finish, And Store For Peak Chew
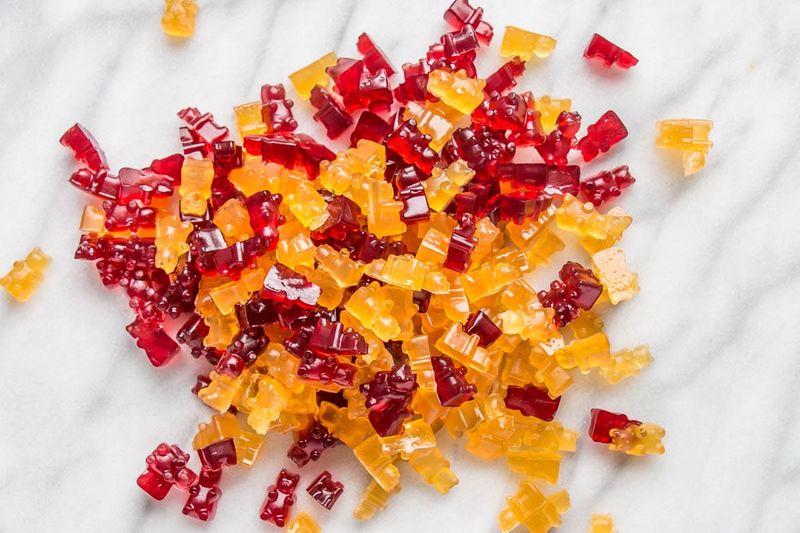
Flex the mould and nudge each bear out - silicone does most of the work. For a classic finish, toss the bears in a little cornflour then brush off the excess; it stops initial stickiness.
Prefer a glossy look? Mix a tiny splash of neutral oil with a little syrup, dab your hands, and roll the bears very lightly.
Store in an airtight container with a silica gel packet if you have one; humidity makes gummies sweaty and sticky.
They keep best cool and dry for several days, or in the fridge for about a week.
Don't freeze - ice crystals wreck the texture.
Variations, Vegan Swaps, And Troubleshooting
For vegan gummies, swap gelatine for agar-agar or pectin, but note the texture changes: agar sets firm and slightly brittle, pectin gives a softer bite and needs the right sugar-acid balance.
With agar, bring the mixture to a brief boil to activate; it won't set otherwise.
If your gummies weep liquid, you likely added too much acid too early or didn't dissolve the gelatine fully - reheat gently next time and stir until clear.
If they're too soft, increase gelatine slightly or reduce juice a touch; too firm, do the opposite.
Want a punchier flavour? Use concentrated juice or simmer juice briefly to reduce before blooming and melting, then cool slightly before adding gelatine.



