













Few kitchen smells feel as comforting as freshly baked scones drifting through the house on a quiet afternoon.
Making them at home brings a lovely sense of nostalgia, along with the promise of warm, fluffy treats ready for jam and cream.
Simple ingredients and a gentle technique create surprisingly impressive results without any fuss.
Baking becomes a small ritual that feels both relaxing and rewarding.
All information is provided for general interest only. Taste, appearance, and availability may vary.
Choosing The Right Flour And Raisins
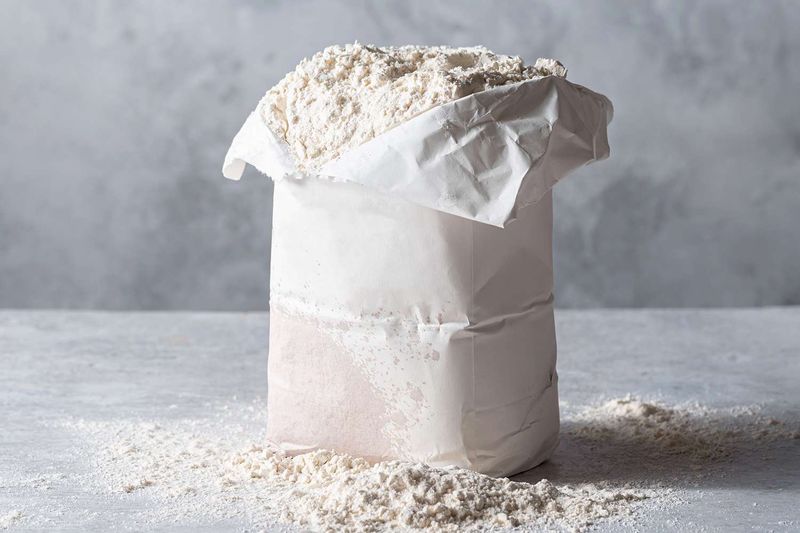
Plain flour works brilliantly for scones because it creates that perfect crumbly texture everyone loves.
Self-raising flour can also do the trick if you're short on baking powder.
When picking raisins, go for plump ones that look juicy rather than dried out and shrivelled.
Sultanas make a lovely alternative if you prefer something a bit lighter in flavour.
Getting The Butter Texture Just Right
Cold butter straight from the fridge is your best mate here.
Cut it into small cubes before rubbing it into the flour with your fingertips.
Work quickly so your hands don't warm the butter too much.
You're aiming for a breadcrumb-like texture with tiny butter flakes still visible throughout, which creates those gorgeous flaky layers when baked.
Mixing The Dough Without Overworking It
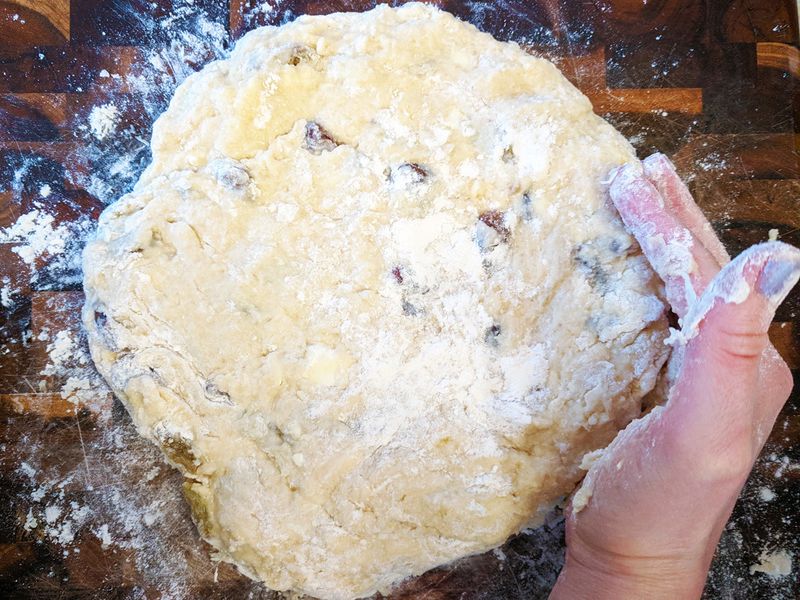
Once you've added your milk and brought everything together, resist the urge to knead it like bread dough.
Overworking develops gluten, which makes scones tough instead of tender.
Gently fold the mixture until it just comes together, even if it looks a bit shaggy.
A few floury patches are absolutely fine and actually preferred.
Rolling And Cutting Evenly Sized Scones
Pat or roll your dough to about 2-3 centimetres thick—any thinner and they won't rise properly.
Use a floured round cutter and press straight down without twisting, which seals the edges.
Twisting prevents the scones from rising evenly.
Gather scraps gently and re-roll only once to maintain that lovely light texture throughout your batch.
Baking Until Lightly Golden And Fluffy
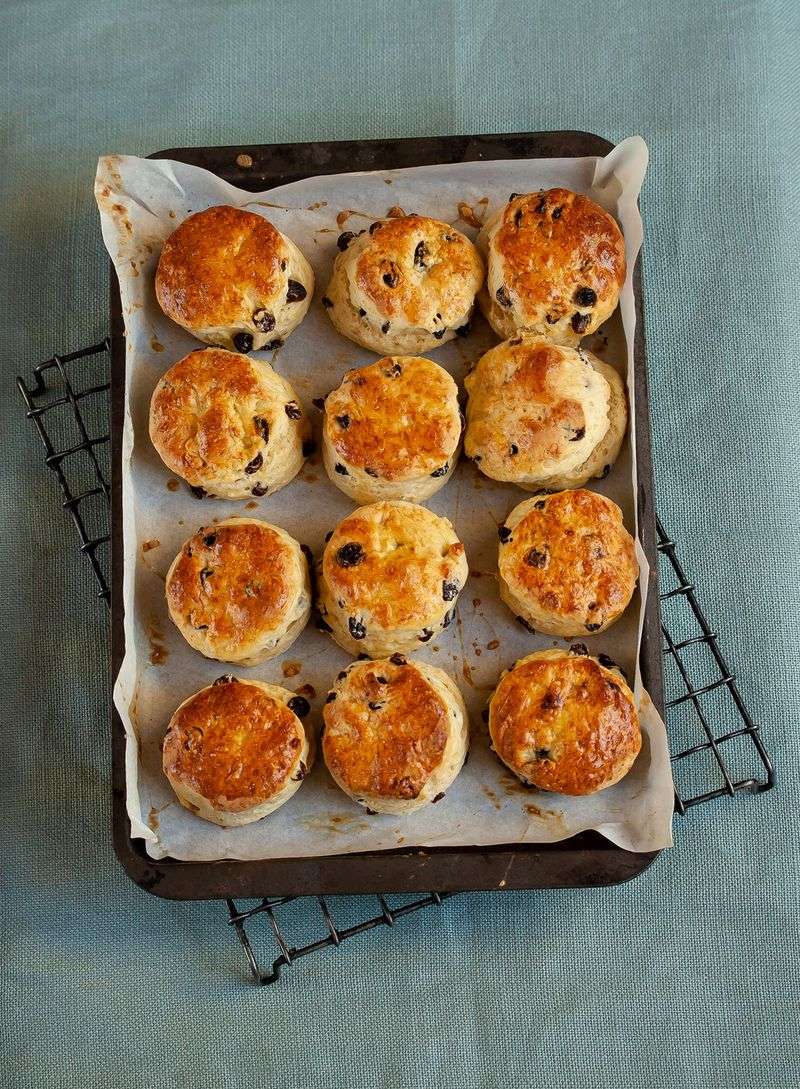
Pop your scones into a preheated oven at around 220°C (200°C fan).
They need high heat to rise quickly and develop that gorgeous golden top.
Bake for 12-15 minutes until they've puffed up beautifully and turned a lovely light golden colour.
Avoid opening the oven door too early, as the temperature drop can affect their rise.
Cooling Properly Before Serving
Transfer your scones to a wire rack as soon as they come out of the oven.
Leaving them on the hot tray makes the bottoms soggy, which nobody wants.
Allow them to cool for at least 10 minutes before tucking in.
This resting time lets the steam escape and the texture settle perfectly, making them easier to split without crumbling everywhere.
Classic Serving Ideas With Jam And Cream
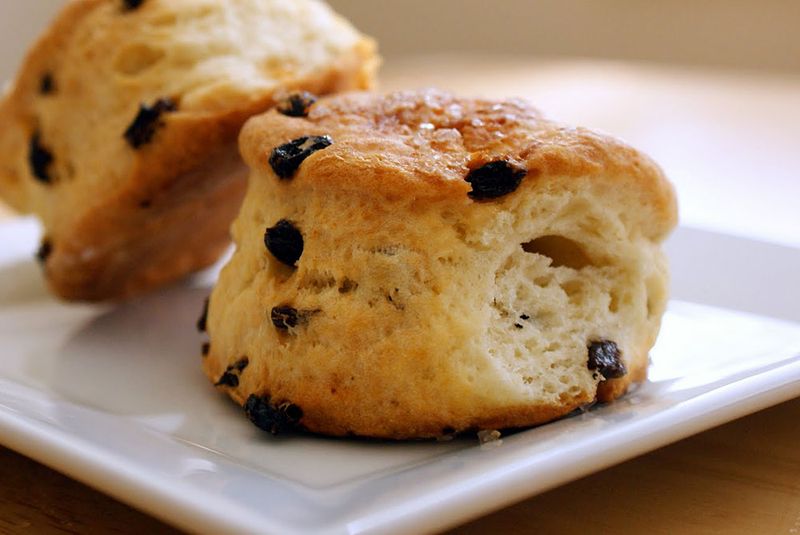
Split your scones horizontally and slather them with clotted cream first, then strawberry jam - or reverse the order if you're feeling rebellious.
Both ways taste absolutely divine.
Pair them with a proper pot of tea for the ultimate afternoon experience.
Blackcurrant or raspberry jam also work wonderfully if strawberry isn't your favourite flavour choice.



