













Baking a cake at home can feel overwhelming, but it does not have to be. With the right tricks up your sleeve, you can skip common mistakes and get beautiful results every single time.
Whether you are a beginner or someone who bakes on weekends, these clever hacks will save you time, stress, and a whole lot of cleanup. Get ready to transform the way you bake cakes forever.
1. Use Mayonnaise for an Ultra-Moist Cake
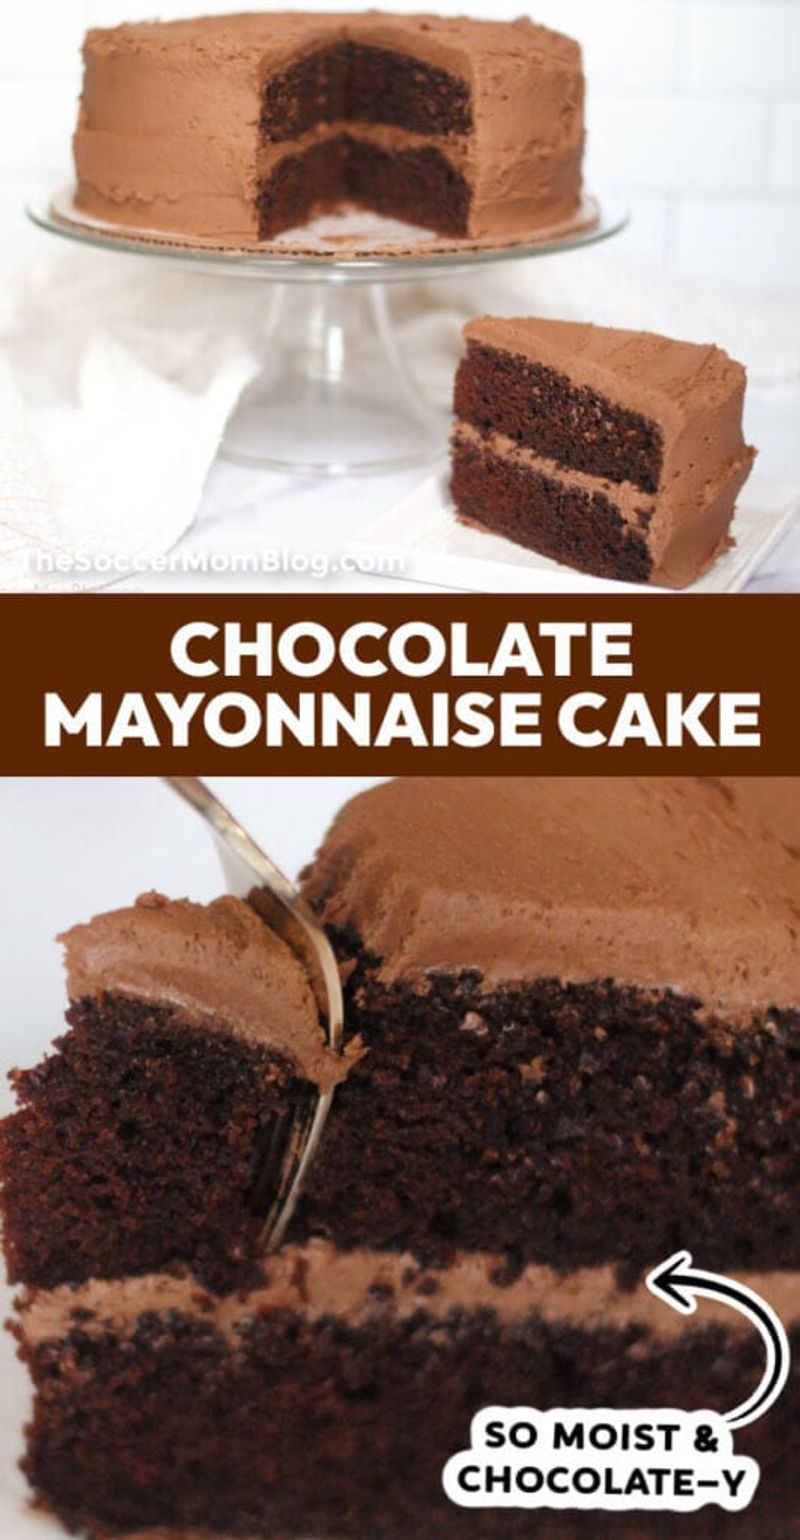
Sounds strange, right? Swapping a bit of oil or butter in your cake recipe for mayonnaise is one of those game-changing tricks bakers swear by.
Mayonnaise is made with eggs and oil, which adds richness and keeps your cake incredibly moist for days.
Just replace the oil in your recipe with the same amount of mayo. Your cake will stay soft and tender without any weird taste.
Nobody will ever guess your secret ingredient.
2. Freeze Your Cake Layers Before Frosting
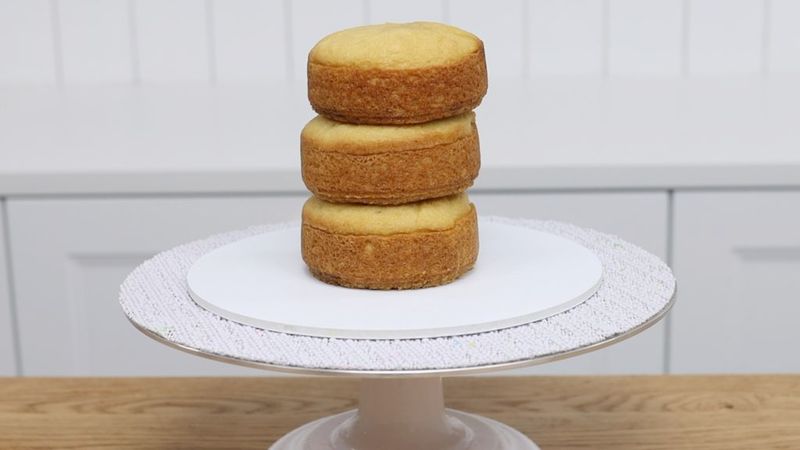
Frosting a warm cake is a recipe for disaster. The icing slides right off, crumbs mix into your frosting, and the whole thing looks messy.
Freezing your baked cake layers for about 30 minutes before frosting makes everything so much easier.
A cold, firm cake holds frosting beautifully and gives you clean, smooth edges. This trick is used by professional bakers all the time.
Just a short freeze makes a huge difference in the final look.
3. Use a Toothpick Strategically to Test Doneness
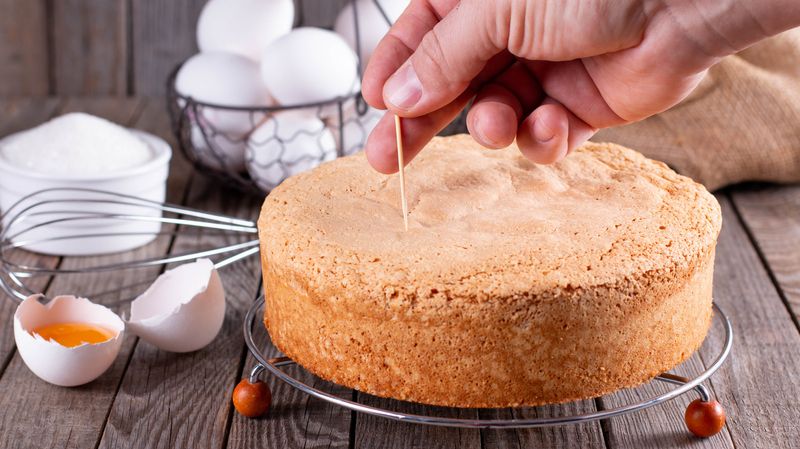
Guessing when your cake is done is one of the biggest mistakes home bakers make. Pulling it out too early means a gooey center, and leaving it too long dries it out completely.
A simple toothpick inserted into the middle of the cake solves this instantly.
If it comes out clean or with just a few dry crumbs, your cake is perfectly done. If batter sticks to it, give the cake a few more minutes.
Simple, reliable, and totally foolproof.
4. Grease Pans with Butter and Flour Like a Pro
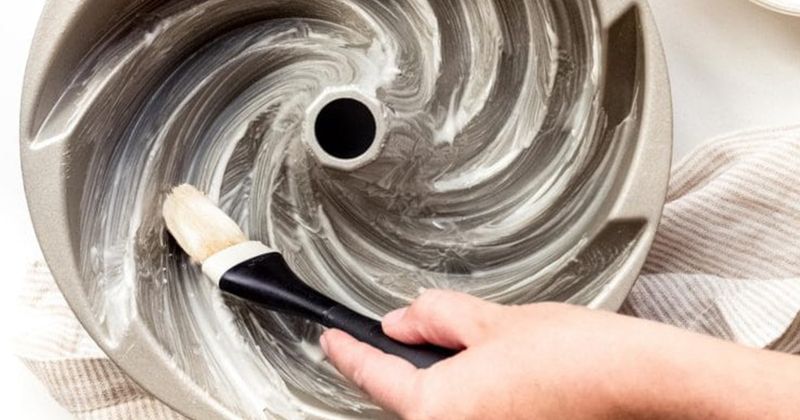
Nothing ruins a bake like a cake stuck to the pan. Greasing your pan properly is the first step to a clean release every time.
Coat the inside with softened butter, then dust a thin layer of flour all around it before adding your batter.
Tap out any excess flour so it does not clump. For chocolate cakes, use cocoa powder instead of flour to avoid white residue on the edges.
Your cake will slide right out perfectly.
5. Add a Tablespoon of Sour Cream to Your Batter
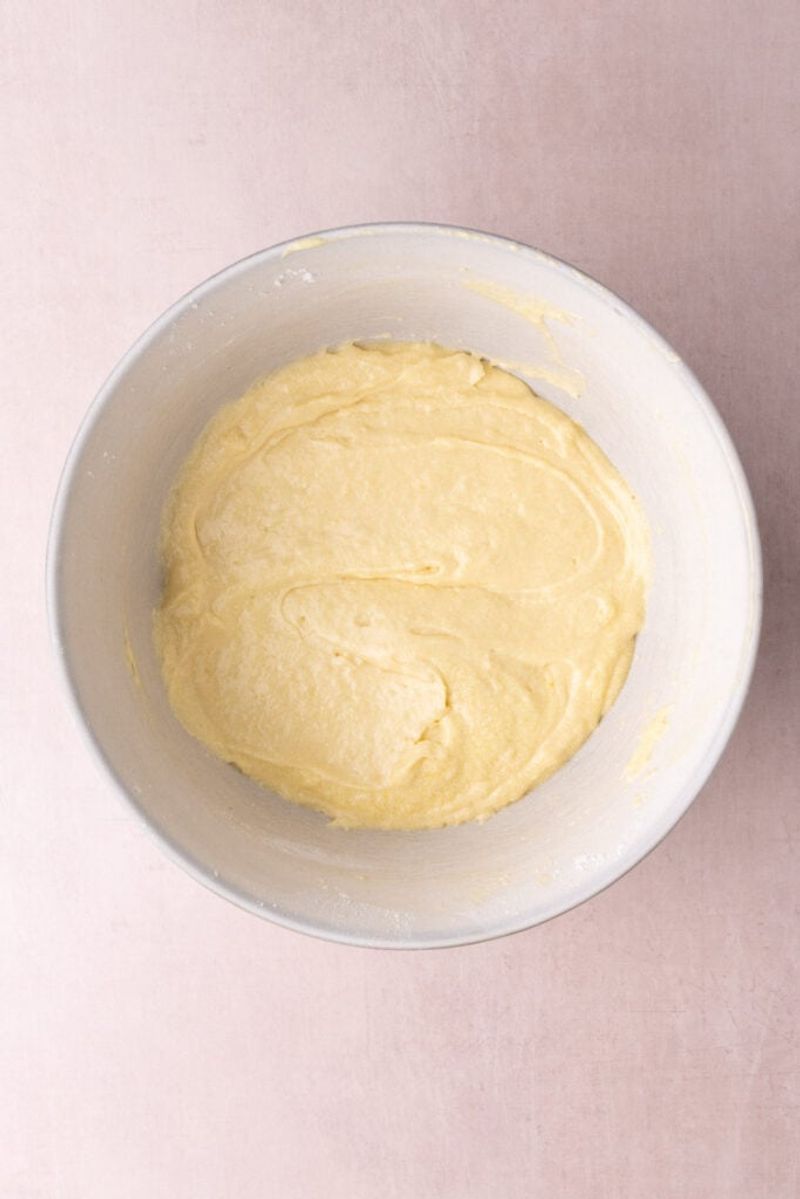
Sour cream might be the secret weapon your cake batter has been missing. Adding just one tablespoon to your mix brings a subtle tang that balances sweetness, and the fat content makes the crumb incredibly tender and rich.
It works especially well in vanilla and lemon cakes where you want a soft, velvety texture. You will not taste the sour cream at all, but you will absolutely notice how much better the cake turns out.
Try it once and you will never skip it again.
6. Measure Flour Correctly by Spooning and Leveling
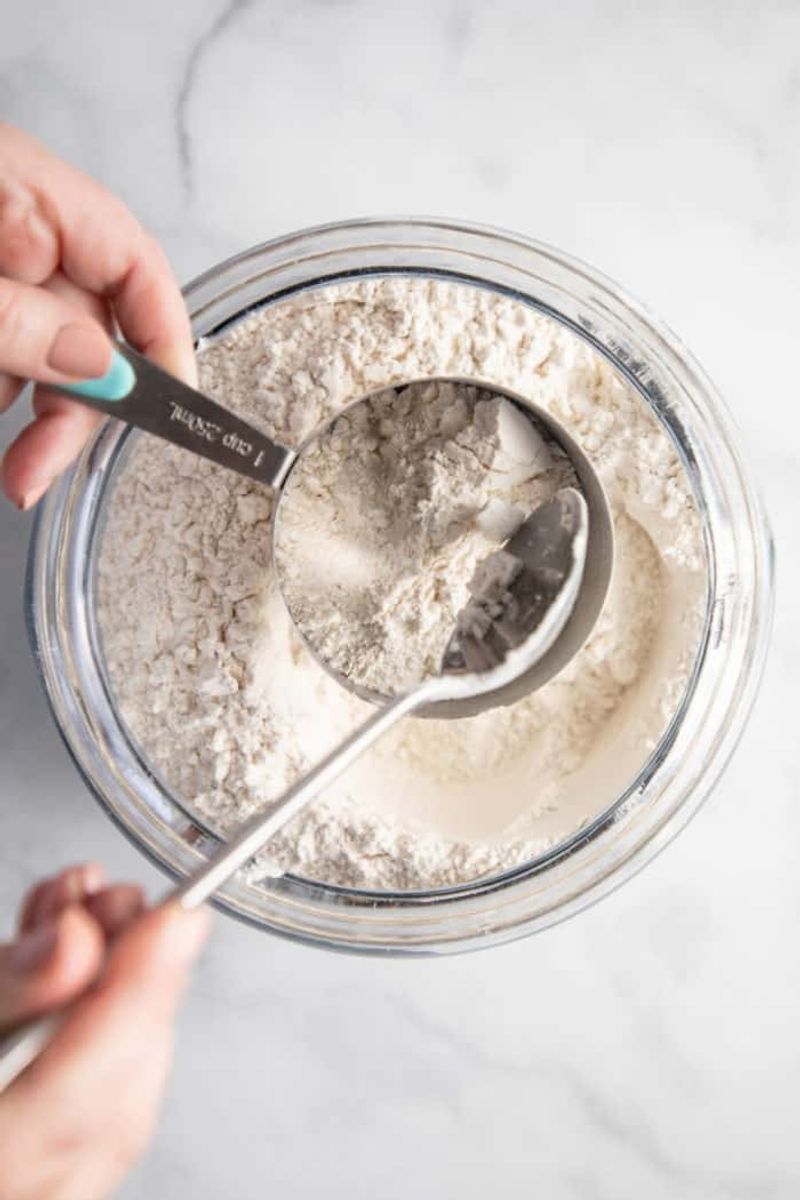
Too much flour is the number one reason cakes turn out dense and dry. Most people scoop their measuring cup straight into the flour bag, which packs it in and adds way more than the recipe needs.
This tiny mistake has big consequences.
Instead, spoon the flour into your measuring cup and level it off with a flat knife. This gives you the correct amount every single time.
Better yet, use a kitchen scale for absolute precision and consistently perfect cakes.
7. Bring Ingredients to Room Temperature First
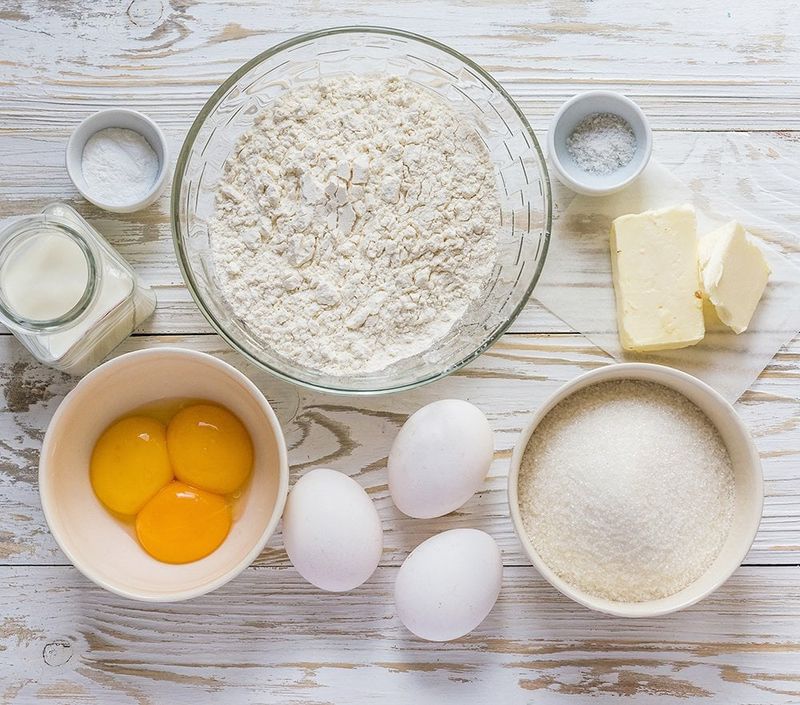
Cold butter and eggs straight from the fridge do not blend well with other ingredients. This can leave lumps in your batter and cause uneven baking.
Room temperature ingredients mix together smoothly, creating a well-emulsified batter that bakes evenly.
Take your butter, eggs, and milk out of the fridge about 30 to 60 minutes before you start baking. This one small step makes a surprisingly big difference in the texture of your finished cake.
It is worth the wait every time.
8. Use Baking Strips for Flat, Even Cake Layers
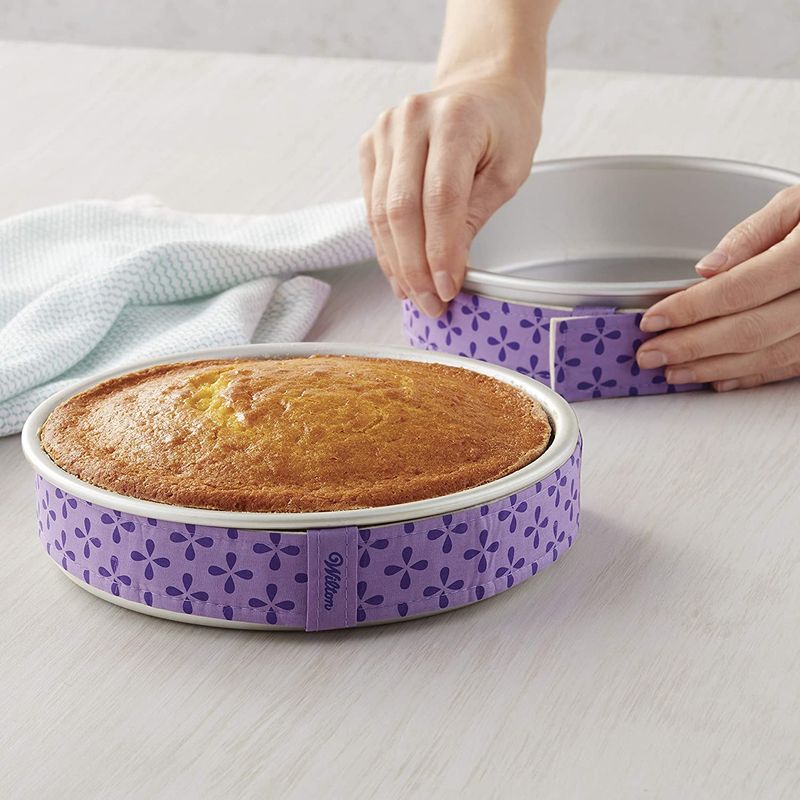
Ever notice how your cake rises into a dome shape in the middle? That happens because the edges bake faster than the center.
Baking strips fix this problem completely by keeping the sides of the pan cooler during baking.
Wet the strips, wrap them around your pans, and bake as usual. The result is a perfectly flat cake layer that needs zero trimming.
You can buy reusable baking strips or make your own with strips of wet towel wrapped in foil.
9. Substitute Buttermilk for Regular Milk
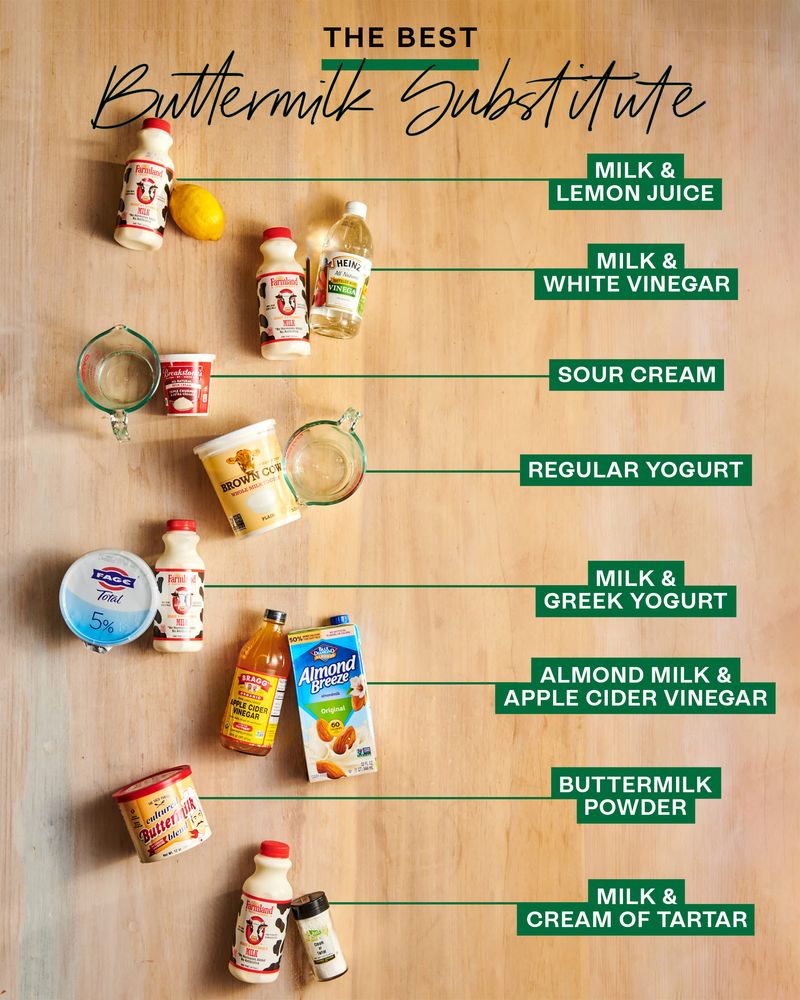
Buttermilk is a total game-changer in cake baking. Its natural acidity reacts with baking soda to give your cake a beautiful rise, and the slight tang it carries makes the flavor more complex and interesting.
The result is a lighter, fluffier cake with a tender crumb.
No buttermilk on hand? Make your own by adding one tablespoon of lemon juice or white vinegar to one cup of regular milk.
Let it sit for five minutes and you have a perfect substitute ready to go.
10. Tap the Pan on the Counter to Remove Air Bubbles
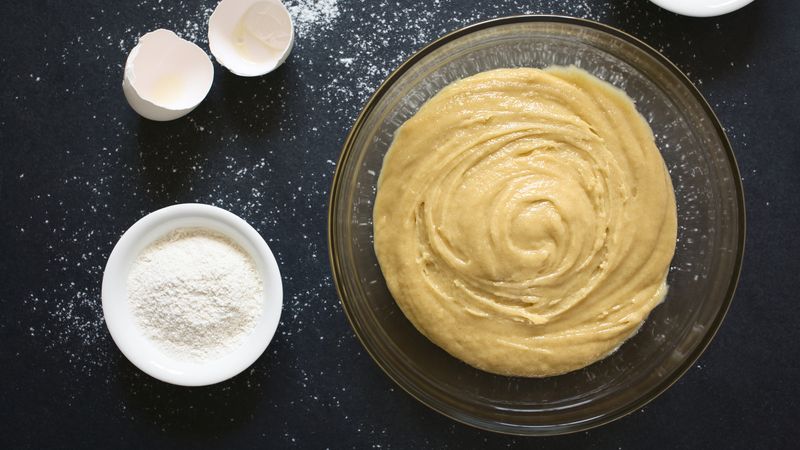
Air bubbles trapped in your batter can cause uneven holes and a bumpy texture in your finished cake. Before sliding your pan into the oven, give it a few firm taps on the counter.
This simple move releases bubbles hiding in the batter.
You will actually see little bubbles popping on the surface after you tap it. Run a toothpick or skewer through the batter in a zigzag motion for extra insurance.
Your cake will have a smoother, more consistent texture after baking.
11. Line Pans with Parchment Paper for Easy Release
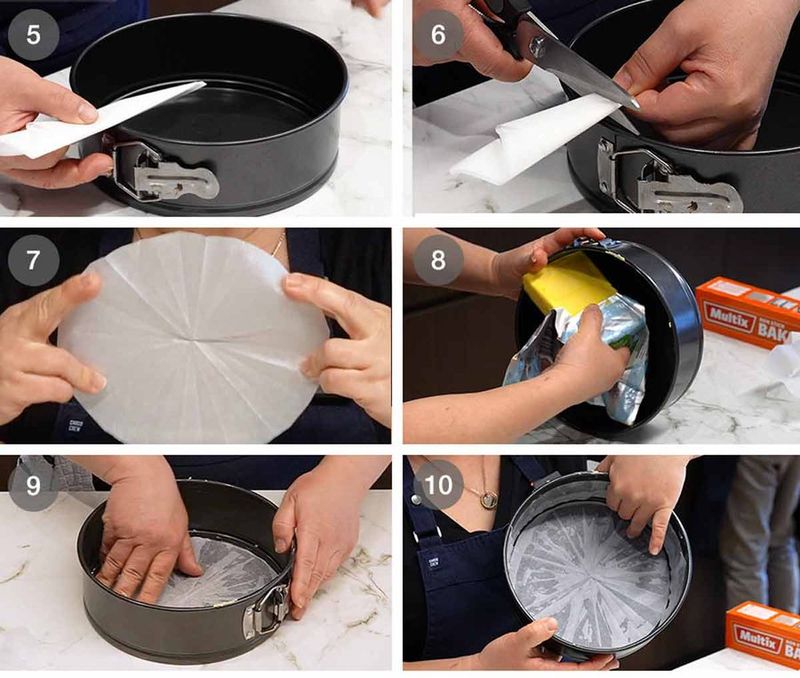
Even when you grease a pan well, some cakes still stick stubbornly to the bottom. Parchment paper is the guaranteed solution.
Cut a circle to fit the bottom of your pan, press it in after greasing, and then grease the paper too.
When your cake is done and cooled, it will lift right out without any tearing or breaking. This is especially helpful for delicate cakes like sponge or chiffon.
Parchment paper is cheap, reusable in some cases, and completely worth it.
12. Apply a Crumb Coat Before the Final Frosting Layer
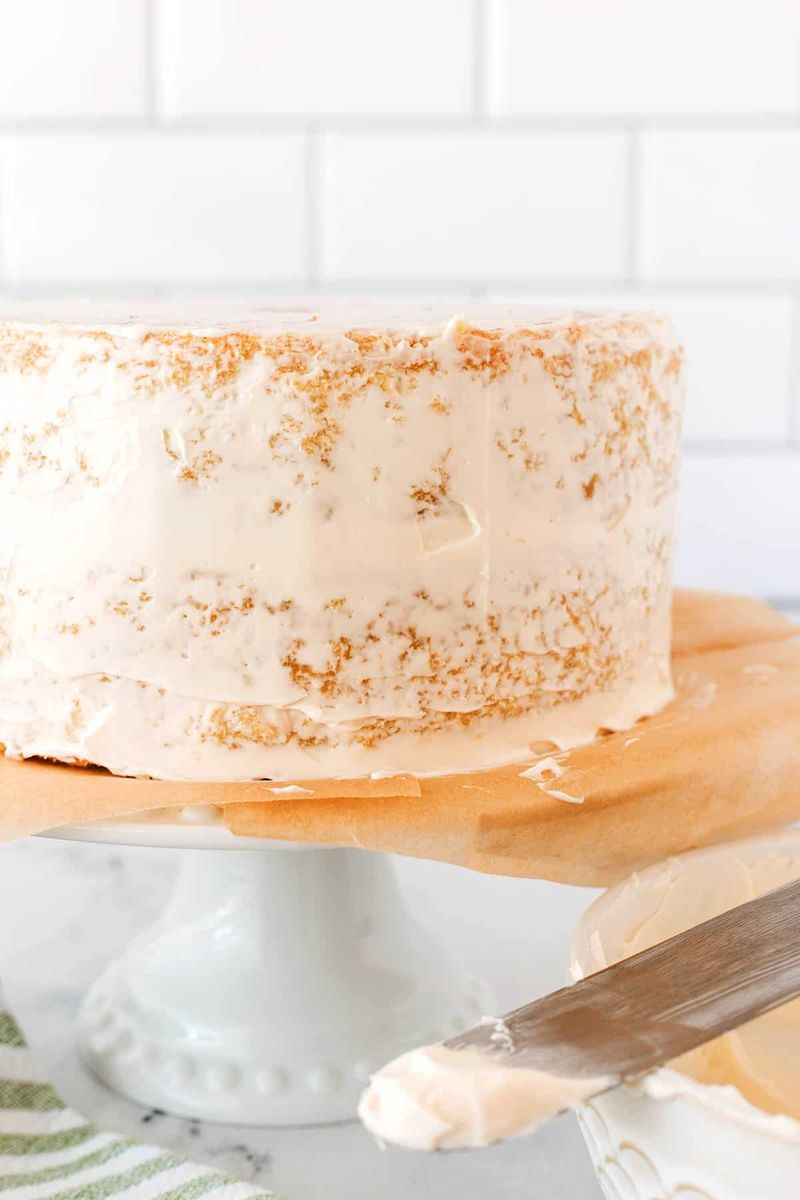
A crumb coat is a thin first layer of frosting that traps all those pesky crumbs before you apply the final, beautiful layer. Without it, crumbs mix into your frosting and ruin the clean look you are going for.
Professional bakers never skip this step.
Spread a very thin coat of frosting all over the cake, then refrigerate it for 15 to 30 minutes until it sets. After that, apply your final frosting layer smoothly and cleanly.
The result looks polished and bakery-worthy every time.
13. Use Coffee to Intensify Chocolate Flavor
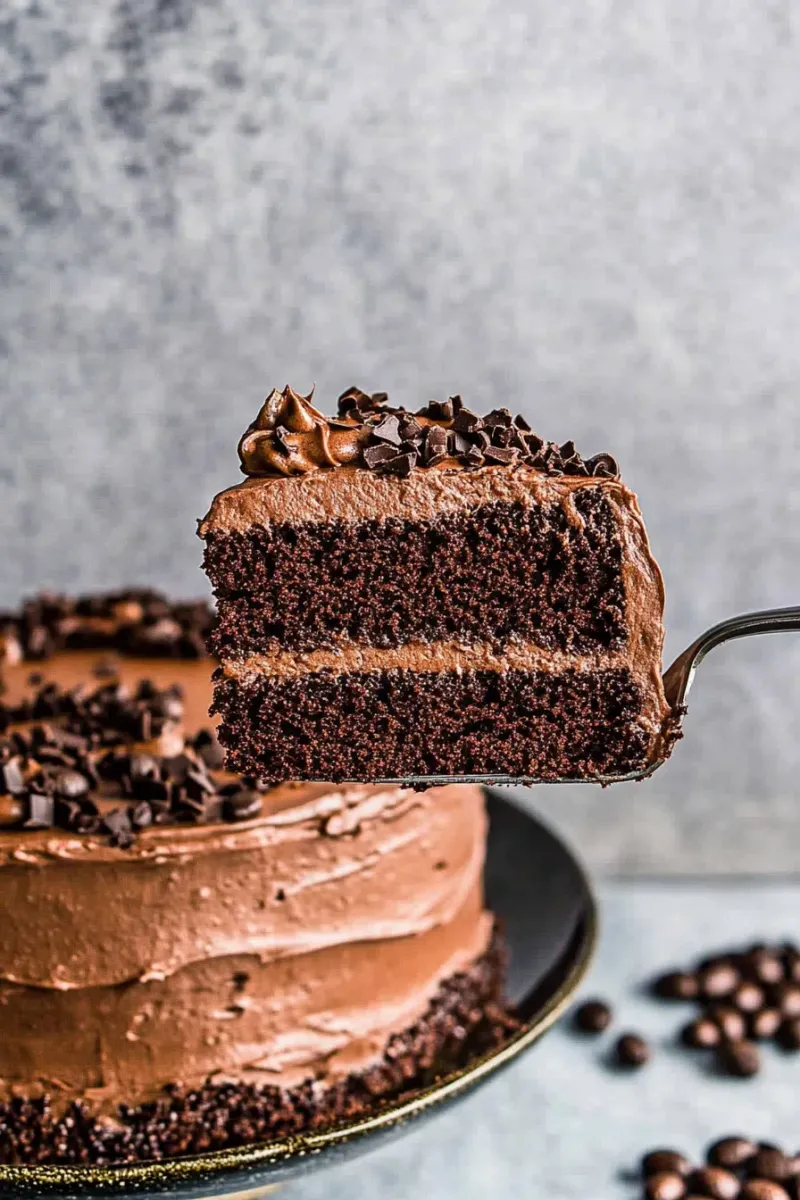
Adding coffee to chocolate cake might sound unusual, but it does not make the cake taste like coffee at all. Instead, it deepens and intensifies the chocolate flavor in a way nothing else can match.
Even a small amount makes a noticeable difference.
Replace the water in your chocolate cake recipe with an equal amount of strong brewed coffee or dissolve a teaspoon of instant espresso powder into the batter. The chocolate becomes richer, darker, and more complex.
Chocolate lovers will absolutely taste the upgrade.
14. Dust Greased Pans with Cocoa Instead of Flour
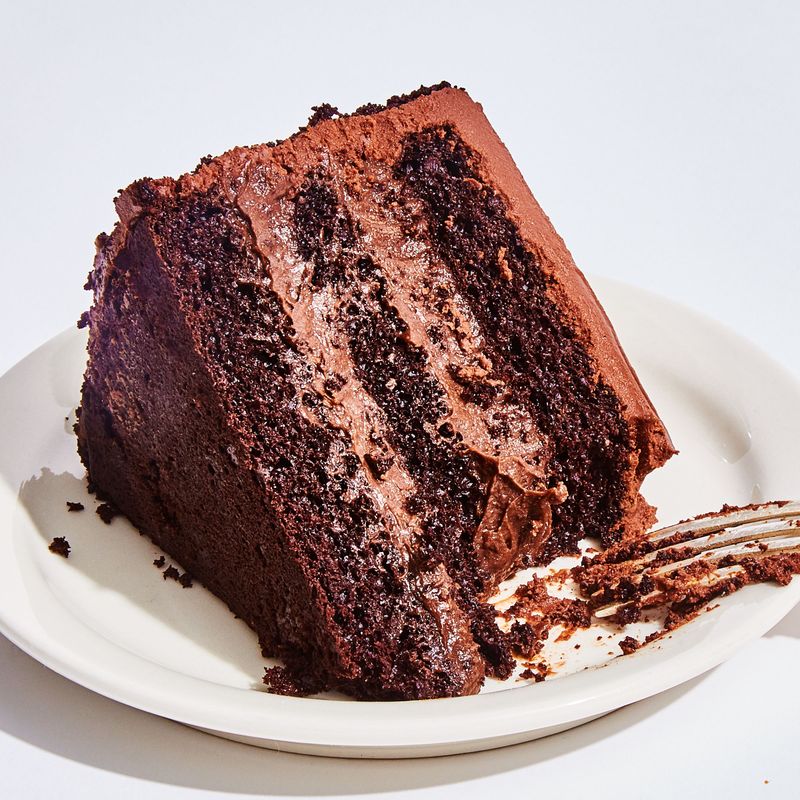
When baking chocolate cake, dusting your greased pan with regular flour leaves an unappealing white coating on the outside edges of your finished cake. Switching to cocoa powder solves this problem completely and keeps everything looking rich and dark.
Just tap a spoonful of cocoa powder around the greased pan and shake out the excess, the same way you would with flour. Your chocolate cake will release cleanly and the outside edges will look perfectly dark and appetizing.
Such a small swap with a big visual payoff.
15. Warm Up Your Frosting for Smoother Spreading
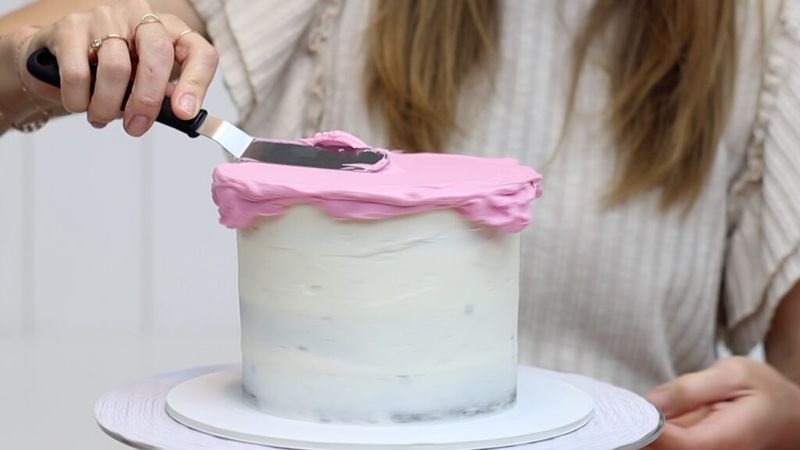
Cold buttercream straight from the fridge is stiff, difficult to spread, and tears the top layer of your cake. Warming it slightly makes all the difference.
Give your frosting 10 to 15 seconds in the microwave and stir it well before applying.
It should be soft and spreadable but not melted or runny. A warm offset spatula also helps glide frosting on more smoothly.
Dip your spatula in hot water, wipe it dry, and watch the frosting smooth out beautifully with every stroke.
16. Use a Serrated Knife to Level Cake Layers
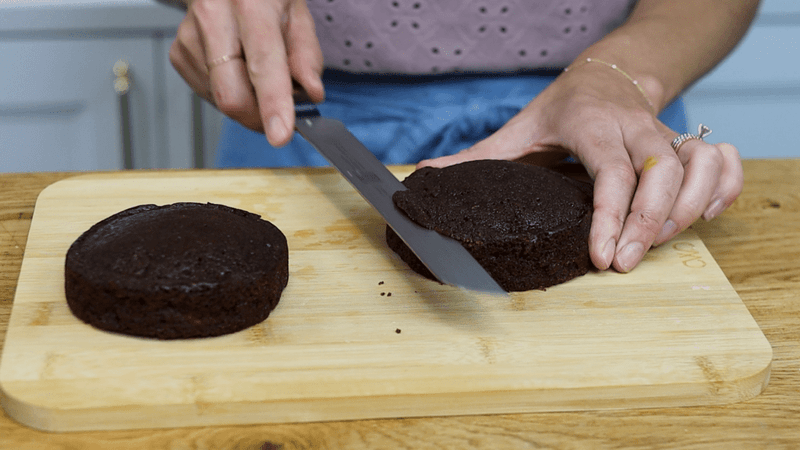
Domed cake layers make stacking and frosting a wobbly, frustrating experience. Leveling them out creates a stable, professional-looking cake.
A long serrated knife is the best tool for the job because it saws gently without crushing the cake.
Place your cooled cake on a flat surface and hold the knife horizontally at the level of the lowest point on the dome. Use a slow, steady sawing motion to cut across.
Freeze the cake first for even cleaner cuts and less crumbling.
17. Add Pudding Mix to Boxed Cake for Extra Moisture
Boxed cake mix is convenient, but the texture can sometimes feel a bit thin or dry. Stirring in a small box of instant pudding mix is an easy upgrade that takes the result from average to impressive.
It adds moisture, richness, and a denser crumb.
Use a flavor that matches your cake, like vanilla pudding in a yellow cake or chocolate pudding in a devil's food mix. Just add it dry to the batter and mix as usual.
No one will ever know it started from a box.
18. Use a Cake Turntable for Flawless Frosting
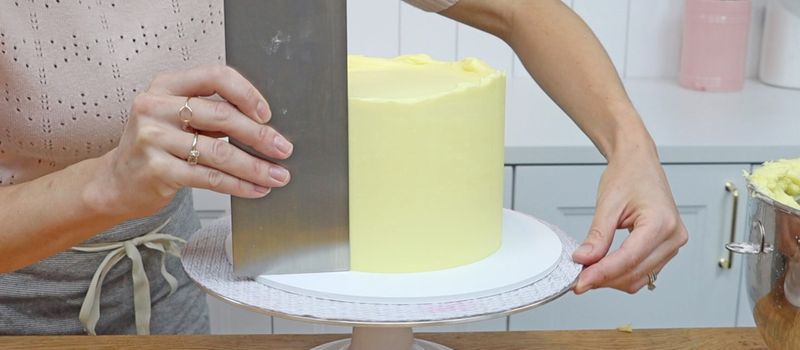
Trying to frost a cake while walking around it is awkward and results in uneven coverage. A cake turntable spins the cake toward you while you hold the spatula steady, giving you smooth, consistent frosting with minimal effort.
Even an inexpensive plastic turntable makes a massive difference in your finished results. Hold your offset spatula at a slight angle and spin the turntable slowly for perfectly smooth sides.
It feels a little like magic the first time you try it and you will never go back.
19. Fill Layers Evenly Using a Kitchen Scale
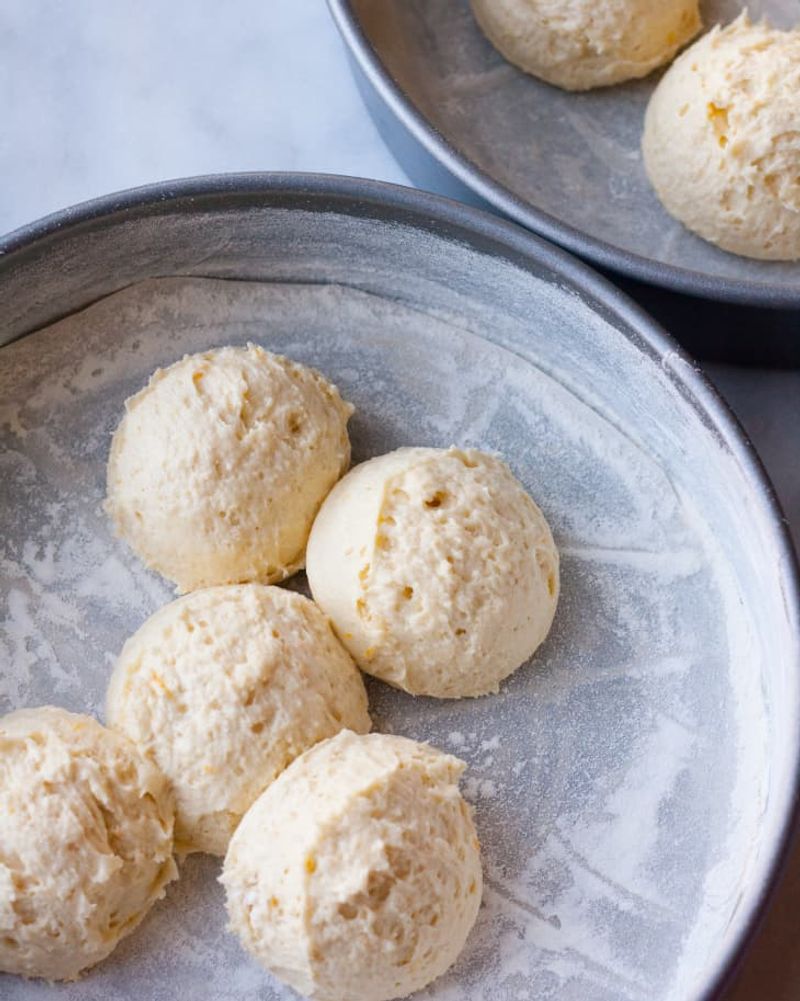
Uneven cake layers are one of the most common home baking frustrations. One layer ends up thicker than the other, and the whole cake leans awkwardly.
Using a kitchen scale to weigh your batter into each pan solves this instantly.
Weigh your empty pans first, then divide the total batter weight equally between them. Every layer will be exactly the same thickness, making stacking and decorating so much easier.
A kitchen scale is one of the most underrated tools any home baker can own.
20. Brush Layers with Simple Syrup to Lock In Moisture
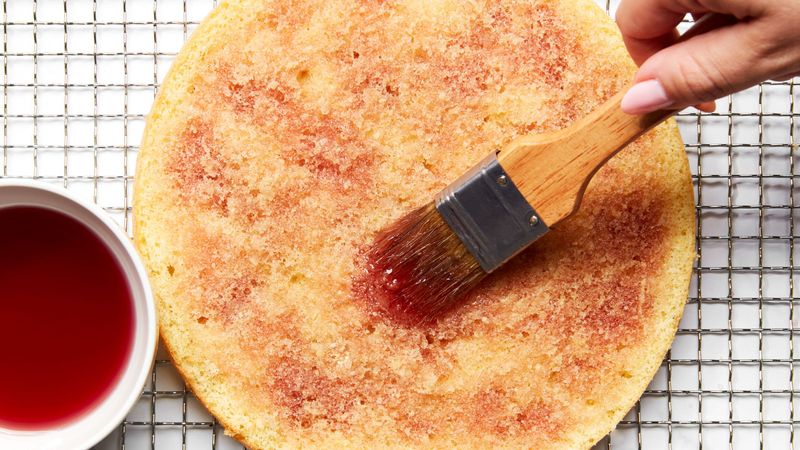
Simple syrup is one of the most beloved secrets of professional bakers. It is just equal parts sugar and water boiled together until the sugar dissolves, and brushing it onto your cake layers before frosting keeps them moist and flavorful for days.
This trick is especially useful if your cake baked a little dry or if you are making a cake in advance. You can also flavor the syrup with vanilla, citrus zest, or even a splash of rum.
A little goes a long way, so do not soak the layers.
21. Use Dental Floss to Cut Perfect Cake Layers
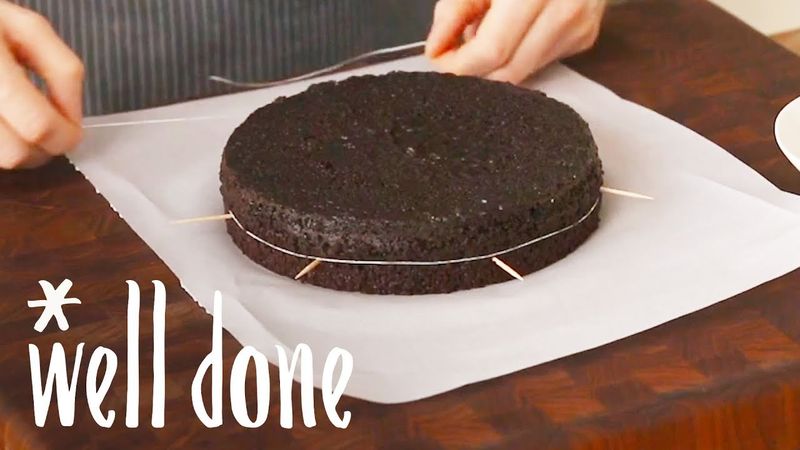
Cutting a cake into even horizontal layers with a knife can feel like a nerve-wracking task. One slip and your layers are uneven.
Unflavored dental floss gives you a cleaner, more controlled cut than most knives ever could.
Score a line around the middle of your cake with a toothpick as a guide, then wrap the floss around the cake at that line. Cross the ends and pull them apart in opposite directions.
The floss glides right through and leaves a perfectly level cut every time.
22. Chill the Cake Before Slicing for Clean Cuts
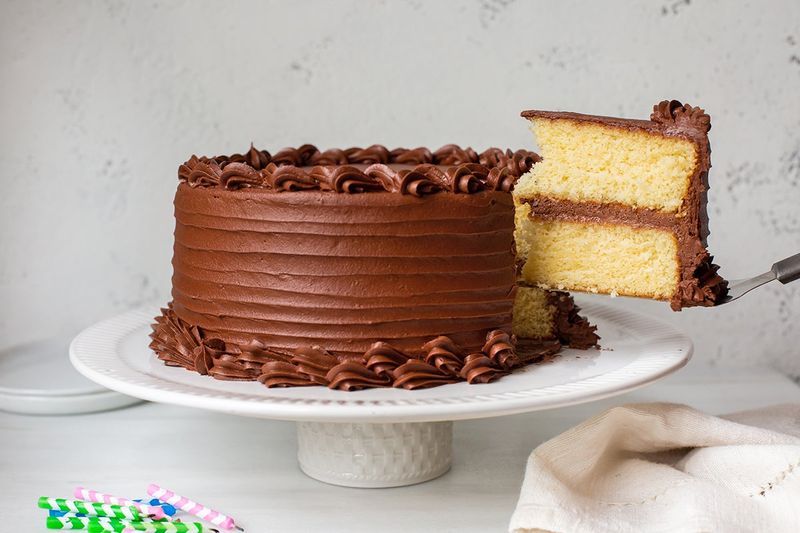
Slicing a freshly frosted cake at room temperature is messy. The frosting smears, the layers shift, and the slices look ragged.
Refrigerating your finished cake for at least 30 minutes before cutting makes a huge difference in presentation.
A cold, firm cake holds its shape beautifully when sliced. Use a sharp knife and wipe it clean between each cut for the neatest results.
For extra clean slices, run the knife blade under hot water and dry it before each cut. Your slices will look stunning on the plate.
23. Add Vinegar to Velvet Cakes for a Vibrant Color
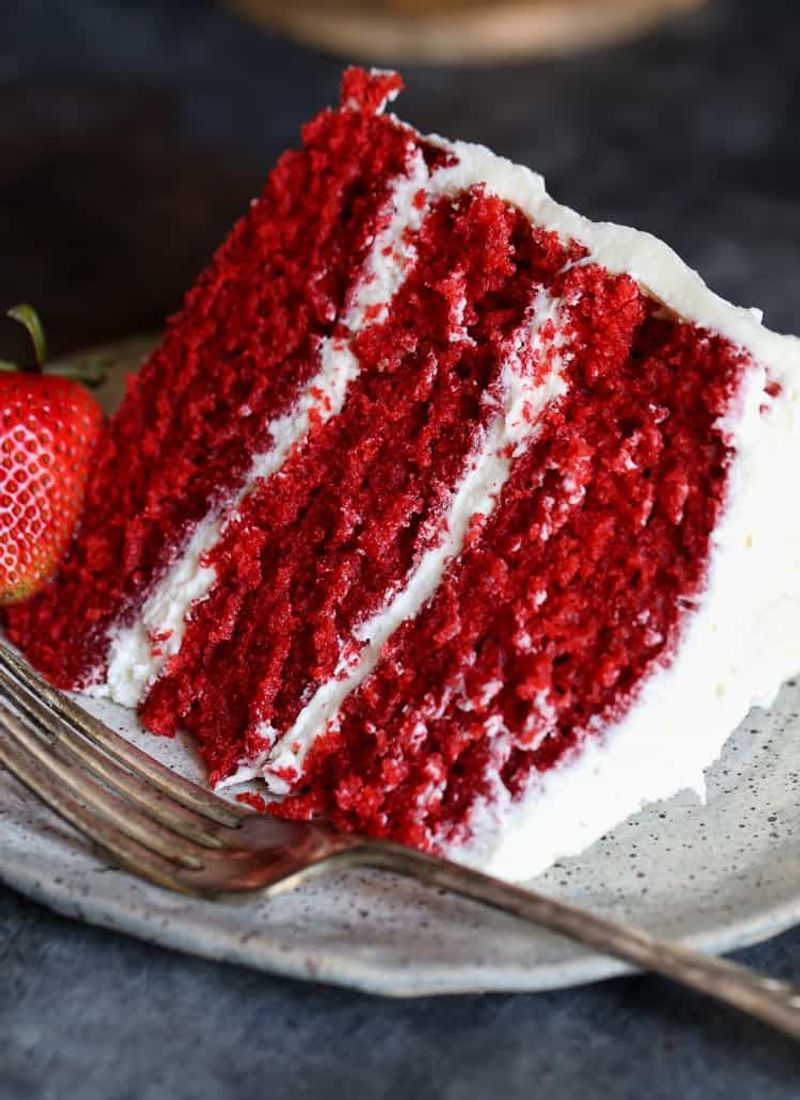
Red velvet cake gets its gorgeous deep color partly from a chemical reaction between cocoa, acidic buttermilk, and a small amount of vinegar. Skipping the vinegar means missing out on that signature vivid hue and the slight tang that makes red velvet so distinctive.
Just one teaspoon of white vinegar added to the batter is enough to trigger the reaction and bring out the color beautifully. It also helps the cake rise a little better.
Do not skip it thinking it will not matter because it absolutely does.
24. Store Leftover Cake with a Slice of Bread
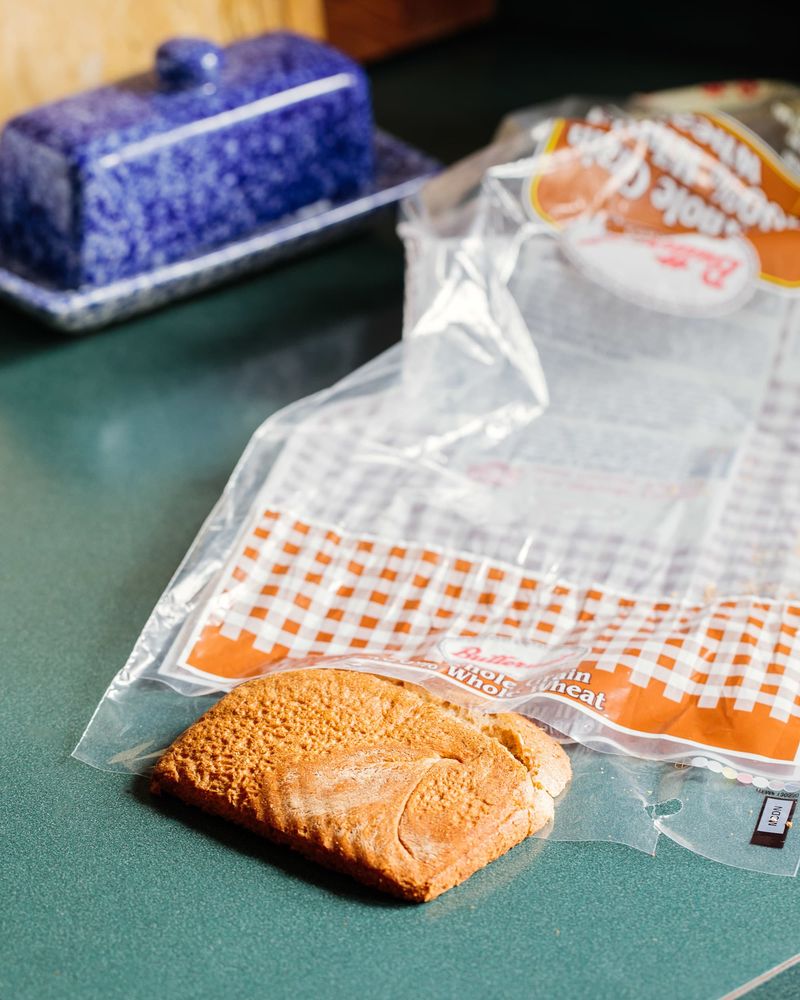
Leftover cake dries out fast once it is cut and exposed to air. Most people wrap it in plastic, but there is an even smarter trick.
Press a slice of plain white bread against the exposed cut side of the cake and secure it gently before storing.
The cake absorbs moisture from the bread instead of losing its own, staying soft and fresh for an extra day or two. The bread dries out so the cake does not have to.
It sounds odd but works incredibly well and has been a home baker favorite for years.




Comments
No Comments