













Nothing beats the smell of fresh waffles sizzling on a Sunday morning. These crispy-on-the-outside, fluffy-on-the-inside treats have been brightening breakfast tables for centuries.
Whether you're a kitchen newbie or a seasoned cook, mastering the art of waffle-making will earn you serious points with family and friends.
Gather Quality Ingredients
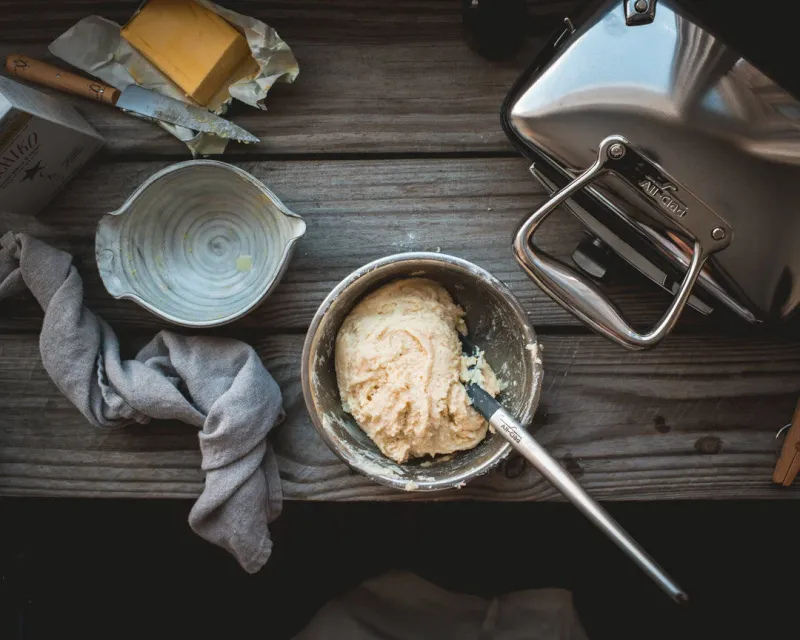
Fresh ingredients make all the difference in waffle goodness. You'll need flour, baking powder, salt, sugar, eggs, milk, and butter.
Don't skimp on vanilla extract – it's the secret weapon for flavor depth. Store-brand basics work fine, but splurge on real maple syrup for topping.
Choose Your Waffle Iron Wisely
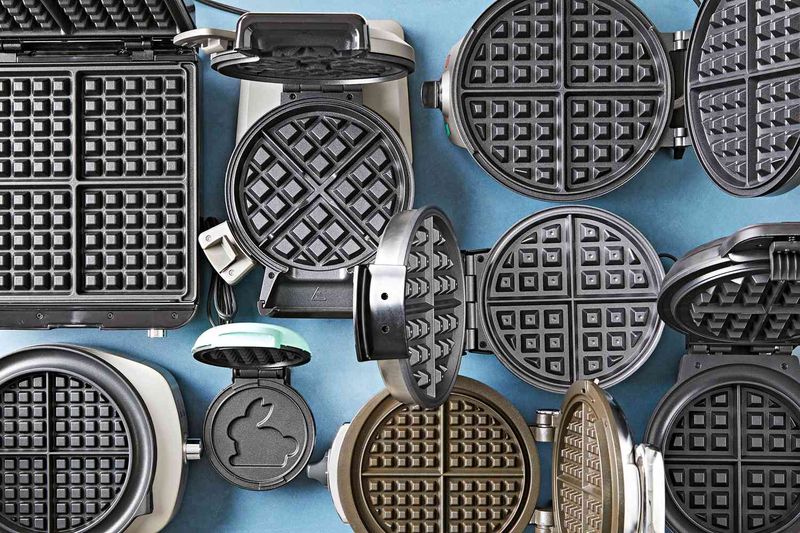
Belgian or traditional? The debate rages on! Belgian irons create deeper pockets for holding more toppings, while traditional makes thinner, crispier waffles.
Non-stick surfaces save endless frustration. Look for adjustable temperature controls and indicator lights that tell you when it's ready.
Master The Perfect Batter
Sift dry ingredients first to banish lumps forever. Mix wet ingredients separately, then combine them gradually with the dry ones.
The consistency should resemble thick cream – not too runny, not too stiff. A few small lumps are actually good! They'll disappear during cooking and help create that ideal texture.
Secret Ingredient Magic
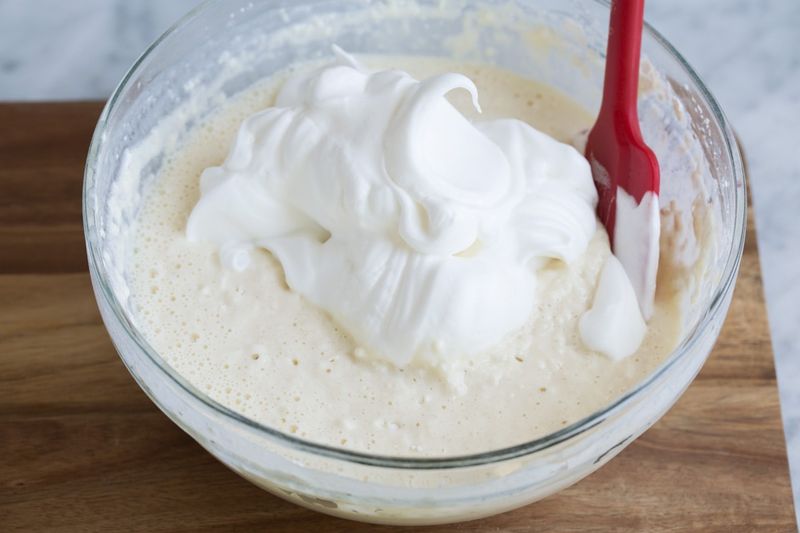
Fold in whipped egg whites for cloud-like fluffiness that will make your waffles legendary. A splash of seltzer water creates extra lightness through its bubbles.
Cinnamon, nutmeg, or cardamom add warmth without overwhelming. For special occasions, fold in blueberries or chocolate chips just before cooking.
Preheat Like A Pro
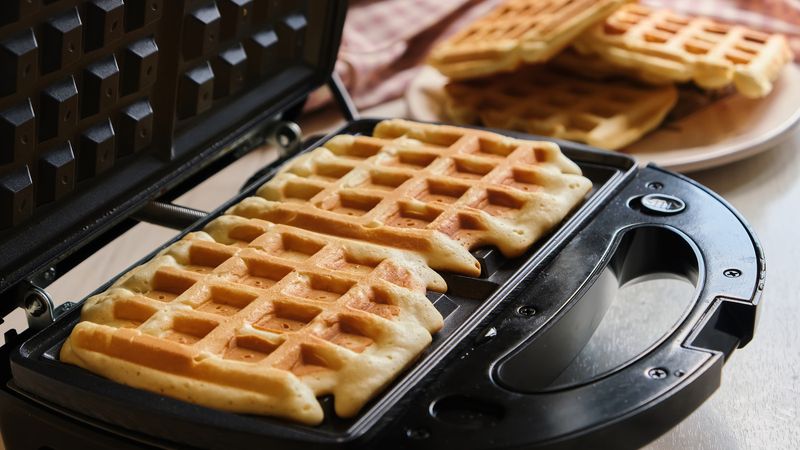
Patience pays off! Let your waffle iron heat completely before pouring batter – about 5-10 minutes depending on your model.
Test readiness by flicking water droplets on the surface. They should dance and evaporate immediately. This crucial step ensures that crispy exterior we all crave.
Pour With Precision
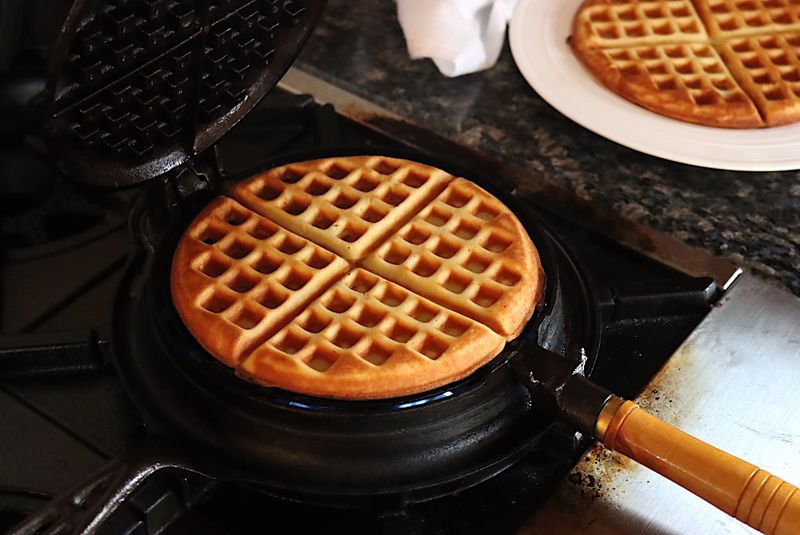
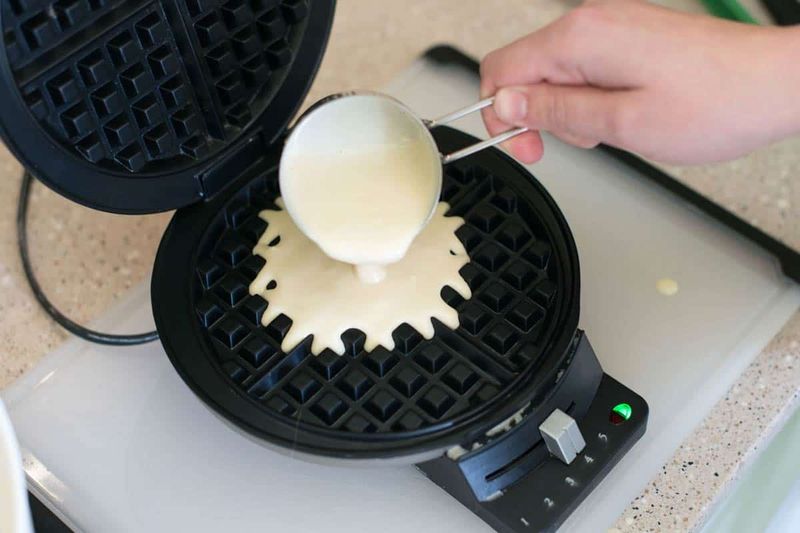
Less is more! Fill about two-thirds of the iron with batter using a ladle or measuring cup. The batter will expand as it cooks.
Start pouring in the center and work outward in a spiral. This technique helps distribute batter evenly. Close the lid gently to avoid splatters and preserve those perfect waffle patterns.
Timing Is Everything
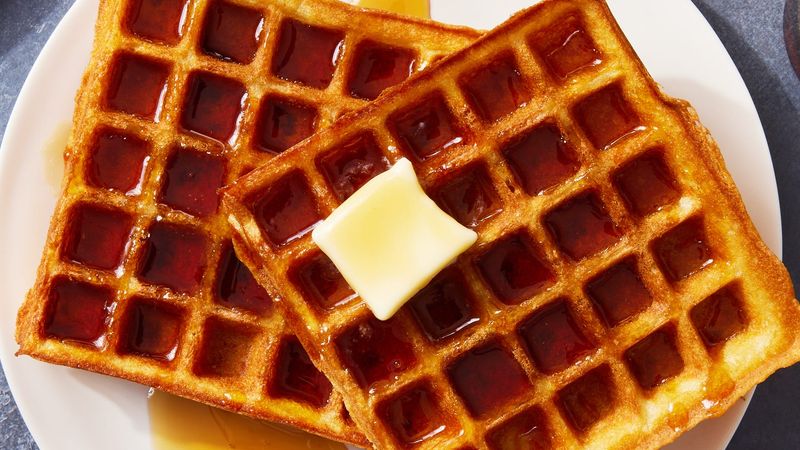
Resist the urge to peek too early! Most waffles need 3-5 minutes to achieve golden perfection. Your iron's indicator light helps, but steam is another clue.
When steam stops billowing out, your waffle is likely done. The first waffle often needs longer than subsequent ones since the iron continues heating up.
Rescue Sticky Situations
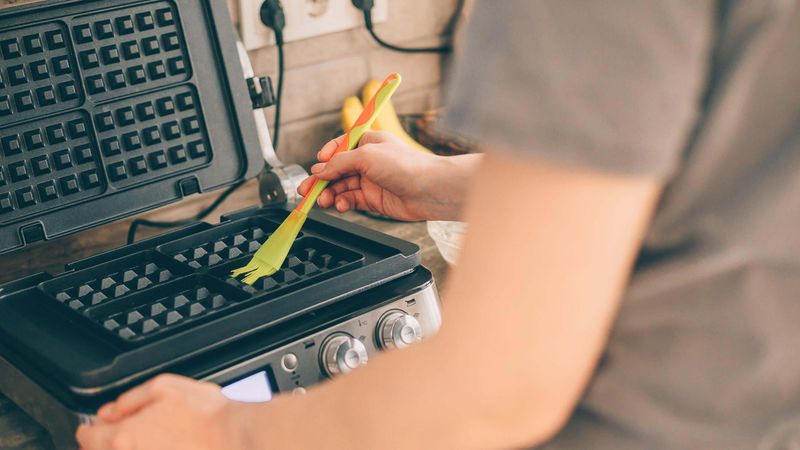
Spray your iron with cooking oil before the first waffle only. Too much oil creates soggy results rather than preventing sticking.
If disaster strikes and your waffle tears, don't panic! A silicone spatula gently worked around the edges usually saves the day. For stubborn sticking, let the iron cool slightly before attempting removal.
Keep Them Crispy
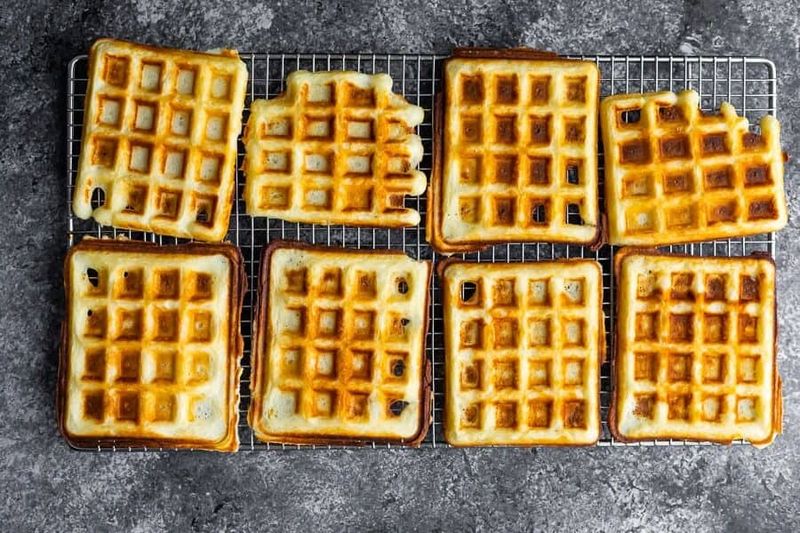
Never stack freshly made waffles – they'll steam each other into sogginess! Instead, place them in a single layer on a wire rack in a warm oven (200°F/95°C).
The rack allows air circulation underneath, maintaining that perfect texture. This method keeps waffles hot while you finish cooking the batch.
Creative Topping Adventures

Classic maple syrup is just the beginning! Create a topping station with fresh berries, whipped cream, chocolate sauce, and nut butters.
Savory waffles deserve attention too – try fried chicken, avocado, or poached eggs. Leftover waffles make brilliant sandwich bread or can be frozen for quick toaster breakfasts another day.



