










There’s nothing quite like the smell of freshly baked cupcakes wafting through the kitchen.
Soft, fluffy, and topped with silky frosting, they’re easier to make than most people think.
With a few clever tricks, you’ll have cupcakes that look and taste straight from a bakery.
All information is provided for general interest only. Results may vary depending on ingredients, equipment, and baking conditions.
1. Use Room-Temperature Ingredients
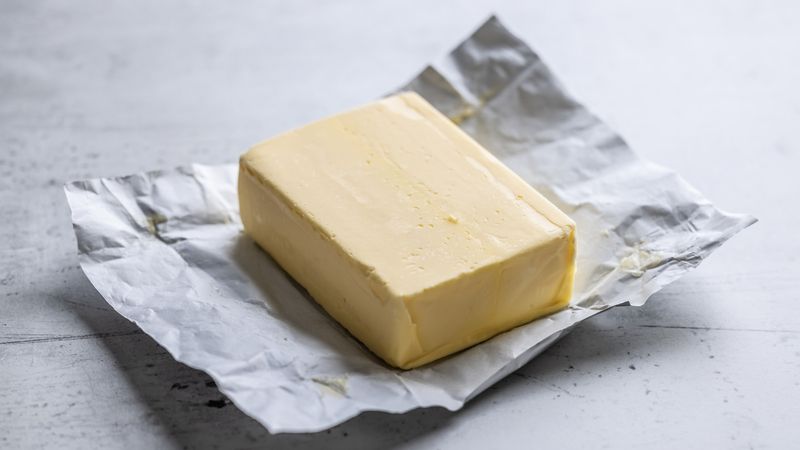
Cold ingredients don't blend as smoothly as room-temperature ones, leading to lumpy batter and dense cupcakes.
When butter, eggs, and milk are at room temperature, they emulsify properly, creating a light and airy texture.
Simply leave your ingredients out for about 30 minutes before you start baking.
This small step makes a massive difference in achieving that professional bakery finish everyone loves.
2. Measure Everything Accurately
Eyeballing ingredients might work for cooking, but baking is pure science.
Too much flour creates dry, crumbly cupcakes, whilst too little makes them flat and dense.
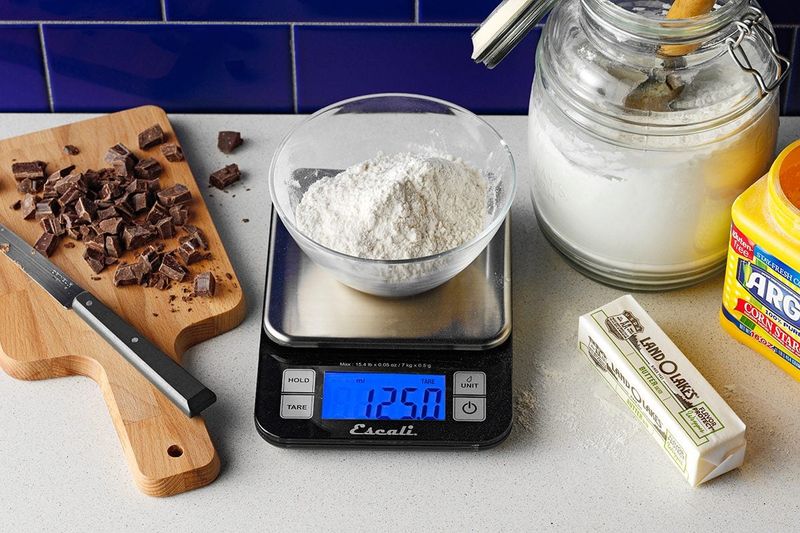
Investing in a digital kitchen scale ensures precision every single time.
Spoon flour into your measuring cup and level it off with a knife if you're using volume measurements instead of weight for best results.
3. Cream Butter And Sugar Until Fluffy
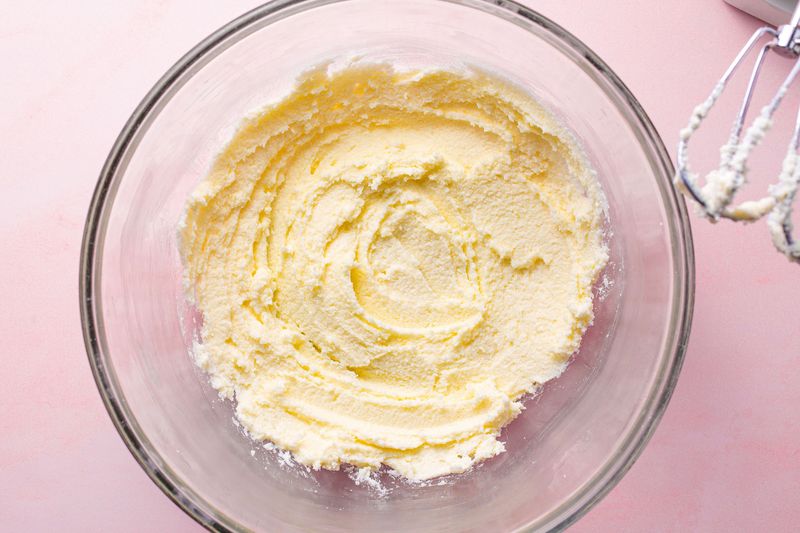
Creaming isn't just mixing - it's incorporating air bubbles that help cupcakes rise beautifully.
Beat butter and sugar together for at least three to five minutes until the mixture becomes pale and fluffy.
The colour should lighten noticeably, and the texture should feel almost cloud-like.
Rushing this step means missing out on the tender crumb that makes bakery cupcakes so irresistible.
4. Don't Overmix The Batter
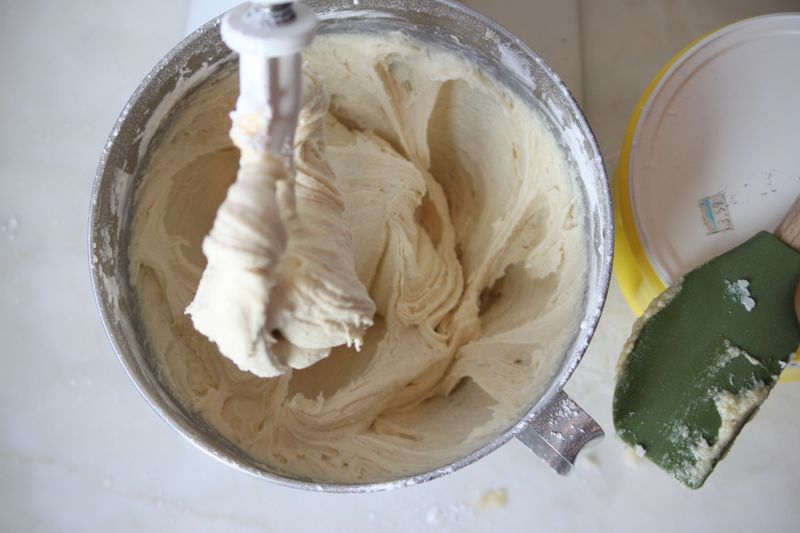
Once you add flour to your wet ingredients, treat the batter gently.
Overmixing develops gluten, which turns soft cupcakes into tough, chewy disappointments.
Mix just until the flour disappears and you no longer see dry streaks.
A few small lumps are perfectly fine and will bake out.
Stop stirring the moment everything comes together - your cupcakes will thank you with their tender texture.
5. Use An Ice Cream Scoop For Even Portions
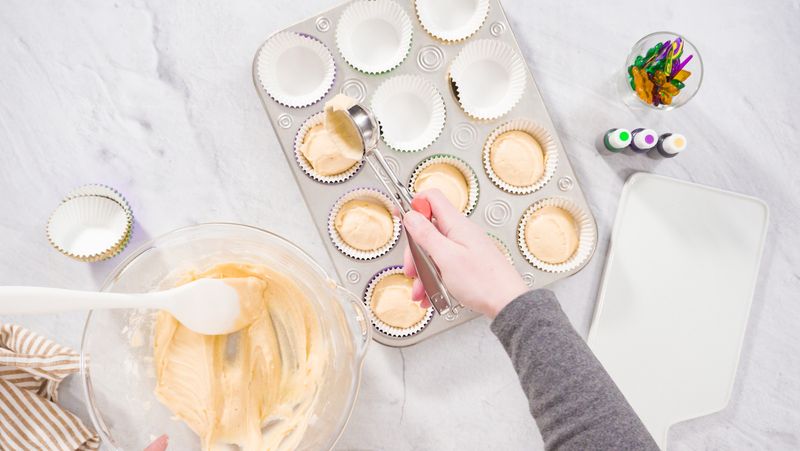
Bakeries always have perfectly uniform cupcakes, and their secret weapon is surprisingly simple - an ice cream scoop.
This tool portions batter consistently, so every cupcake bakes at the same rate.
Fill each liner about two-thirds full for ideal results.
Even baking means no burnt edges or undercooked centres, just beautiful, professional-looking cupcakes that rise evenly across the entire batch.
6. Preheat The Oven Properly
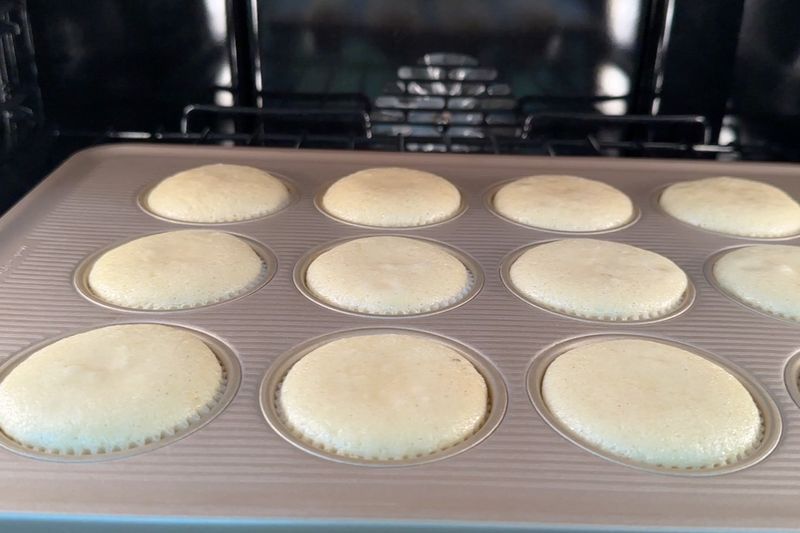
Popping cupcakes into a cold or insufficiently heated oven disrupts the chemical reactions needed for proper rising.
Always preheat your oven for at least 15 minutes before baking.
An oven thermometer helps verify accuracy since many ovens run hotter or cooler than their displays indicate.
Consistent temperature from the start ensures cupcakes rise beautifully with domed tops just like the bakery versions.
7. Test With A Skewer For Doneness
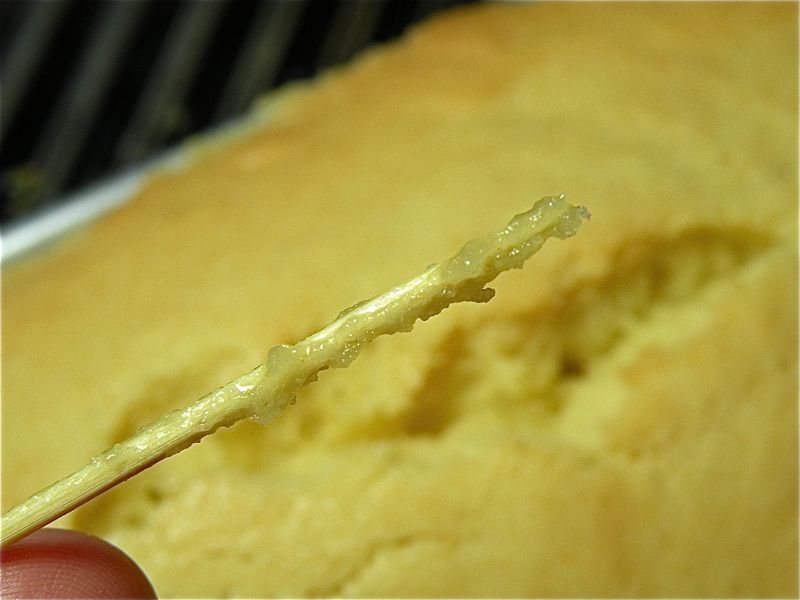
Visual cues can be deceiving - golden tops don't always mean fully baked centres.
Insert a wooden skewer or toothpick into the middle of a cupcake to check.
If it comes out clean or with just a few moist crumbs, they're ready.
Wet batter means they need more time.
This simple test prevents underbaked, gummy centres and ensures perfect texture throughout every single cupcake.
8. Let Cupcakes Cool Before Frosting
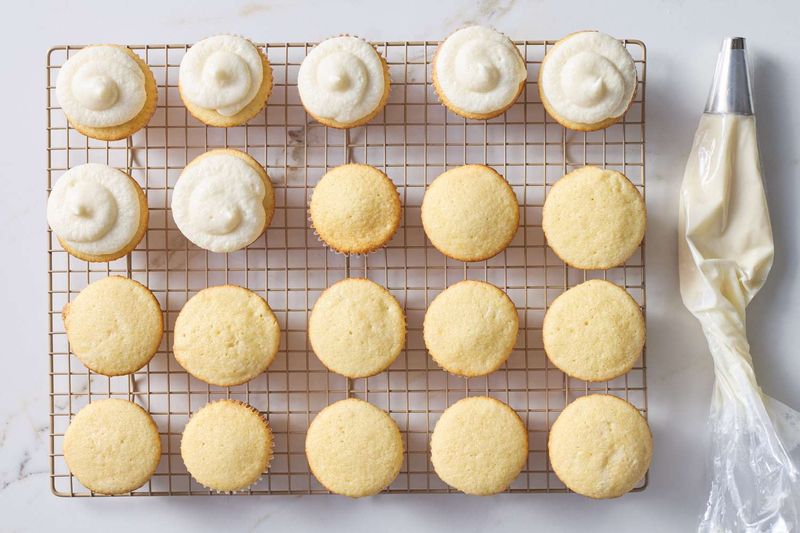
Patience pays off when it comes to frosting.
Warm cupcakes will melt your beautiful buttercream into a sad, drippy mess.
Let them cool in the tin for five minutes, then transfer to a wire rack until completely cool to the touch.
This usually takes about 30 minutes.
Proper cooling ensures frosting holds its shape and creates that picture-perfect finish bakeries are famous for.
9. Pipe Frosting Instead Of Spreading
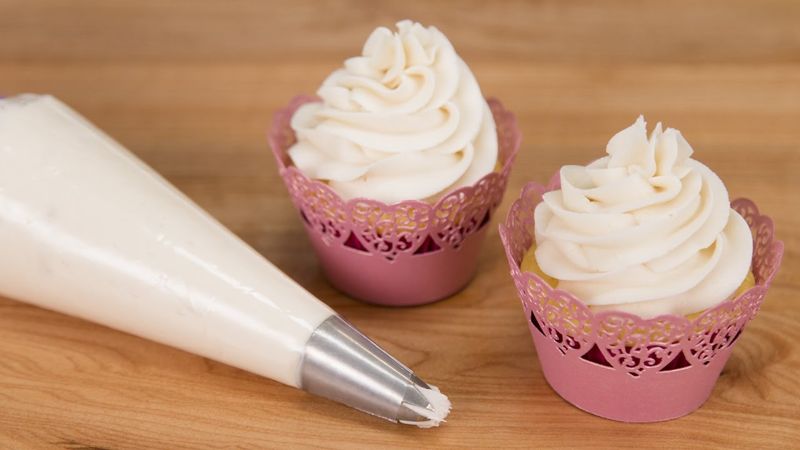
Spreading frosting with a knife works, but piping creates that signature bakery swirl everyone recognises.
Use a piping bag fitted with a large star or round tip for stunning results.
Start from the outside edge and spiral inwards, or create rosettes for extra flair.
Piped frosting looks professional, holds its shape beautifully, and transforms ordinary cupcakes into showstoppers worth photographing.
10. Use High-Quality Vanilla Extract

Vanilla might seem like a background flavour, but it's actually the star that ties everything together.
Cheap imitation vanilla tastes artificial and harsh, whilst pure vanilla extract adds depth and warmth.
Real vanilla is pricier, but you only need a small amount to make a noticeable difference.
Quality vanilla elevates your cupcakes from homemade to bakery-level delicious with just one teaspoon.