













Popping open a tube of canned biscuits seems like the simplest way to get warm, fluffy treats on your table in minutes.
Yet somehow, these convenient dough cylinders can lead to disappointing results despite their foolproof reputation.
From burnt bottoms to doughy centres, these common mishaps can turn your quick breakfast solution into a frustrating kitchen fail.
1. Overbaking Until They're Rock Hard
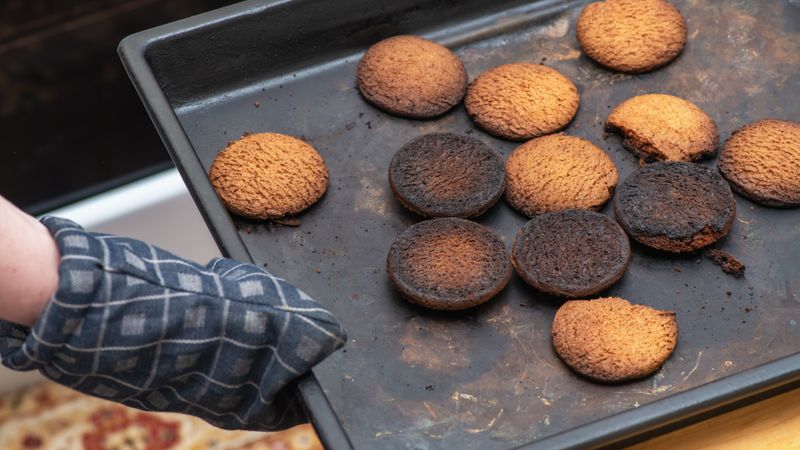
The difference between perfectly golden and teeth-breaking biscuits can be just 2 minutes in the oven. Canned biscuit dough contains special leavening agents that react quickly to heat. Many bakers get distracted or follow package times blindly without considering their unique oven quirks.
Always set a timer for 2 minutes less than recommended and check frequently, especially if your oven has hot spots.
2. Placing Them Too Close Together

Biscuit tins often contain 8-10 pieces, tempting you to squeeze them all onto one baking sheet. The problem? Canned biscuits expand significantly during baking.
When placed too near each other, they merge into one odd-shaped mass with undercooked spots where they touch. Leave at least 2 inches between each dough round to allow proper heat circulation and even rising.
3. Not Preheating The Oven Properly

Rushing to get breakfast on the table often means popping biscuits into a barely warm oven. According to food scientist Dr. Stuart Farrimond, this gradual temperature rise destroys the carefully formulated chemical reaction needed for proper rising.
The biscuits' leavening agents activate immediately upon heating and need that initial blast of hot air. Always allow your oven to reach full temperature before the dough goes in.
4. Using A Cold Baking Tray
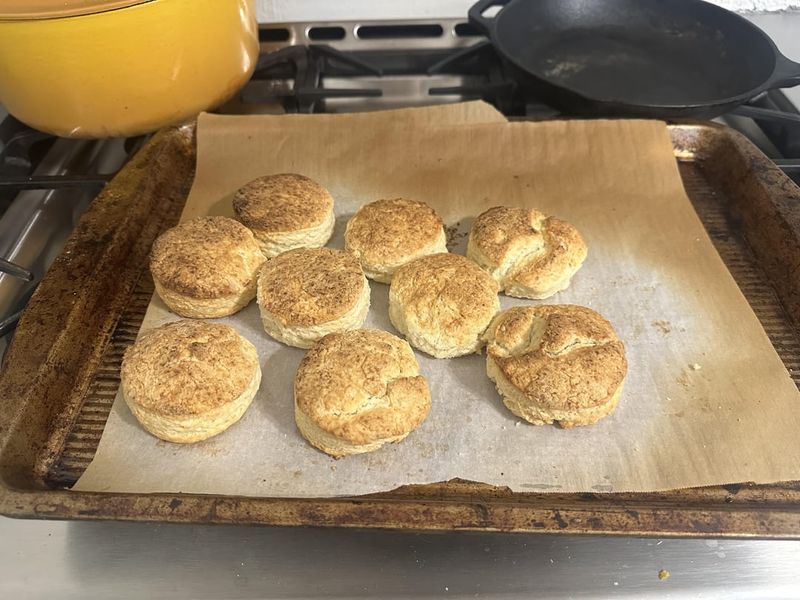
Your oven might be perfectly preheated, but what about that metal tray straight from the cupboard? Cold baking sheets create temperature shock that disrupts the even cooking process.
The bottom of your biscuits will cook more slowly than the tops, leading to inconsistent texture. Simply run your tray under warm water and dry thoroughly before baking, or leave it in the oven during the preheat cycle.
5. Not Checking The Bottoms For Doneness
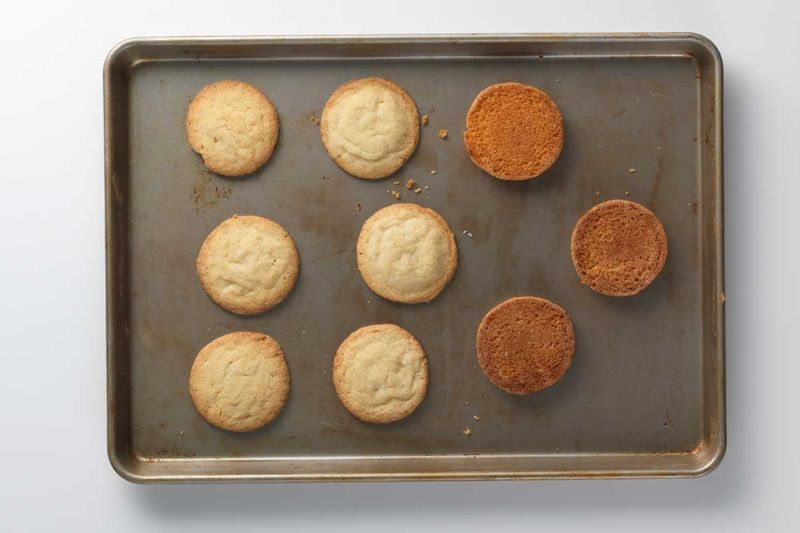
Golden tops can be deceiving! Many home bakers pull their biscuits out when the tops look perfect, only to discover pale, doughy bottoms later.
The bottoms actually need more colour than the tops for proper texture. Carefully lift one biscuit with a spatula around the 8-minute mark to check. Properly baked bottoms should be medium golden brown, not pale blonde.
6. Ignoring The 'Pop' Instructions
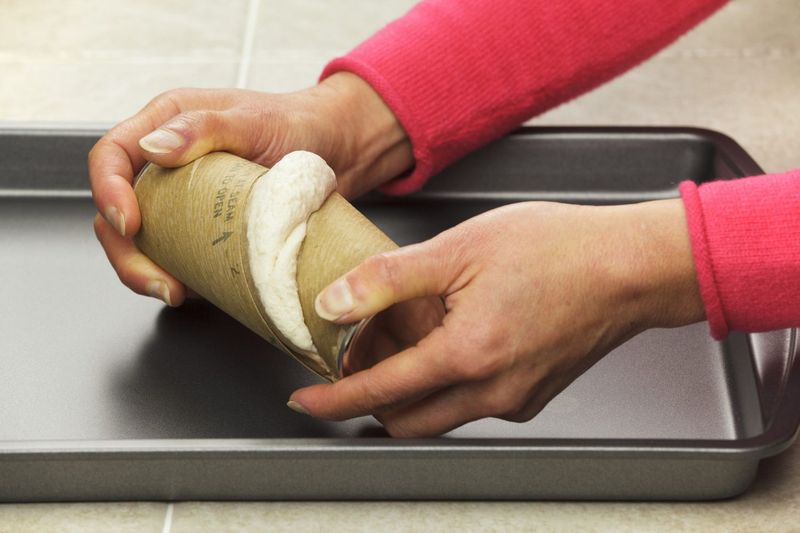
The struggle is real—trying to peel back the label while the can mysteriously refuses to open. Manufacturers design these containers with specific pressure points, usually marked right on the packaging.
Forcing the wrong spot often leads to mangled dough or the infamous 'biscuit explosion' that sends dough flying across your kitchen. Look for the perforated line or arrow and press firmly with a spoon handle for a clean pop.
7. Skipping The Butter Brush

Straight-from-the-can biscuits often lack that bakery-quality finish. Research from the Culinary Institute of America shows that a simple butter brush transforms both flavour and appearance.
The fat in butter creates a barrier that traps steam inside while forming a beautifully browned exterior. Take thirty seconds to melt a tablespoon of butter and brush it on before baking for dramatically improved results.
8. Letting The Dough Sit Too Long Before Baking
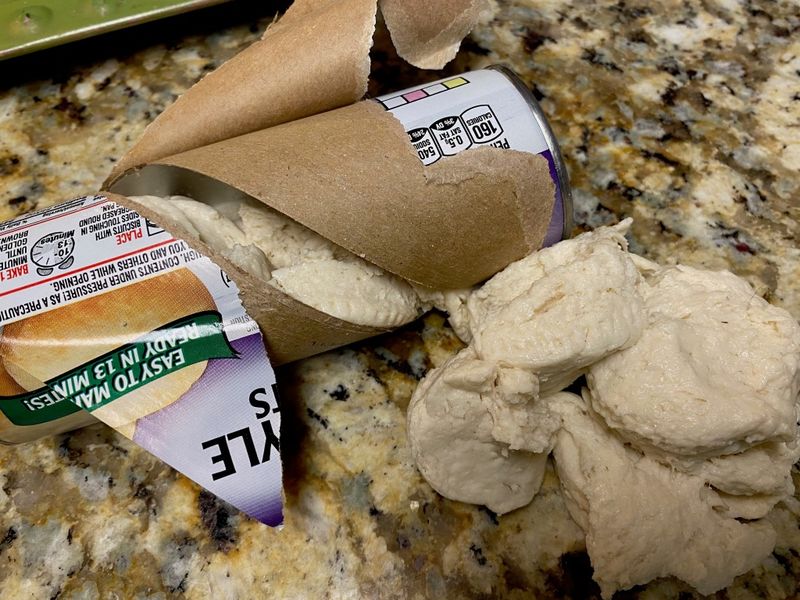
Opening the can and then answering the phone? Big mistake. Canned biscuit dough contains precisely calibrated chemical leaveners that begin activating immediately upon exposure to air.
The longer they sit unbaked, the more lifting power they lose. Food chemist Harold McGee explains this reaction can't be reversed once started. Arrange your biscuits on the tray and get them into your preheated oven within 5 minutes of opening the package.
9. Refrigerating Baked Biscuits

Leftover biscuits deserve better than the refrigerator! Cold temperatures accelerate starch crystallization, a process baking scientists call retrogradation.
This makes your once-fluffy biscuits turn hard and crumbly within hours. For next-day enjoyment, store them in a paper bag inside an airtight container at room temperature. When ready to eat, refresh them in a 150°C oven for 3-4 minutes.
10. Baking Straight From The Fridge

Storing unopened cans in the back of your chilly fridge? You might be sabotaging your biscuits before they even hit the oven. Extremely cold dough creates temperature shock when exposed to high heat.
Gastronomy expert Professor Peter Barham notes this can cause uneven rising and texture problems. Allow your biscuit can to rest on the counter for 15-20 minutes before opening for dramatically improved texture and height.
11. Not Getting Creative With Add-Ins

Plain biscuits are merely a blank canvas! Culinary historians point out that traditional Southern biscuits were often customized with seasonal ingredients long before canned versions existed.
Try pressing a thumbprint into each raw biscuit and filling with jam before baking. Or separate the layers to add cheese and herbs before reassembling. Even simpler: brush with garlic butter and sprinkle with parmesan halfway through baking.
12. Relying Only On The Package Time

Package directions assume you have the exact oven model used in their test kitchens. Studies by the British Baking Institute reveal home ovens can vary by up to 30°C from their displayed temperature!
Factors like altitude, humidity, and oven age all affect baking time. Start checking 3 minutes before the recommended time. The perfect biscuit should feel firm when gently pressed and have a hollow sound when tapped on the bottom.



