









Making marshmallows at home sounds fancy, but it’s actually easier than most people think.
There’s a certain joy in watching simple ingredients transform into soft, fluffy clouds that taste far better than anything in a bag.
With the right technique and a little patience, you can whip up a batch that feels like pure sugary magic.
All information is provided for general interest and entertainment purposes only, photos are for illustrative purposes only.
What Goes Into A Homemade Marshmallow
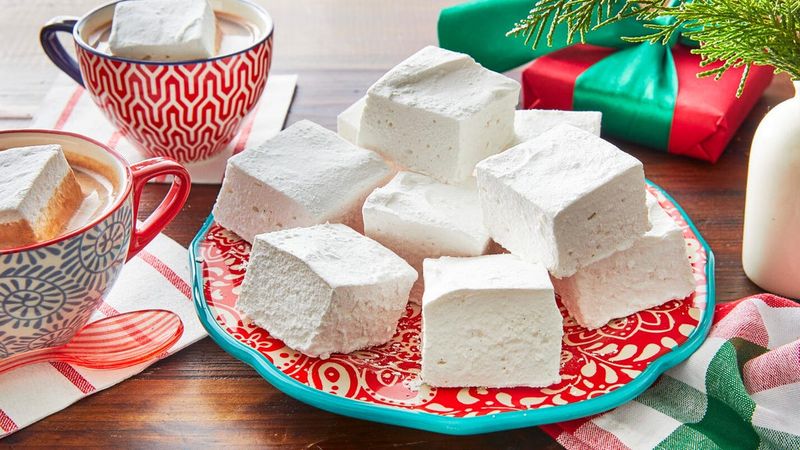
A basic marshmallow is mostly sugar, water, gelatin, and air.
Gelatin forms a stretchy network that traps air bubbles, giving marshmallows their signature soft and springy bounce.
Sugar adds sweetness and controls texture, keeping everything smooth instead of gritty.
When you whip the gelatin and sugar mixture, you're beating tons of air into it, which creates that fluffy, cloud-like feel.
A splash of vanilla or another flavour rounds out the taste.
What you get is a light, airy treat that's pillowy soft rather than hard like candy.
Step-By-Step: Mixing Gelatin And Sugar Syrup
Start by blooming the gelatin - mix it with water and let it soften for a few minutes.
Meanwhile, heat sugar, water, a pinch of salt, and sometimes syrup in a pan to create a thick, glossy sugar syrup.
Boil gently until the sugar dissolves completely and the syrup reaches the right consistency.
Slowly pour the hot syrup into the softened gelatin while your mixer runs on low speed.
Once combined, crank the mixer to high and beat until the mixture becomes thick, white, and fluffy.
Add vanilla or your favourite flavour before pouring into a prepared pan.
Letting Marshmallows Set And Getting That Perfect Texture
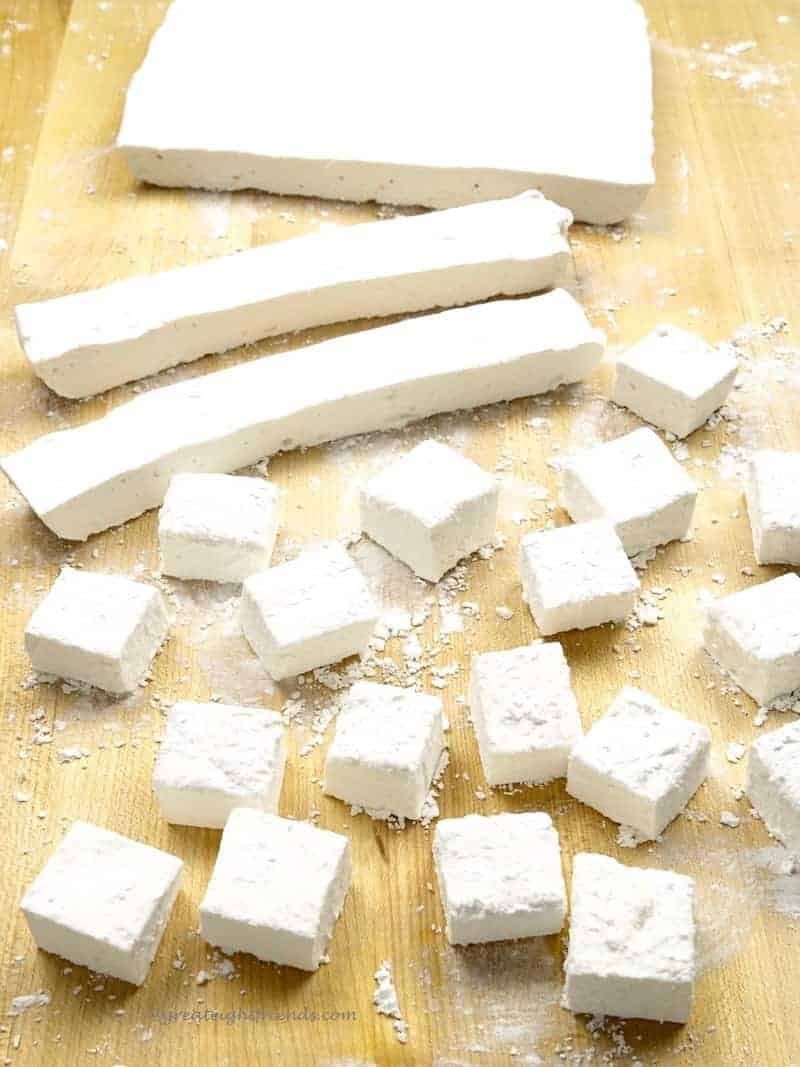
After pouring the mixture into a pan, it needs several hours to set properly.
Letting it rest allows the gelatin to firm up so your marshmallows hold their shape nicely.
Many recipes suggest waiting three to six hours, or even overnight, for the best results.
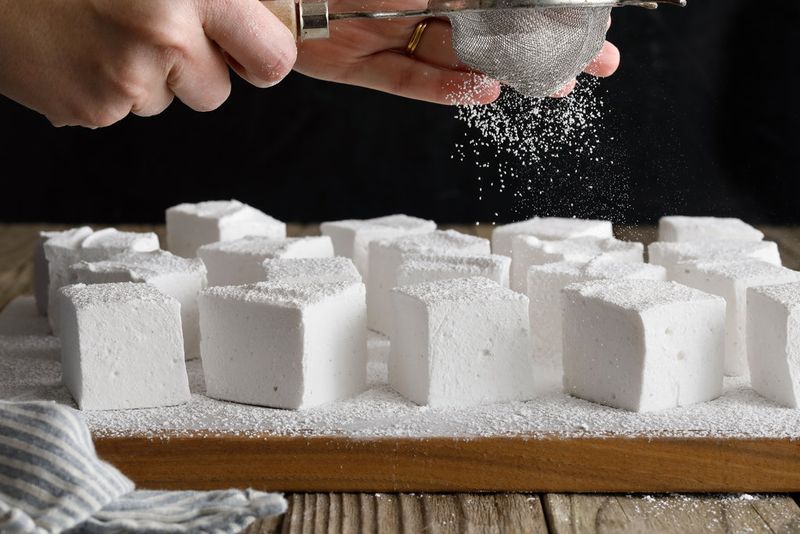
Once set, dust the top and your knife with icing sugar or cornstarch to prevent sticking.
Cut the marshmallows into cubes or fun shapes - you can even make minis for hot chocolate.
Store them in an airtight container, and they'll stay fresh for a week or two.
Why Homemade Marshmallows Taste Better Than Store-Bought
Homemade marshmallows taste fresher because you control every ingredient that goes in.
They're softer and fluffier since they haven't been packaged or sitting on shelves for ages.
You can adjust the sweetness or firmness by tweaking how much gelatin or syrup you use.
There's also room to experiment with flavours like chocolate, strawberry, peppermint, or caramel.
They melt beautifully in hot chocolate and toast evenly over a campfire.
Plus, there's something incredibly satisfying about eating a sweet treat you whipped up yourself.
Helpful Tips And Common Mistakes To Avoid
Make sure all the sugar dissolves before boiling, or your marshmallows could turn grainy and unpleasant.
Be careful with the syrup temperature - too low and they'll stay gooey, too high and they'll turn rubbery.
Always dust your pan and tools with icing sugar or cornstarch to keep things from sticking everywhere.
Pour the syrup slowly into the gelatin, or you'll lose that essential fluffiness.
Use a stand mixer if possible because it makes the whole process much easier.
Finally, be patient - cutting too soon can make your marshmallows sticky or uneven inside.
Fun Ways To Customize Your Marshmallows
Once you master the basic recipe, customization becomes the really fun part.
Swap vanilla for peppermint extract during the holidays, or stir in cocoa powder for chocolate marshmallows.
Add food colouring to create pastel shades perfect for parties or special occasions.
You can even roll finished marshmallows in crushed cookies, sprinkles, or toasted coconut for extra pizzazz.
Try cutting them into hearts, stars, or other shapes using cookie cutters.
Flavoured marshmallows make thoughtful homemade gifts and add a special touch to any hot beverage or dessert table.