










We've all been there - struggling with stubborn eggshells that refuse to come off cleanly. What should be a simple task often leaves us with pitted, mangled eggs and growing frustration.
Learning to avoid these common egg-peeling mistakes will save you time and ensure your deviled eggs or egg salad looks as good as it tastes.
This article is for general information and kitchen tips only. Results may vary depending on egg freshness, cooking method, and preparation. Always use safe food handling practices.
1. Using Fresh Eggs
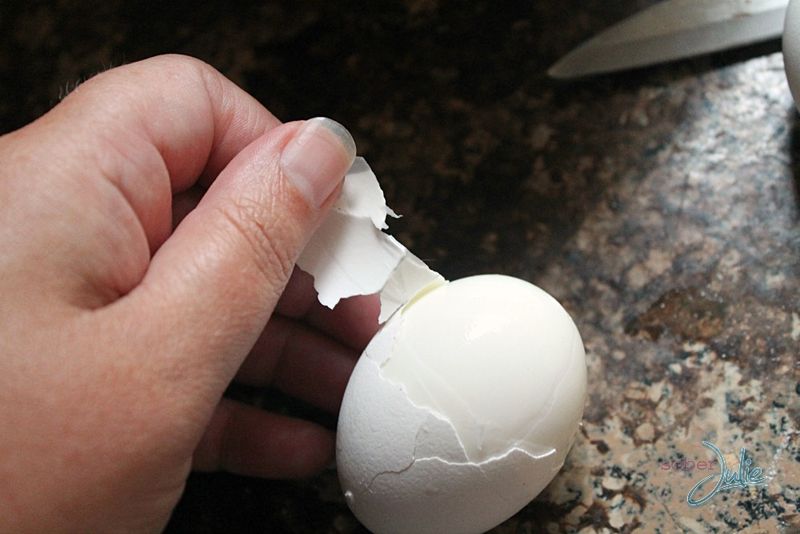
Fresh eggs might be perfect for frying, but they're a nightmare for peeling. As eggs age, the air pocket inside grows larger and the pH level changes, causing the membrane to separate more easily from the shell.
Try using eggs that are at least a week old for your hard-boiled creations. The results will speak for themselves!
2. Skipping The Ice Bath
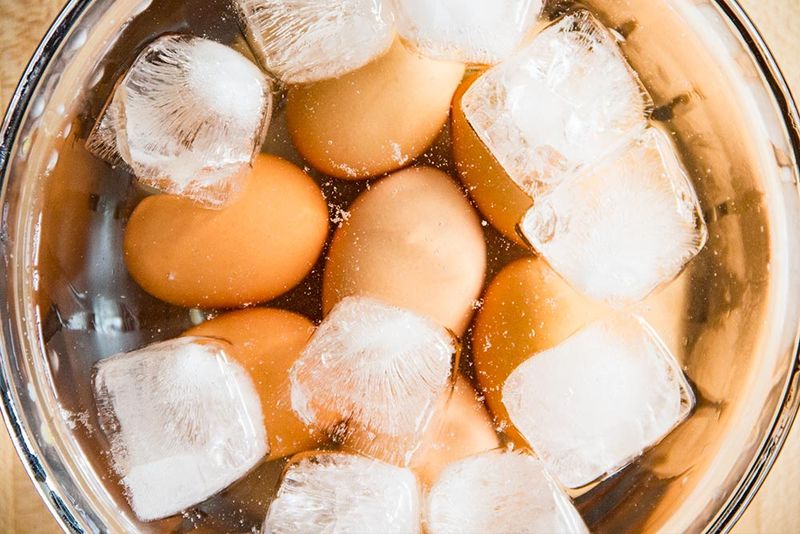
The moment your eggs finish cooking is crucial. Plunging them directly into ice water isn't just about stopping the cooking process - it creates thermal shock that helps separate the membrane from the shell.
Without this vital step, you're setting yourself up for a frustrating peeling experience and potentially greenish yolks.
3. Not Cracking Enough
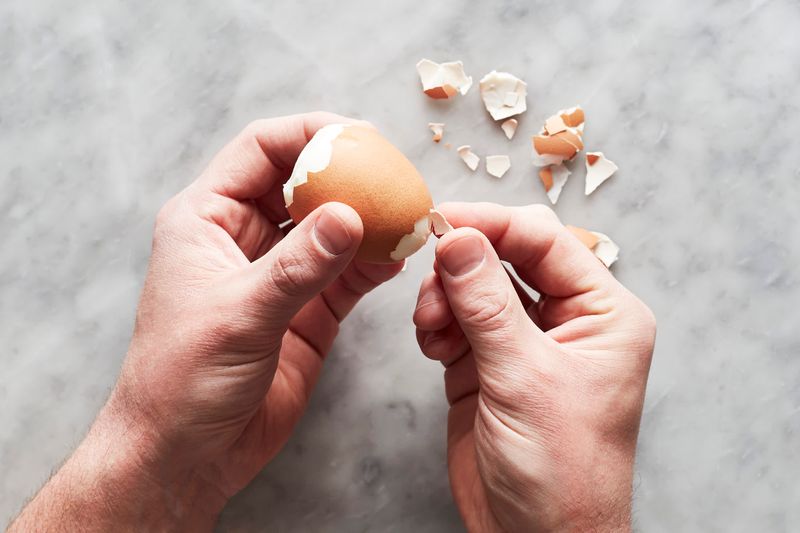
Timid tapping won't do the trick! Give your eggs a confident crack all around. Creating multiple fracture points allows air and water to penetrate beneath the shell, loosening that stubborn membrane.
Roll the egg gently on the counter with light pressure from your palm. This technique creates the perfect network of cracks for easy peeling.
4. Starting At The Wrong End
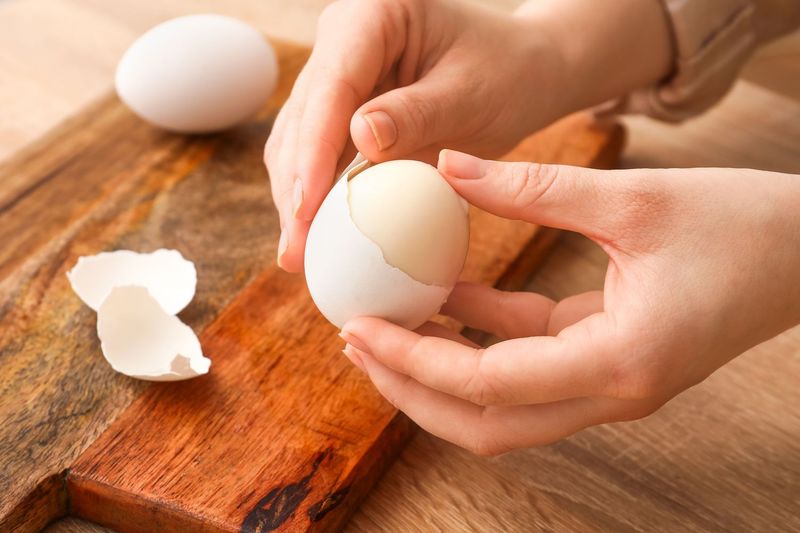
The broad end of an egg contains an air pocket - your secret weapon for perfect peeling! Starting here gives you an immediate advantage as you'll find a natural separation between shell and egg white.
Many culinary experts swear by this simple trick that can transform your egg-peeling experience from frustrating to satisfying in seconds.
5. Peeling Too Soon
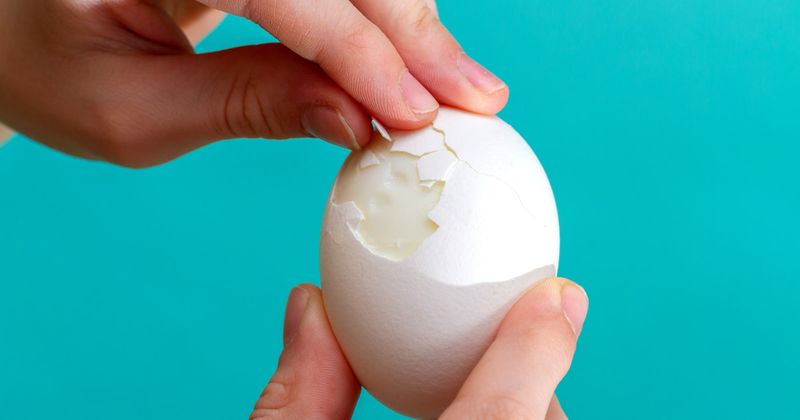
Patience pays off when it comes to egg peeling. Hot eggs are fragile and likely to tear during peeling, leaving you with a messy outcome. The cooling period isn't just about making them comfortable to handle.
Give your eggs at least 10 minutes in that ice bath. This time allows the egg to contract slightly from the shell, making separation much easier.
6. Boiling Instead Of Simmering
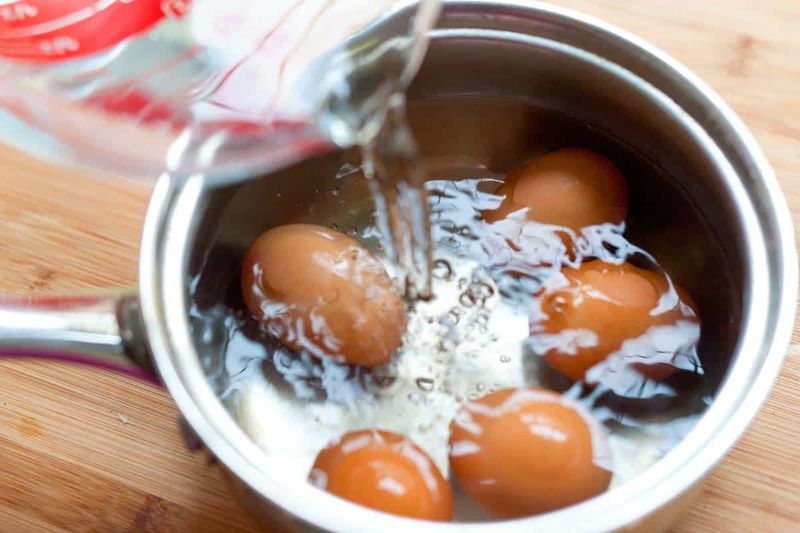
Aggressive boiling causes eggs to bounce around, creating cracks that allow white to leak out and toughen. A gentle simmer is the secret to perfectly cooked eggs that will peel beautifully.
Place your eggs in cold water, bring to a brief boil, then reduce to a simmer. This gentler approach prevents those pesky shell-sticking problems later.
7. Ignoring Storage
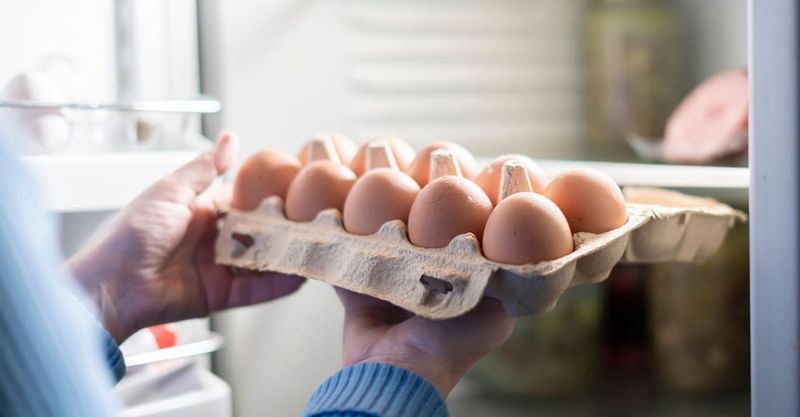
Did you know that how you store your eggs before cooking affects peeling quality? Eggs stored with the pointy end down keep the yolk centered and the air pocket intact at the broad end.
This simple positioning trick preserves the natural architecture that makes peeling easier. Small details make a big difference in your culinary results!
8. Peeling Under Dry Conditions
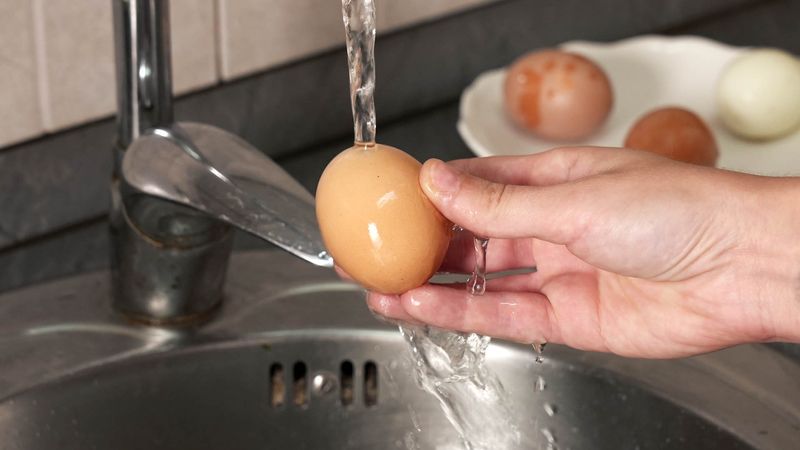
Water is your ally when peeling eggs! Attempting to peel under dry conditions creates friction that makes shell removal challenging. The magic happens when you peel under a gentle stream of cool water.
The water helps flush away shell fragments and lubricates between the membrane and egg white. This simple trick transforms the experience from frustrating to satisfying.