











Starting your baking journey can feel like navigating uncharted waters. The difference between a perfect Victoria sponge and a flat disaster often comes down to simple techniques.
Whether you're dreaming of crusty bread or gooey chocolate biscuits, these essential baking tips will help transform your kitchen adventures from stressful to successful.
This article is for informative purposes only. Results may vary depending on your ingredients, equipment, and baking conditions.
1. Measure Ingredients Accurately
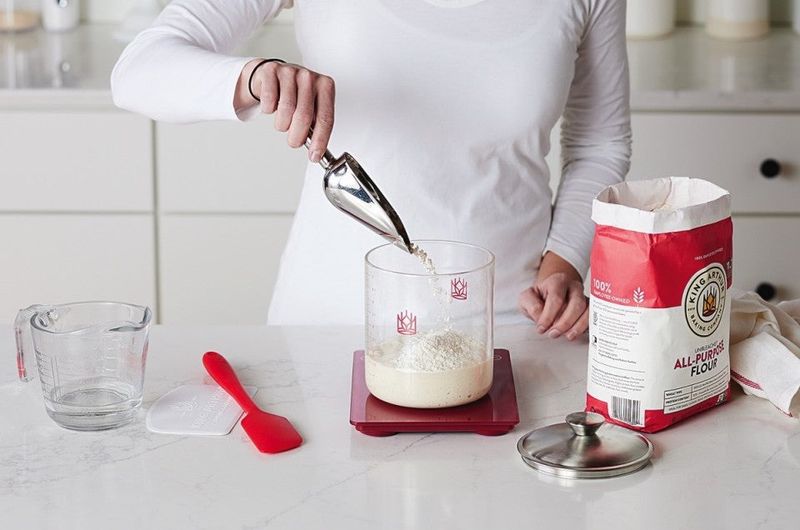
Baking is more science than art. Using kitchen scales rather than cups ensures consistency every time. Even a small measurement error can turn your perfect cake into a disappointing puddle.
For flour especially, the "spoon and leveL" method prevents packing too much into measuring cups, which leads to dry, dense bakes.
2. Preheat Your Oven
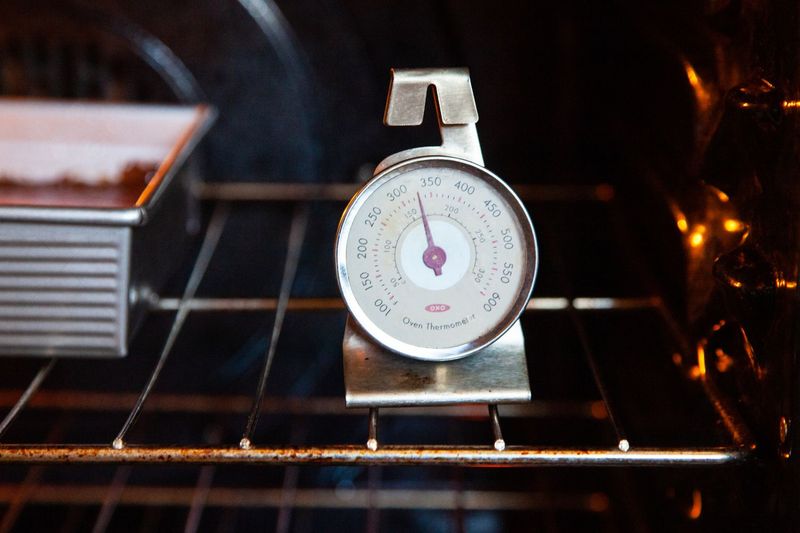
The moment your mixture hits a properly heated oven, magic happens. Chemical reactions start immediately, helping cakes rise properly and biscuits develop perfect texture.
Allow at least 10-15 minutes for preheating, even when your oven beeps that it's ready. An oven thermometer helps verify the actual temperature, as many ovens run hotter or cooler than their settings indicate.
3. Invest In Quality Bakeware
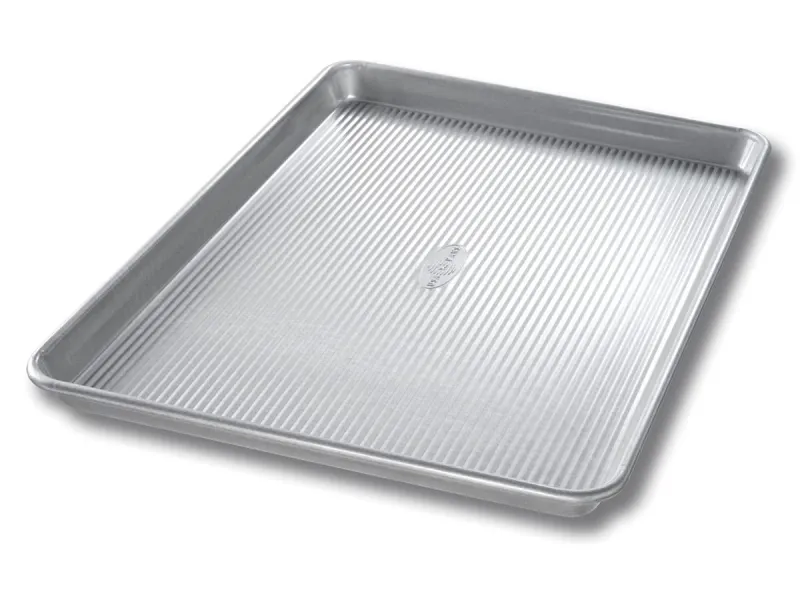
Good tins distribute heat evenly, preventing burnt edges and undercooked centers. Heavy-bottomed metal pans might cost more initially but outlast cheaper alternatives by years.
Non-stick surfaces make removing your creations easier, while silicone molds offer flexibility for delicate items. Remember that dark-colored pans absorb more heat, potentially requiring temperature or timing adjustments.
4. Use Room Temperature Ingredients
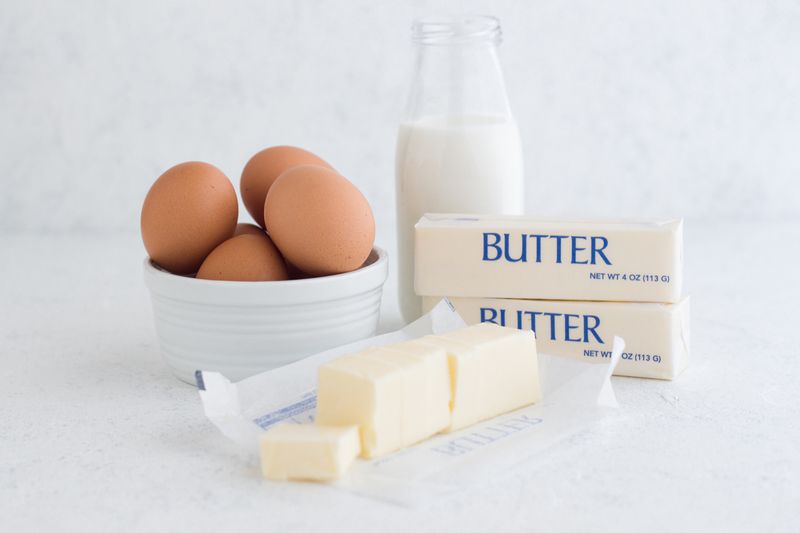
Cold eggs or butter straight from the fridge won't blend properly. Room temperature ingredients create a smooth, uniform mixture that traps air effectively during mixing.
For quick warming, place eggs in warm water for 5 minutes. Cut butter into small cubes to speed up the softening process. Your cake batter will thank you with a beautiful, even rise.
5. Don't Overmix Batter
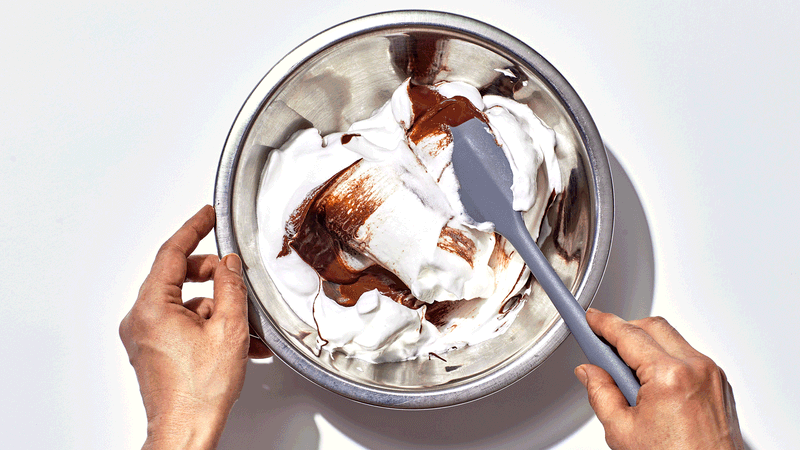
Stirring develops gluten, which gives bread its chewy texture but makes cakes tough and dense. Mix just until ingredients are combined for tender results.
For muffins and quick breads, a few lumps are perfectly fine! The gentle folding motion using a spatula preserves air bubbles, creating that light, fluffy texture everyone loves.
6. Check For Doneness
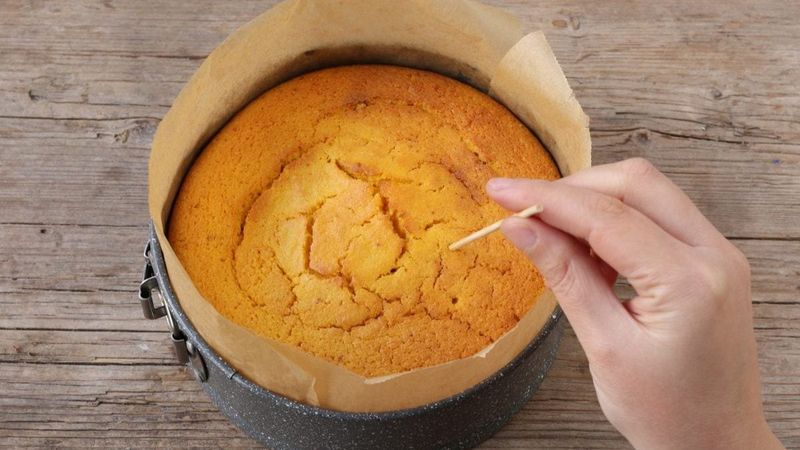
The humble toothpick is your best ally against undercooked disasters. Insert it into the center of your bake - if it comes out clean or with a few crumbs, you're sorted!
Visual cues matter too. Golden edges pulling away from the pan indicate readiness. Remember that bakes continue cooking slightly after removal, so timing is everything.
7. Use Parchment Paper
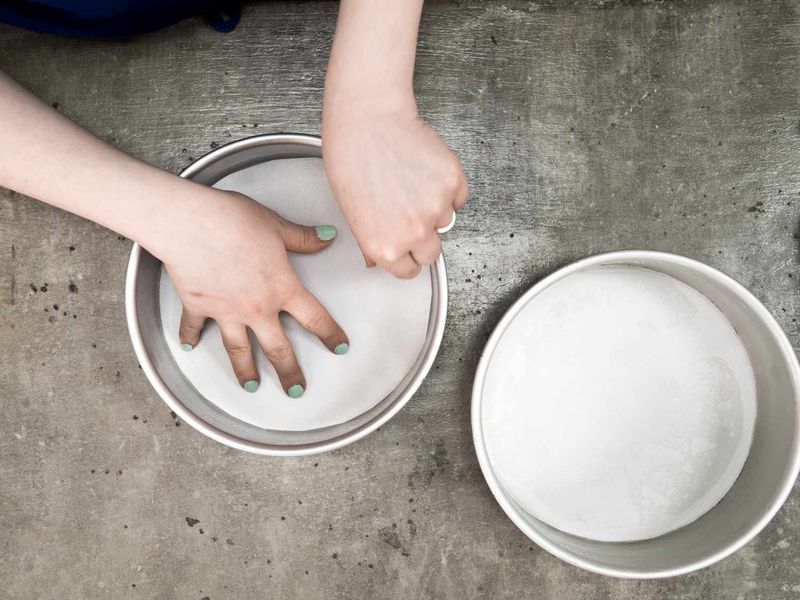
Nothing crushes baking confidence like a cake stuck to the tin. Parchment paper creates a non-stick barrier, ensuring clean release every time.
Beyond preventing sticking, it makes cleanup a breeze. For round tins, trace the bottom on parchment, cut it out, and butter the sides. Your future self will appreciate this simple step when admiring your intact creation.
8. Let Cakes Cool Before Frosting
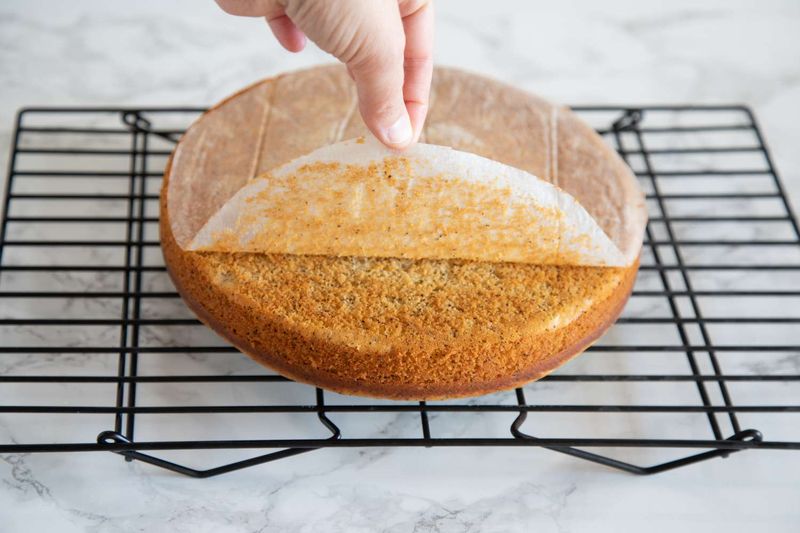
Patience rewards the baker! Warm cakes release steam that turns frosting into a melty puddle. Allow your creation to cool completely - ideally on a wire rack - before decorating.
For quicker cooling in emergencies, pop your cake (in its tin) into the freezer for 15 minutes. This firms the outside without drying the interior, making it ready for your beautiful buttercream masterpiece.
9. Sift Dry Ingredients
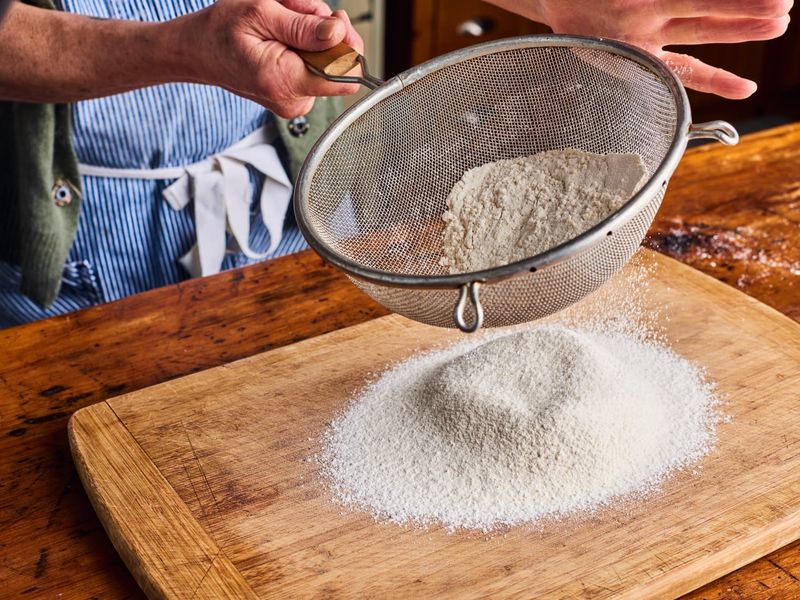
Lumpy flour creates pockets of dryness in your finished bake. Sifting aerates ingredients while removing unwanted clumps, creating silky-smooth batters.
No fancy sifter? A simple fine-mesh strainer works brilliantly. Particularly important for cocoa powder and icing sugar, this step ensures even distribution of leavening agents like baking powder throughout your mixture.
10. Rotate Baking Sheets
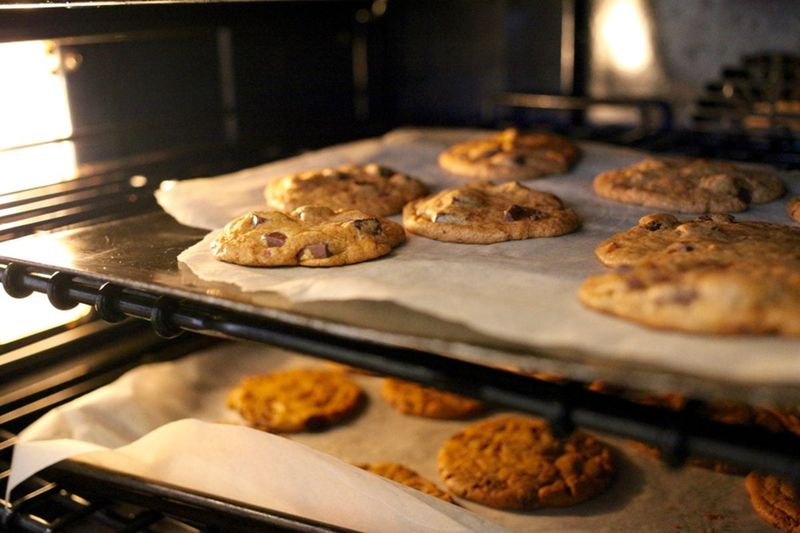
Most ovens have hot spots that can turn one side of your biscuit tray golden while leaving the other pale. Rotating halfway through baking ensures even browning.
Turn your tray 180 degrees midway through the recommended baking time. This simple trick transforms inconsistent results into professional-looking treats with that coveted uniform golden finish.
11. Keep Oven Door Closed
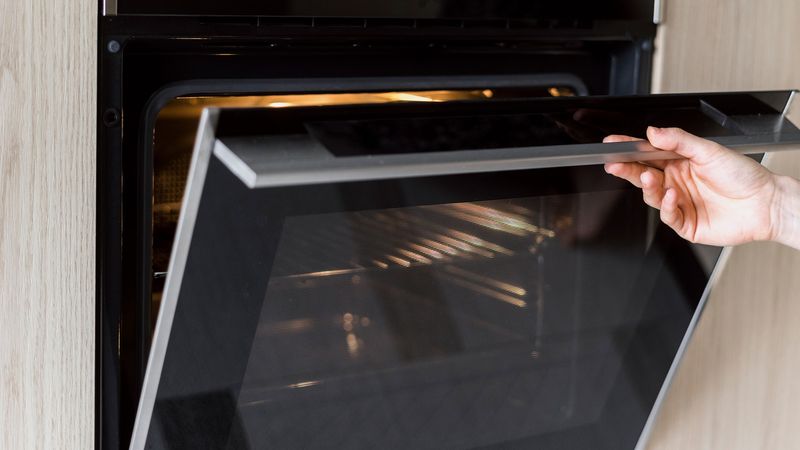
Every peek drops the temperature dramatically, extending baking time and potentially causing cakes to sink in the middle. Resist the temptation to check too early!
Use your oven light instead of opening the door. If you must check, wait until at least ¾ of the baking time has passed. Your soufflés and Yorkshire puddings will rise beautifully with this bit of restraint.
12. Rest Dough Before Baking
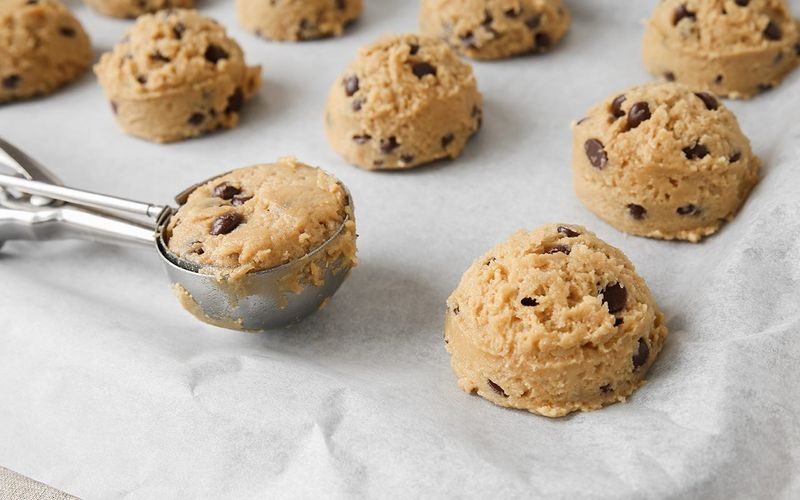
Chilling cookie dough isn't just about convenience - it's about flavor! Resting allows flour to hydrate and sugars to develop, creating deeper, more complex taste profiles.
For biscuits, 30 minutes in the fridge prevents spreading and creates chewier centers with crisp edges. Bread dough benefits from resting periods too, developing better texture and easier handling.
13. Use Fresh Baking Powder
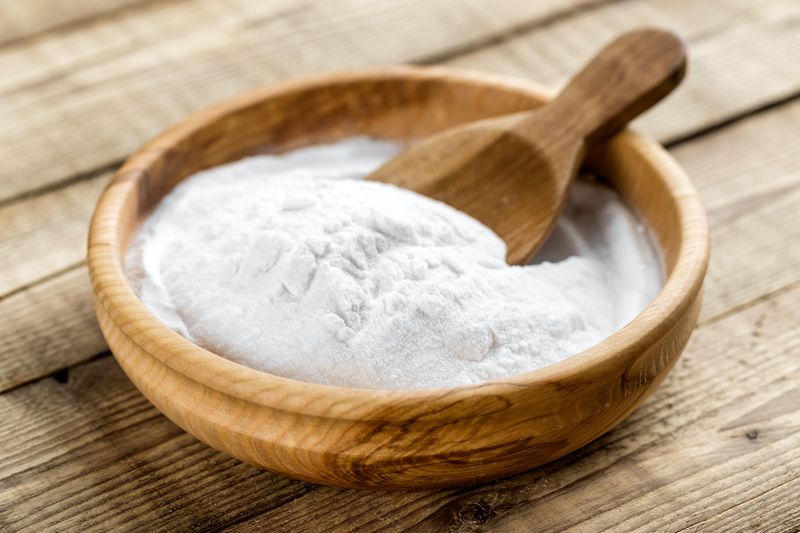
Flat cakes often come down to stale leavening agents. Baking powder loses potency after about 6-12 months, even when properly stored.
Test yours by dropping a teaspoon into hot water - it should fizz vigorously. Replace it every six months for reliable results. Unlike wine, baking powder doesn't improve with age!
14. Avoid Expired Ingredients
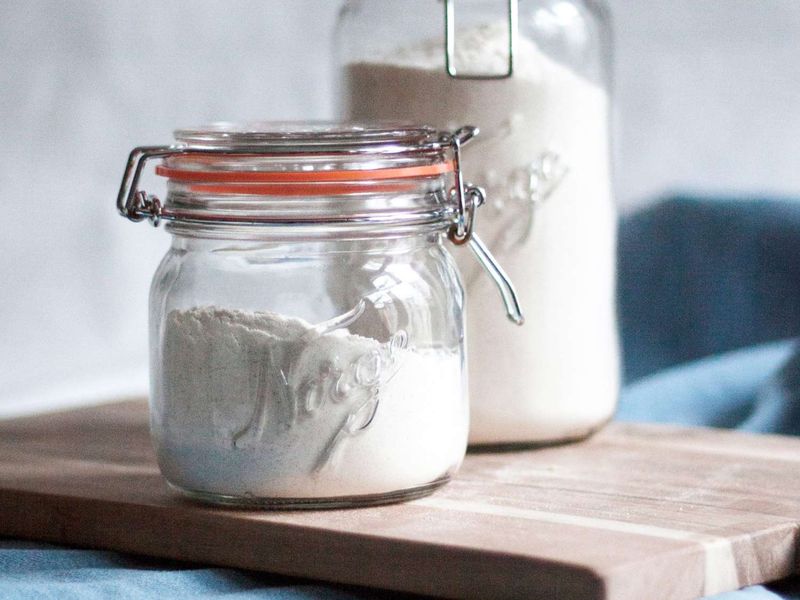
Stale flour develops off-flavors that can ruin your bake. Nuts go rancid, producing bitter tastes that no amount of sugar can mask.
Store flour in airtight containers away from light. Keep nuts in the freezer to extend their life. Sniff ingredients before using - your nose can detect spoilage before your taste buds suffer the consequences!
15. Use A Cooling Rack
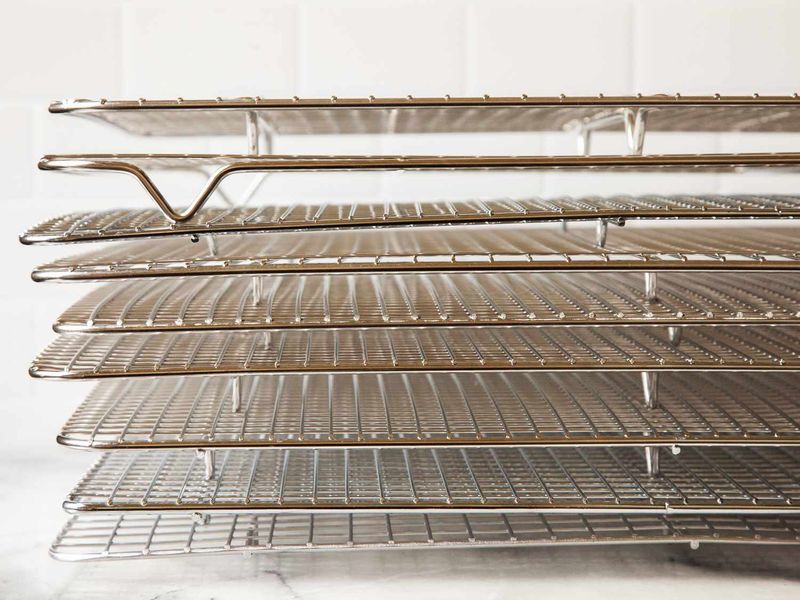
Leaving bakes in hot tins creates unwanted steam, resulting in soggy bottoms. Cooling racks allow air circulation underneath, maintaining that perfect texture you worked so hard to achieve.
Transfer items to the rack after just 5-10 minutes in the tin. For delicate cakes, run a knife around the edges first. This simple tool prevents condensation from turning your crisp biscuits into disappointing soft ones.