









The word biscuit comes from the Latin bis coctus, which means twice cooked. Early biscuits really were baked twice to drive out every last bit of moisture.
That made them rock hard and able to last for months. Travellers and soldiers carried them for exactly that reason, and the word has turned up in English writing since the 1300s.
I love that we've gone from tooth-cracking rations to treats that vanish from the cooling rack. You don't need a whole afternoon or fancy kit to join in, just an oven and a bit of curiosity.
I find it oddly thrilling that a batch can go from bag of flour to biscuit tin before the kettle has cooled twice. So which one will tempt you first?
1. Cornish Fairings
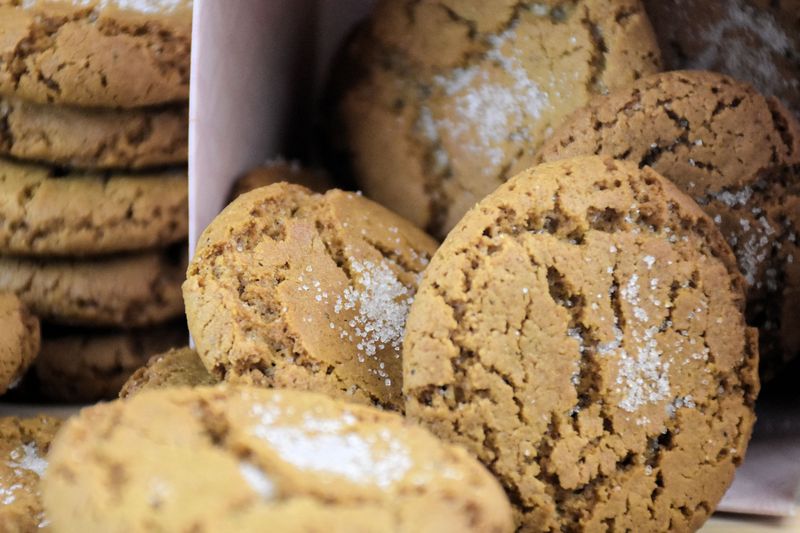
Long before theme parks, Cornish fairgoers took home a bag of spiced biscuits as their prize. Fairings were traditionally sold at local fairs, and the name stuck.
Ground ginger, cinnamon and mixed spice give them their warmth. Golden syrup brings sweetness and helps create that glossy, crackled top.
Roll the dough into small balls, roughly the size of a walnut. Press each one lightly with your fingers before baking so it spreads evenly and turns crisp.
Give them space on the tray, because they'll spread more than you expect. A hot oven and around ten minutes should do the job nicely.
They're crunchy enough to stand up to a serious dunk in your tea. On a damp November afternoon, a plate of these makes the grey skies feel a little less gloomy.
Pop a few in a jar with a ribbon and you've got a handmade gift sorted too.
2. Shrewsbury Biscuits
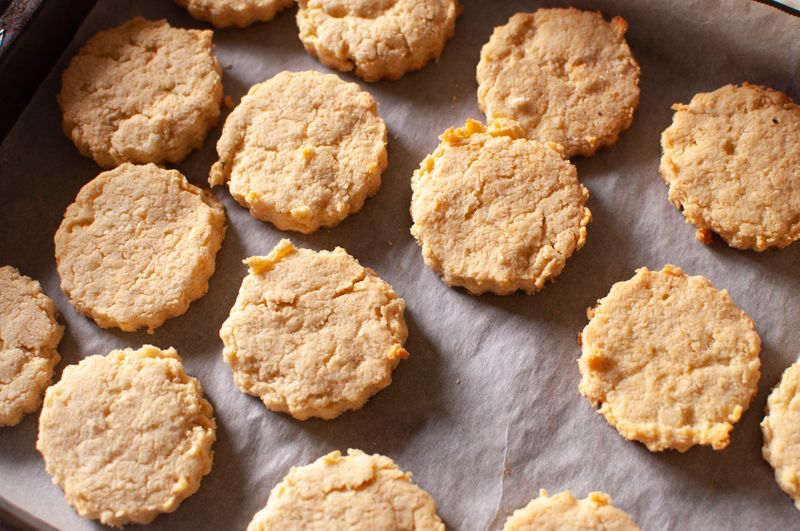
Shropshire has given the world plenty, but this crisp, lemony round might be its most charming export. Shrewsbury biscuits are named after the county town and have been baked for centuries.
Butter and an egg yolk enrich the dough. Finely grated lemon zest adds a bright, fragrant lift, and some cooks scatter in a few currants.
Many quick versions need no chilling at all. Roll the dough out, cut fluted rounds, and bake for roughly 10 to 15 minutes at around 180°C.
Pull them out while they're only lightly golden. Leave them too long and that delicate snap becomes dry and dull.
They're lighter than shortbread, which makes them handy when guests drop round unexpectedly. A sprinkle of caster sugar on top before baking adds a pretty sparkle.
Serve them with a pot of Earl Grey and you'll understand why they've lasted so long in English kitchens.
3. Shortbread Fingers
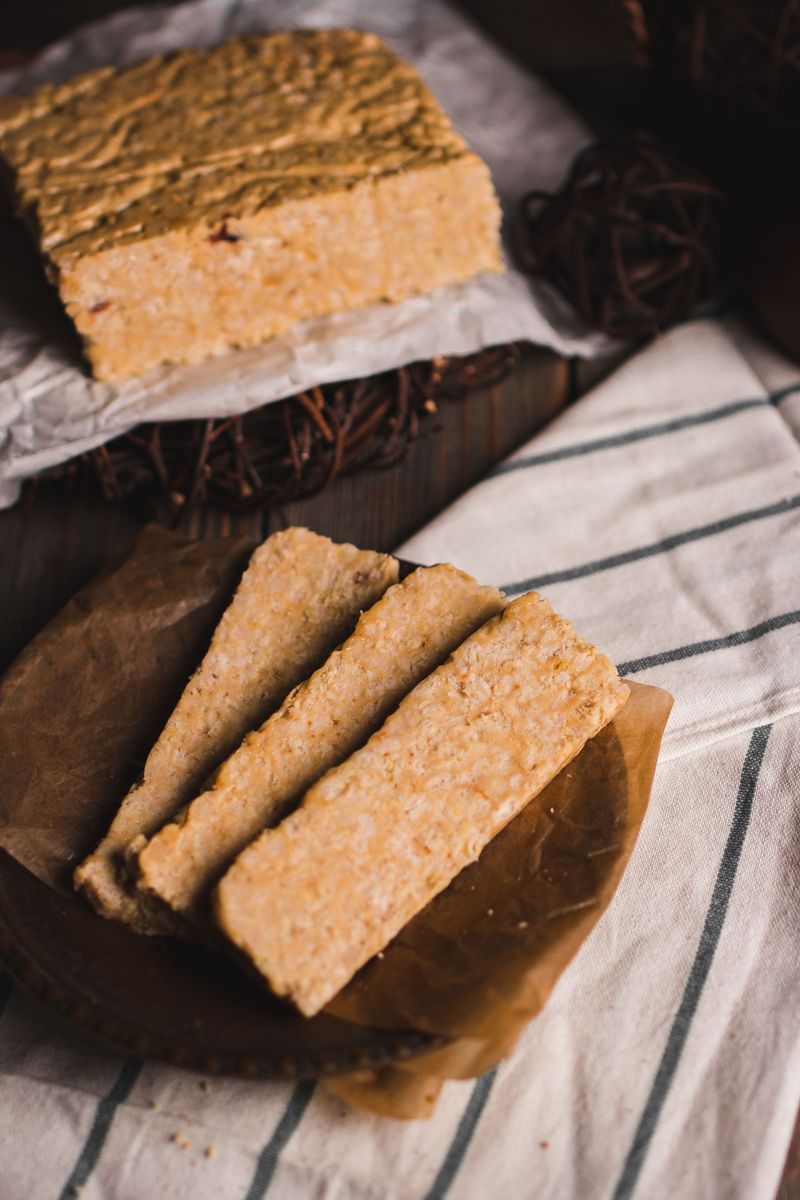
Scottish bakers worked out a ratio so easy you can remember it in the queue at the supermarket. One part sugar, two parts butter, three parts flour, and that's shortbread.
The word short describes the crumbly texture. Plenty of butter coats the flour and stops gluten forming, so the biscuit breaks apart tenderly.
Press the dough into a tin, prick it with a fork and mark out fingers. Bake at around 160 to 170°C for 35 to 40 minutes.
That low heat keeps the colour pale and the texture tender. Rush it with a hotter oven and you'll end up with hard, overbrowned edges.
Cut the fingers while the shortbread is still hot from the tin. Then let them cool fully, because they firm up as they rest.
A dusting of caster sugar finishes the job. Wrapped in greaseproof paper, they make a thoughtful gift for Hogmanay visits.
4. Chewy Ginger Biscuits
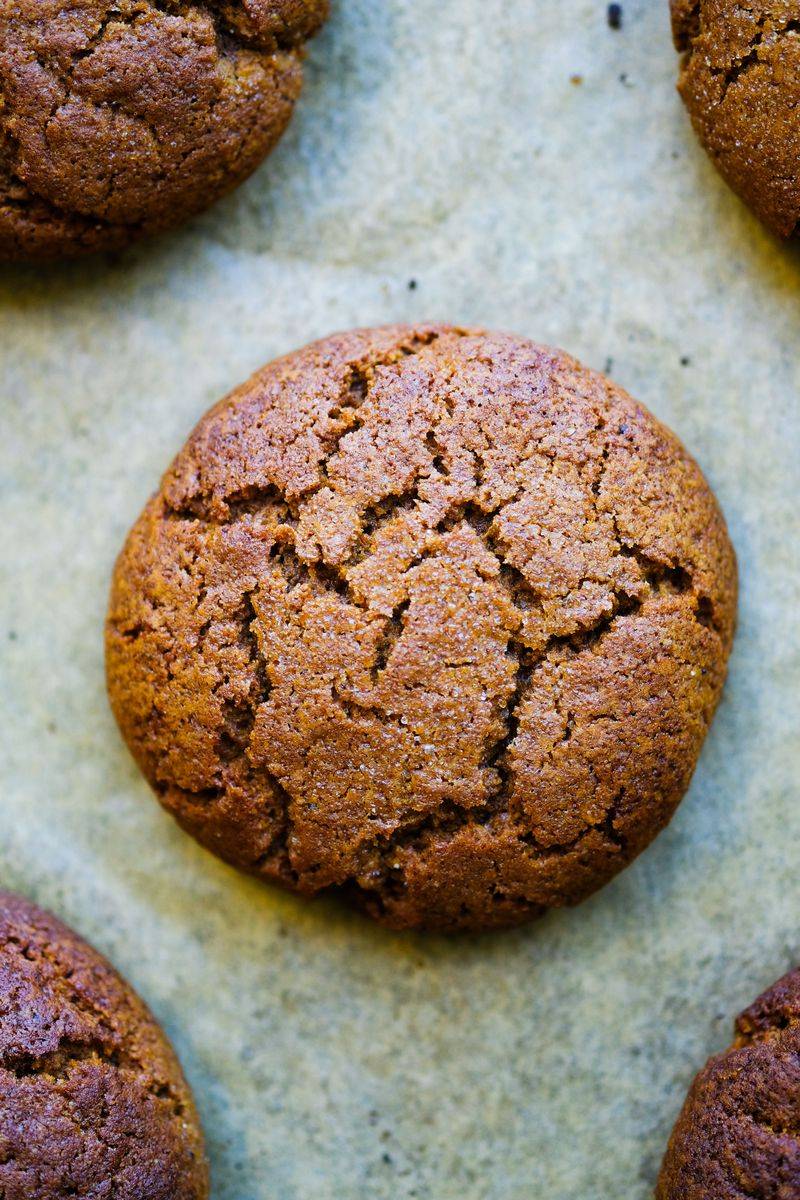
Golden syrup and bicarbonate of soda are a dream team for anyone who likes a biscuit that bends before it breaks. Together they help these spiced rounds spread, colour and stay chewy.
Ground ginger brings the heat. A spoonful of black treacle adds depth, while a little cinnamon rounds things off.
Light brown sugar matters more than you'd think. Its moisture helps keep the centres soft, even a few days after baking.
Roll balls of dough in granulated sugar before they hit the tray. As they bake, the tops crack into those crinkly, sparkly patterns.
Take them out when the edges are set but the middles still look slightly underdone. They'll firm up on the tray as they cool.
Chunks of crystallised ginger folded through the dough give an extra fiery kick. On a chilly afternoon, they're a fine excuse to put the kettle on again.
5. ANZAC Biscuits
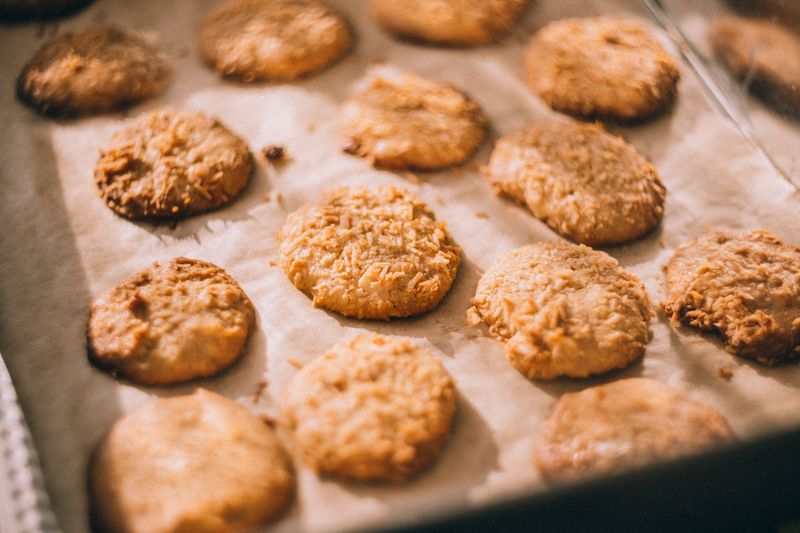
No eggs, no fuss and a recipe with a story behind it. ANZAC biscuits come from Australia and New Zealand and are linked with ANZAC Day on 25th April.
Rolled oats, desiccated coconut and golden syrup do the heavy lifting. Melted butter and bicarbonate of soda bring them together into a sticky, golden dough.
The bicarb fizzes when you stir it into the hot syrup and butter. That bubbling helps the biscuits spread and gives them a lacy, open crumb.
You get to choose the texture. Bake briefly for chewy centres, or leave them a few minutes longer for a deeper colour and proper crunch.
Because there's no egg, they keep well in an airtight tin. That made them practical for sending long distances.
Check labels if anyone has a coconut allergy. Otherwise, these are sturdy enough for walking boots and rucksacks on a weekend ramble.
6. Melting Moments
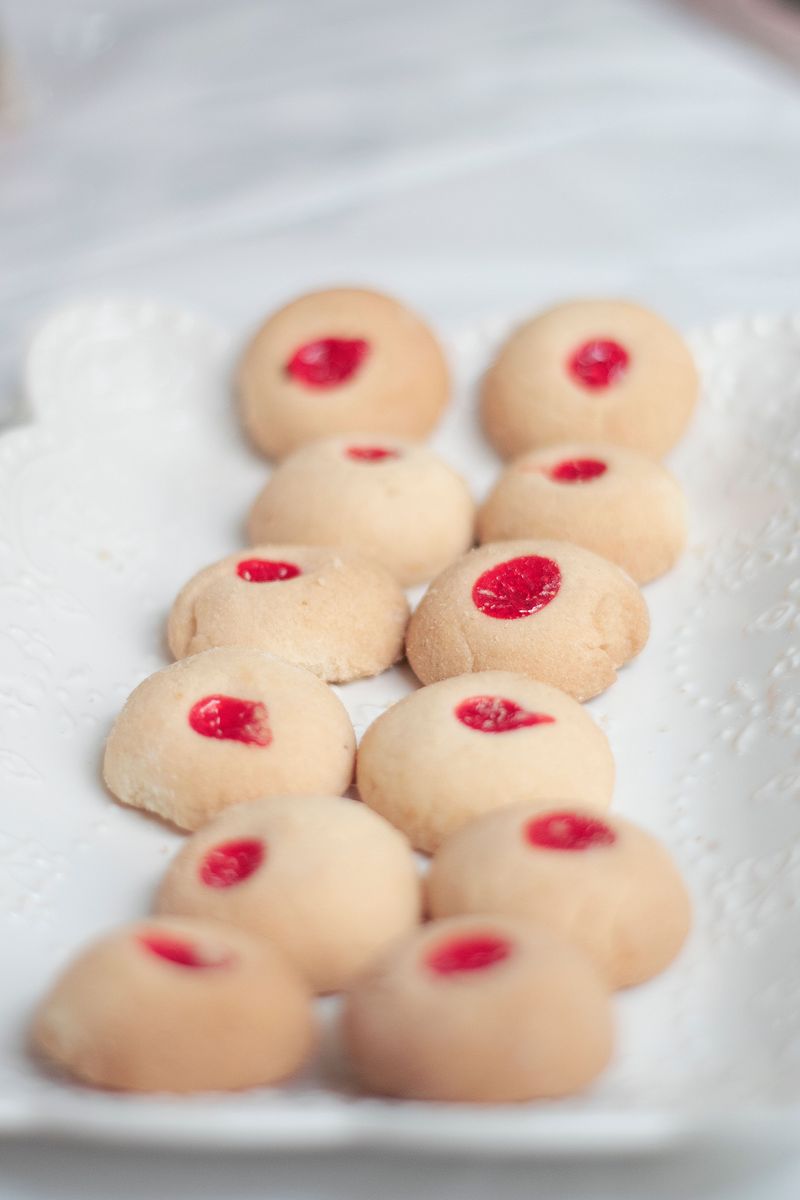
Cornflour is the quiet hero hiding in this recipe. Mixed with plain flour, it gives melting moments their famously soft, crumbly bite.
Plenty of butter makes the dough rich and pale. Beat it well with the sugar so the biscuits turn out light rather than dense.
Roll the dough into walnut-sized balls with lightly floured hands. Then coat each one in rolled oats or desiccated coconut for a little textural contrast.
Press half a glacé cherry on top of each ball. It adds a cheerful pop of red and a retro look that suits a party spread.
They only take about 15 to 20 minutes to bake. Keep an eye out and pull them once they're barely golden.
Let them cool on the tray for a few minutes, as they're fragile while hot. Pile them high on a cake stand for a birthday tea with grandparents.
7. Quick Lemon Biscuits
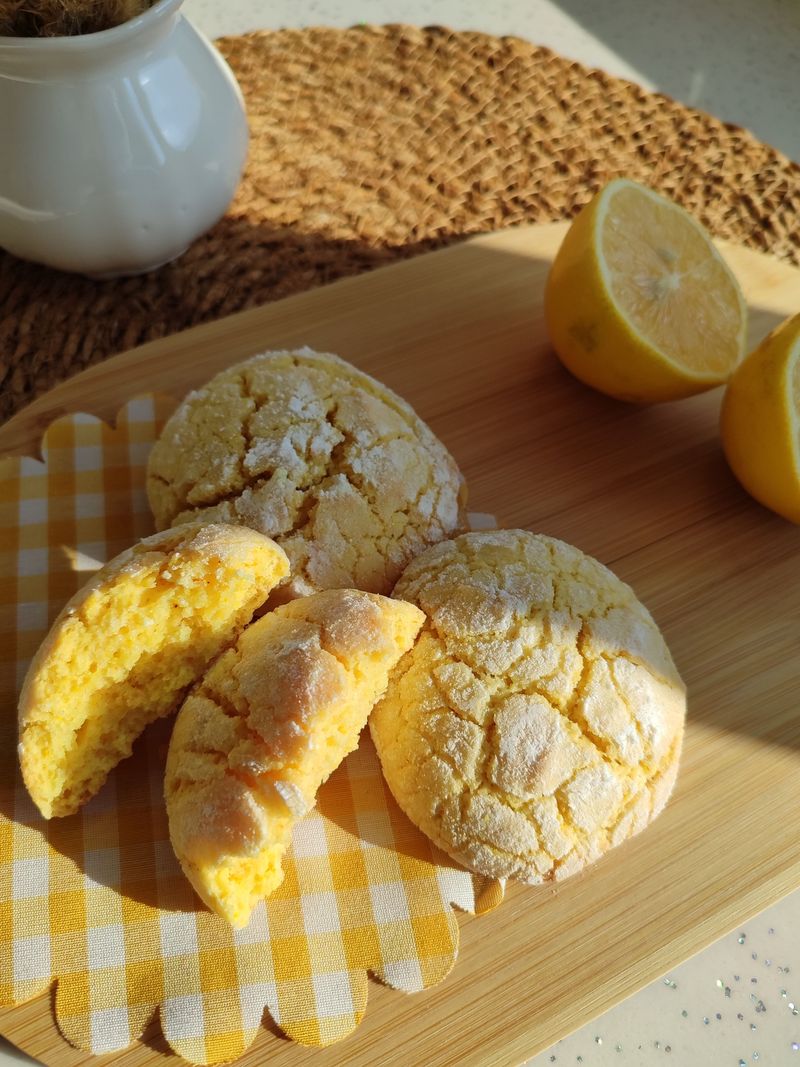
That lonely lemon at the back of the fridge has a better future than a slice in your water glass. A spoon of zest turns plain butter biscuits into something sunny.
Start by rubbing the zest straight into the sugar with your fingertips. It releases the citrus oils and spreads the flavour right through the dough.
Zest gives you plenty of tang without adding much liquid. That keeps the biscuits crisp instead of soggy.
Roll the dough into a log, slice it into rounds and bake for about 12 minutes. Thin slices give snappier results, while thicker ones stay softer in the middle.
Mix icing sugar with a squeeze of the juice for a quick drizzle. Wait until the biscuits are completely cool, or the icing will slide right off.
Bake a tray on a grey winter weekend. They taste like a little burst of sunshine in a biscuit tin.
8. Simple Cut-Out Butter Biscuits
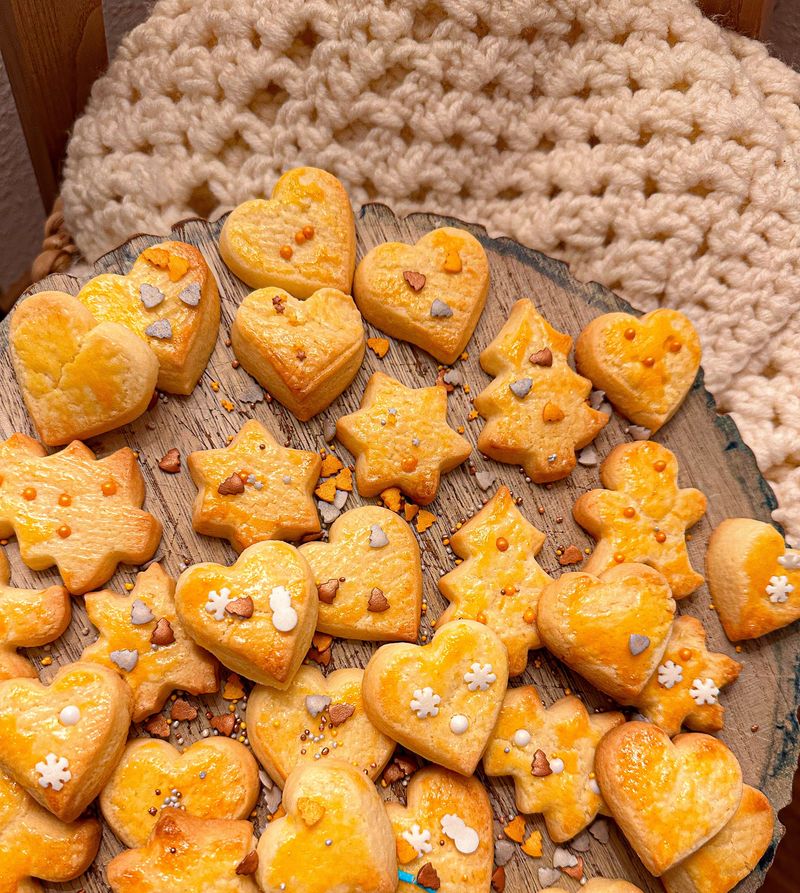
Hand someone a biscuit cutter and they instantly turn into a six-year-old. These plain butter biscuits are the blank canvas behind countless rainy-day kitchen sessions.
Butter, sugar, an egg and plain flour make the base. A splash of vanilla extract is all the flavouring they need.
Once the flour goes in, mix only until the dough comes together. Working it too hard makes the biscuits tough rather than tender.
Many recipes skip chilling entirely, which keeps things speedy. Roll the dough between two sheets of baking paper to stop it sticking.
Cut out stars, hearts or dinosaurs and bake for around ten minutes. They hold their shape well, so details stay crisp.
Leave them to cool completely before reaching for the icing. Little helpers can go wild with sprinkles, and you get bonus points for tidying flour off the floor. Christmas tree decorations are a fun option too.
9. Oat Crunchies
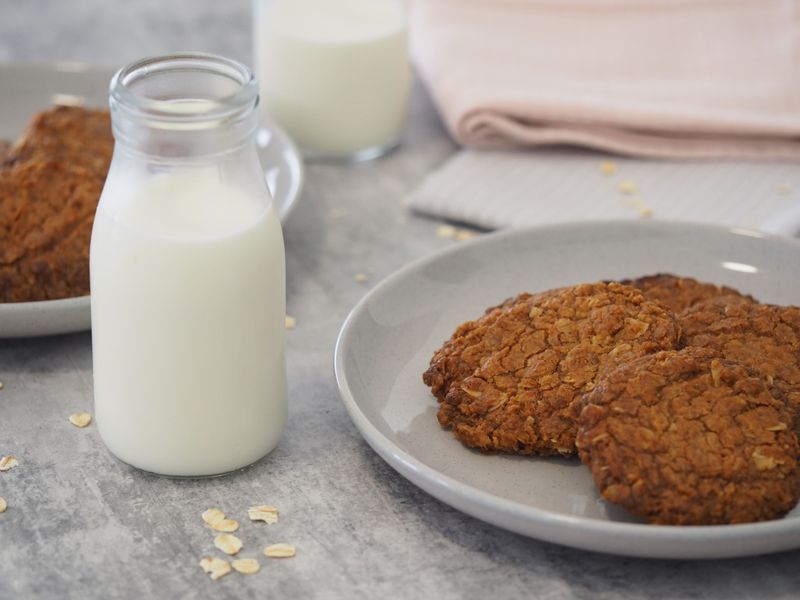
Porridge oats aren't only for breakfast, and these rustic biscuits prove it. They're crunchy round the edges and pleasantly chewy in the middle.
Melted butter and golden syrup coat the oats and bind them together. As they bake, the syrup caramelises and gives a sweet, toasty flavour.
Want more depth? Toast the oats in a dry frying pan for a few minutes first, stirring so they don't scorch.
That small step brings out a nutty aroma. Let the oats cool before mixing them in, or they'll melt the butter too fast.
Drop spoonfuls onto lined trays and flatten them slightly with the back of the spoon. Around 12 to 15 minutes at 180°C should give golden edges.
A handful of sultanas or chopped dates works well too. These are sturdy enough for a lunchbox and taste just right after a brisk walk in the hills.
10. Chocolate Chip Biscuits
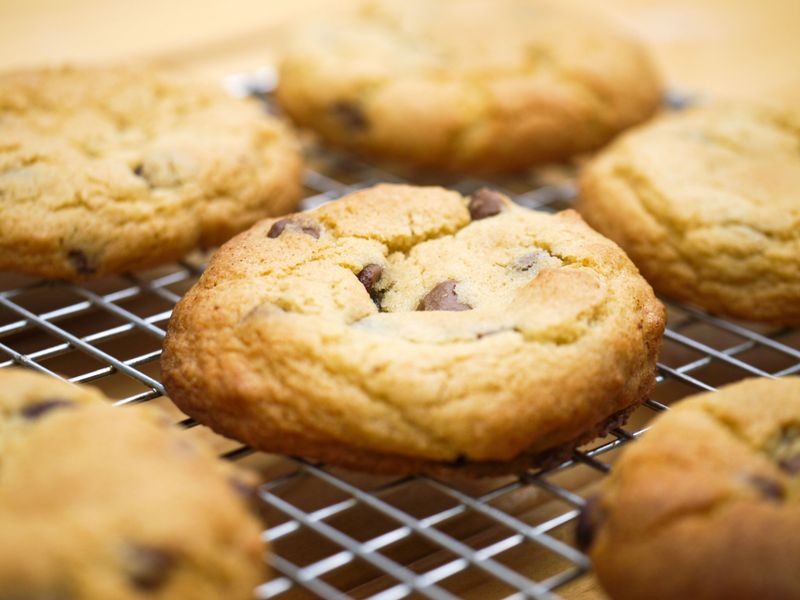
Crisp edges, soft centres and molten pockets of chocolate make this one hard to argue with. The best part is that many recipes need no chilling at all.
Using both caster sugar and light brown sugar is the clever move. Caster helps crisp the edges, while brown sugar keeps the middle soft.
Melted butter instead of softened butter gives a fudgier result. Let it cool slightly so it doesn't scramble the egg.
Chopped bars of dark or milk chocolate create bigger, gooier puddles than chips do. Scoop generous balls and leave room on the tray to spread.
Pull them out while the centres look a touch pale. They'll carry on cooking on the hot tray for a few minutes.
From mixing bowl to cooling rack can take under half an hour. A sprinkle of sea salt flakes on top makes the chocolate taste even richer.
11. Flapjacks
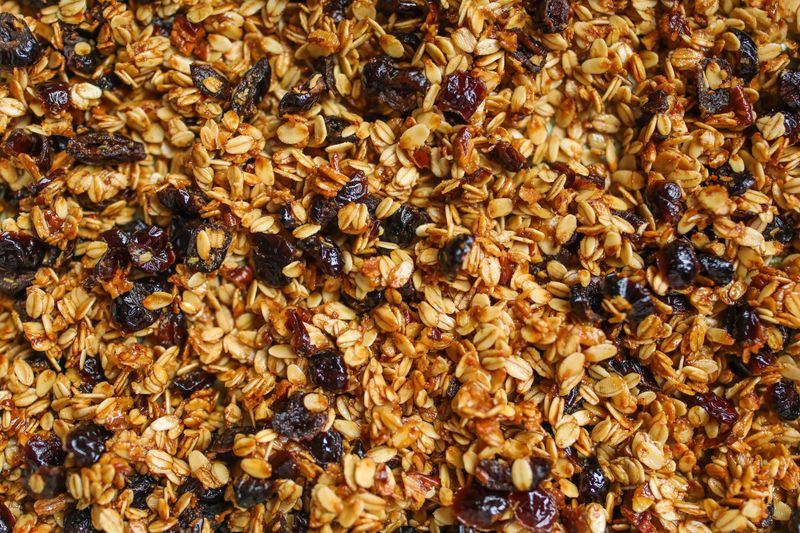
Strictly speaking, flapjacks are a traybake rather than a biscuit. Still, few things are quicker to throw together from a tidy cupboard.
Melt butter, golden syrup and soft brown sugar in a pan on the hob. Stir in rolled oats until they're evenly coated.
Press the mixture firmly into a lined tin with the back of a spoon. Packing it tightly stops the bars falling apart later.
Bake for a shorter time if you love them chewy. Leave them longer for a crunchier, deeper golden bar.
Score them into squares while warm, but let them cool fully before lifting them out. Cutting too early leaves you with a crumbly heap.
Stir in dried cranberries, seeds or a little ginger to change things up. If you add nuts, label them for anyone with allergies. Then sit back, because the tin rarely lasts the week.
12. Coconut Macaroons
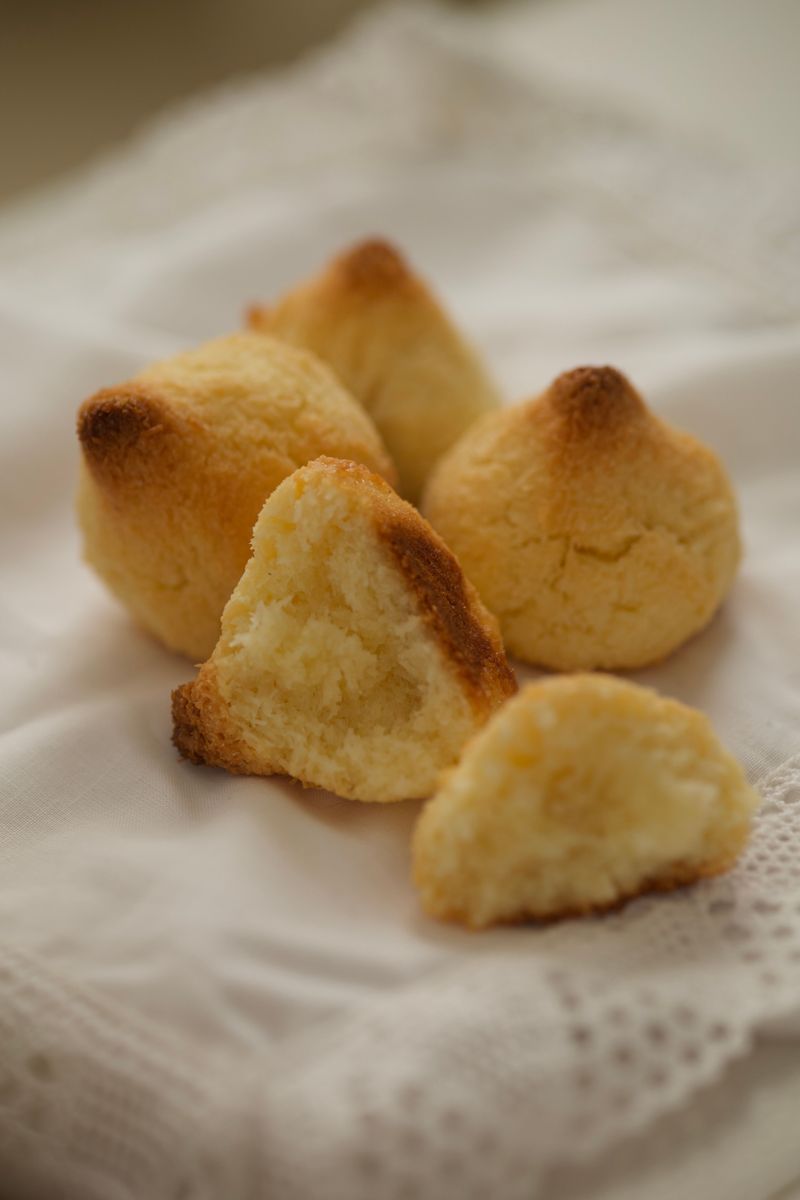
Don't confuse these shaggy little mounds with the pastel French macarons in bakery windows. Coconut macaroons are far quicker, chewier and much less fussy.
Desiccated coconut, sugar and egg whites form the base. Some UK recipes add a spoonful of flour or condensed milk for extra hold.
Whisk the egg whites until they're frothy before folding in the coconut. They help create a light, chewy centre.
Make sure the mixture is firm enough to hold a shape. Pile it into small pyramids on rice paper or lined trays.
Bake until the peaks turn a rich golden brown. That toasting brings out the coconut's nutty sweetness.
Without flour, they're naturally gluten-free, though check your ingredient labels. Dip the bases in melted dark chocolate for a finishing touch. One bite, and the tin looks noticeably emptier than it did a minute ago.