












With National Pie Day on 23 January, attention naturally turns to one of baking’s most familiar foundations – the pie crust. A good crust quietly sets the tone, shaping texture and balance long before the filling comes into play.
Small details, from how the fat is worked into the flour to how the dough is rested, make a noticeable difference over time. With a little care and practice, home baking can start to feel calmer, more consistent, and far more satisfying.
All information is provided for general interest only. Taste, appearance, and availability may vary.
Photos are for illustrative purposes only.
Use Cold Ingredients For Flaky Perfection
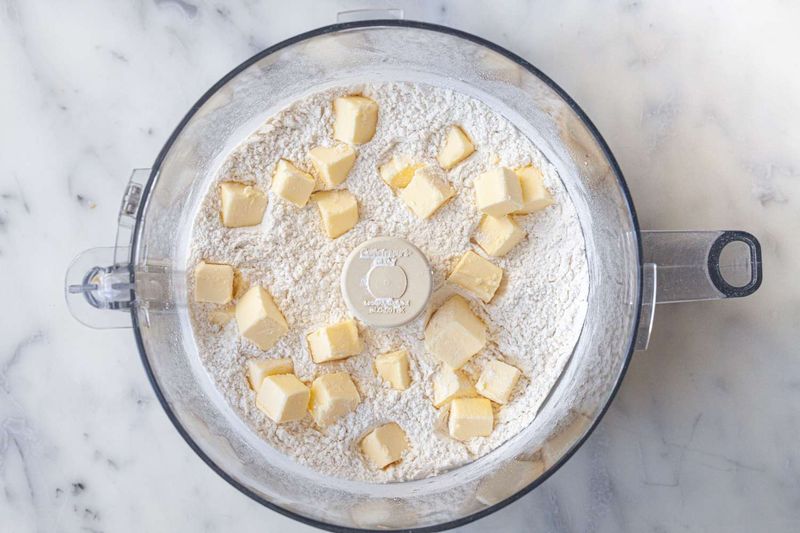
Cold butter is your best mate when chasing that flaky texture everyone raves about. When fat stays chilled, it doesn't melt into the flour straight away – instead, it creates little pockets that puff up during baking, giving you those gorgeous, delicate layers.
Pop your butter in the freezer for fifteen minutes before you start, and use ice-cold water too. Some bakers even chill their flour and mixing bowl for extra insurance.
The colder everything stays, the better your crust will turn out, so resist the urge to rush this step.
Use A Blend Of Butter And Lard For The Best Texture
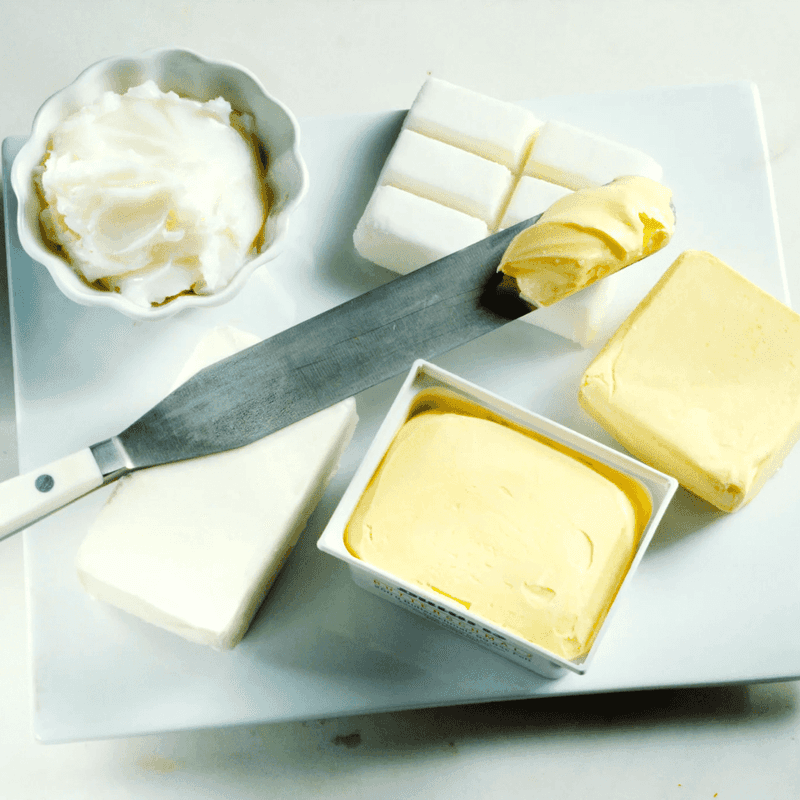
Butter alone gives fantastic flavour but can be tricky for structure. Lard, on the other hand, creates superior flakiness and a tender bite but lacks that rich, buttery taste.
Combining both gives you the best of everything – flavour from the butter and texture from the lard. Try a ratio of about two parts butter to one part lard for a crust that's both delicious and beautifully flaky.
If lard isn't your thing, vegetable shortening works similarly, though the flavour won't be quite as rich and traditional.
Add A Pinch Of Salt For Extra Flavor
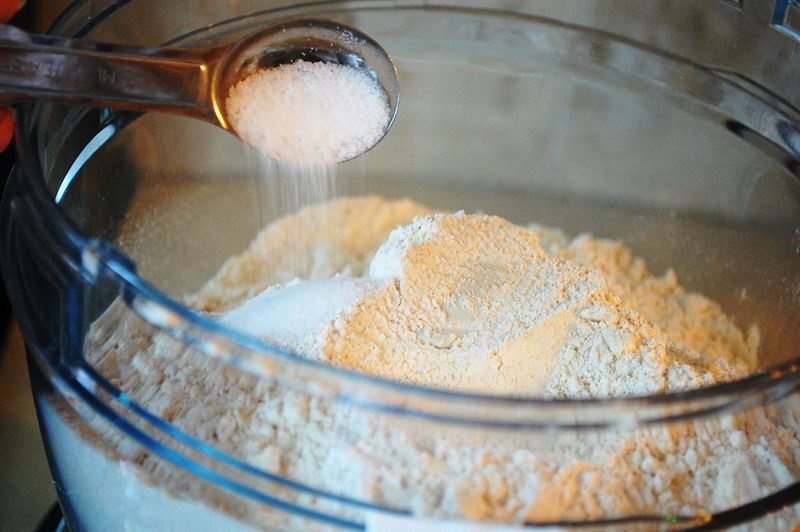
Never underestimate the power of salt in pastry. Even a small amount wakes up all the other flavours, making your butter taste richer and your crust more complex rather than flat and boring.
Most recipes call for about half a teaspoon per crust, but you can adjust to taste. Salt also strengthens the dough structure slightly, helping it hold together without making it tough.
Whether you use fine sea salt or regular table salt, just make sure it's evenly distributed through the flour before adding your fat and liquid ingredients.
Don't Overwork The Dough
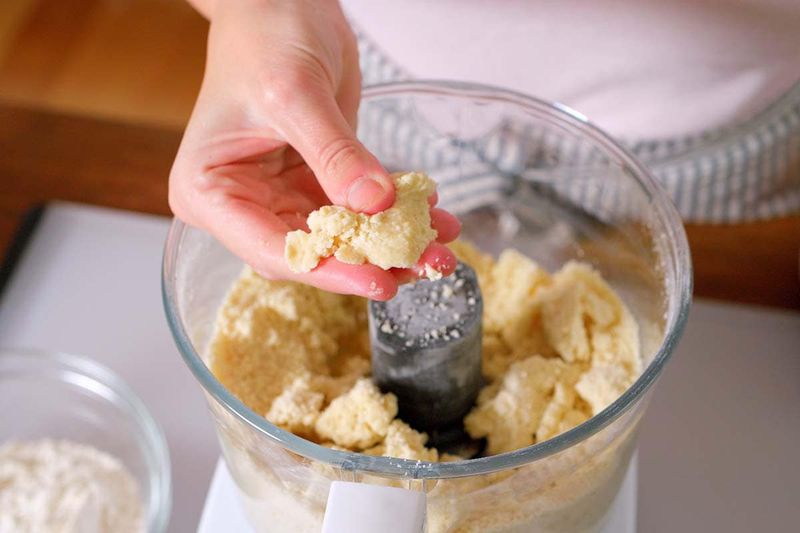
Here's where many home bakers go wrong: treating pie dough like bread dough. The more you knead and mix, the more gluten develops, turning your dreamy flaky crust into a tough, chewy disaster.
Mix just until everything barely comes together – it should look a bit shaggy and rough, not smooth. A few streaks of flour are perfectly fine.
Your hands generate heat too, so handle the dough as little as possible. Think of it as a delicate operation, not a workout session, and you'll be golden.
Chill Your Dough Before Rolling It Out
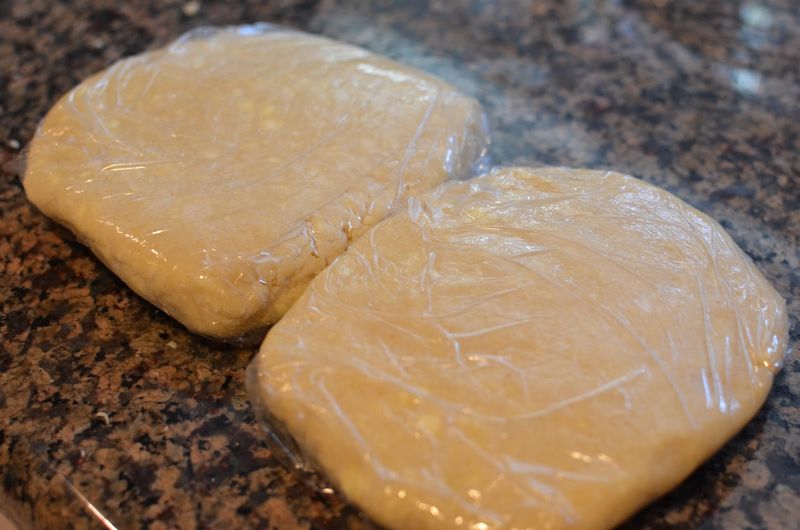
Patience pays off massively here. After mixing, wrap your dough in cling film and stick it in the fridge for at least an hour – longer if you've got the time.
This rest period lets the gluten relax, making the dough easier to roll without shrinking back like a stubborn elastic band. The fat firms up again too, which helps maintain those flaky layers we're after.
Chilled dough also handles better and tears less when you're transferring it to your pie tin. Seriously, don't skip this – it's a game changer for stress-free rolling.
Keep Your Work Surface Lightly Floured
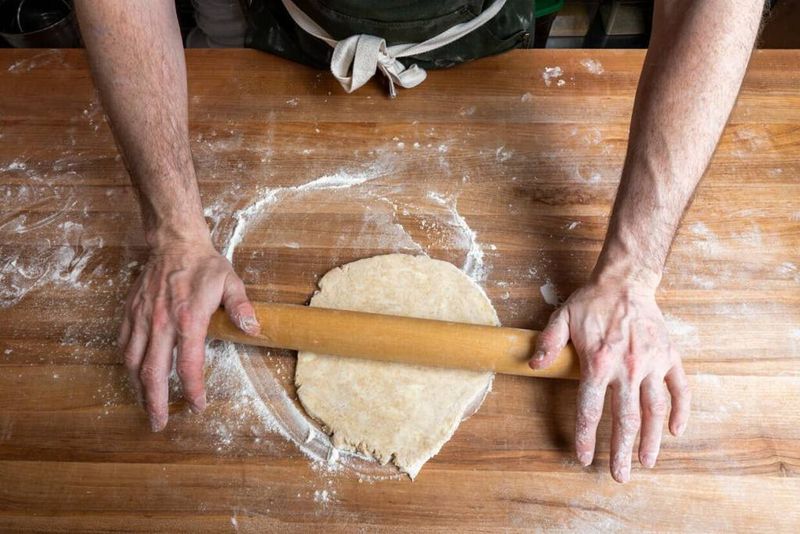
Flour is essential for preventing sticking, but too much gets incorporated into your dough, throwing off the carefully balanced ratios and making your crust dry and tough.
Sprinkle just enough flour on your counter to prevent sticking – you should barely see it. Dust your rolling pin lightly too.
If the dough starts grabbing the surface, gently lift it, dust underneath with a tiny bit more flour, and carry on. A pastry scraper is brilliant for lifting sticky dough without tearing it.
Balance is everything here – not too little, not too much.
Roll Dough Evenly And Gently
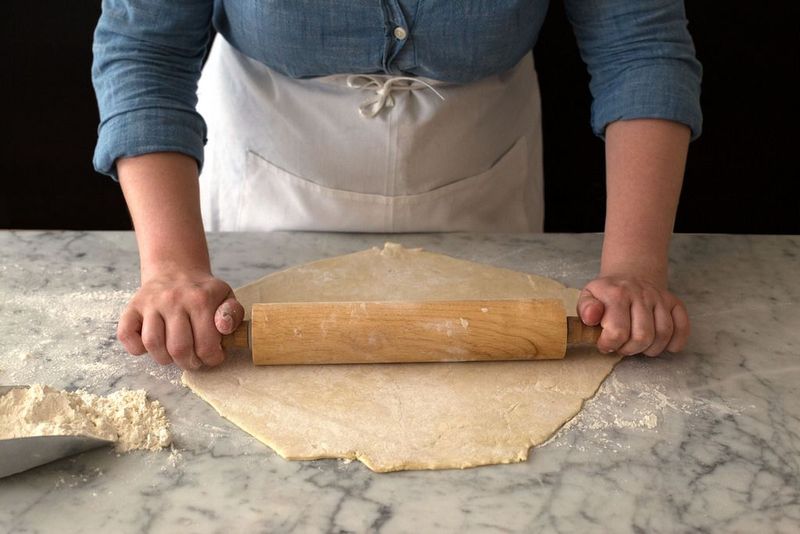
Rolling might seem straightforward, but uneven thickness means uneven baking – some bits burn whilst others stay pale and underdone. Aim for a consistent thickness of about three millimetres throughout.
Roll from the centre outward, rotating the dough a quarter turn after each roll to maintain a circular shape. Use gentle, steady pressure rather than bearing down hard, which can compress the dough and ruin those precious flaky layers.
If the dough starts sticking, add a light dusting of flour, but not too much or it'll dry out.
Don't Skip The Resting Time
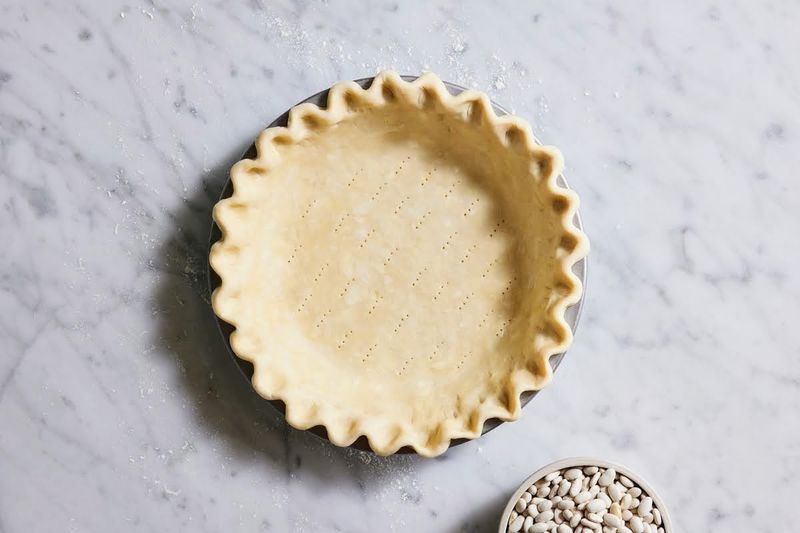
Resting isn't just for before rolling – your shaped crust benefits from another chill too. Once you've fitted the dough into your tin, pop it back in the fridge for twenty to thirty minutes.
This final rest prevents shrinkage during baking, keeping your beautifully crimped edges intact instead of slumping down the sides. It also firms up the fat one last time, ensuring maximum flakiness.
Yes, it adds extra time to your baking schedule, but the difference in the final result is absolutely worth those extra minutes of waiting around.
Blind Bake For Crispier Bottoms
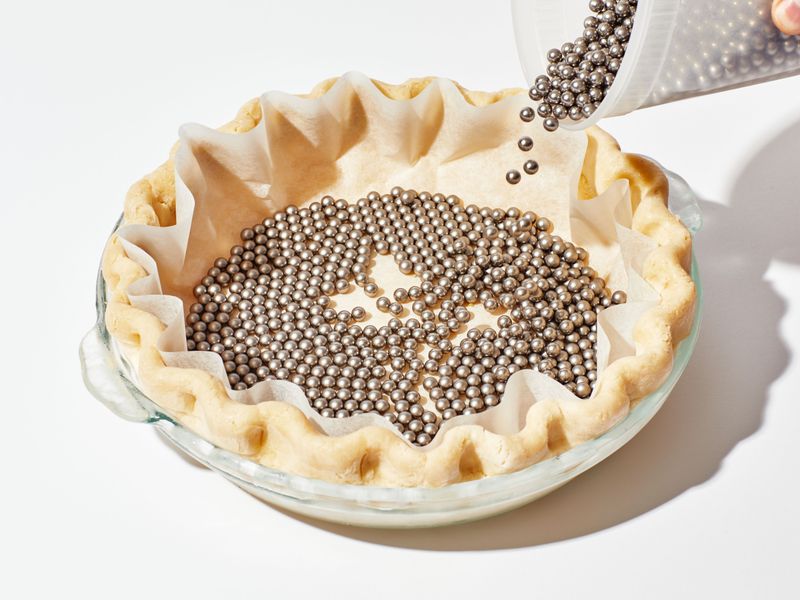
Soggy bottoms are the nemesis of good pie. Blind baking – pre-baking your crust before adding wet fillings – creates a barrier that keeps moisture from turning your base into a sad, soggy mess.
Line your unbaked crust with parchment paper, fill it with baking beans or rice to weigh it down, and bake until it's set and lightly golden. Remove the weights and parchment, then bake a few minutes more to dry out the base completely.
This technique is especially crucial for custard pies, quiches, and any filling that doesn't require much baking time.
Brush With Egg Wash For A Golden Finish
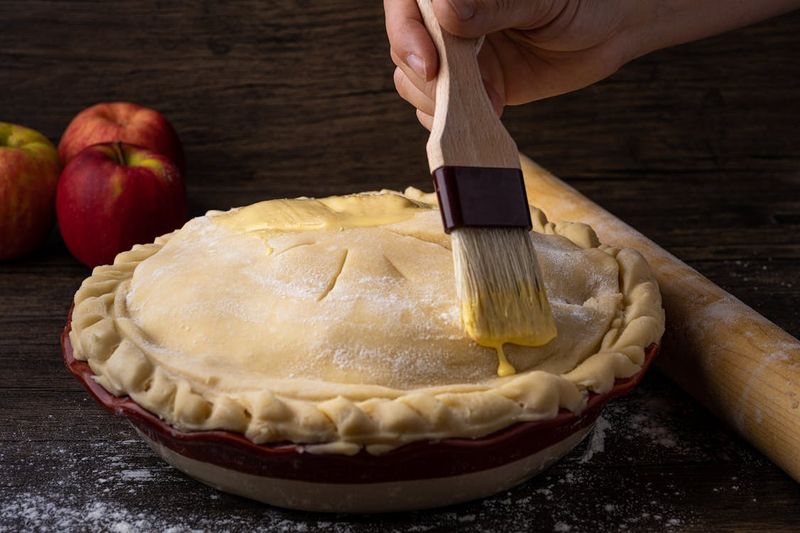
Want that professional bakery shine? Egg wash is your secret weapon.
Beat one egg with a tablespoon of water or milk, then brush it over your crust just before baking.
The proteins in the egg brown beautifully in the oven, giving you that gorgeous golden colour that makes pies look irresistible. It also adds a subtle sheen that screams quality.
For extra sparkle, sprinkle a bit of coarse sugar over the egg wash before baking. Just one egg covers several pies, so you'll have plenty to work with for a proper professional finish.



