













There’s something oddly satisfying about turning simple kitchen leftovers into flavour-packed little cubes that transform everyday cooking. Homemade stock brings deeper aroma, better control over ingredients, and a sense of quiet kitchen pride that shop-bought versions rarely match.
Once the basics click into place, the process becomes surprisingly easy and endlessly adaptable. A few thoughtful steps can elevate soups, sauces, and slow-cooked favourites without much fuss.
All information is provided for general interest only. Results may vary depending on ingredients, equipment, and storage conditions. Food safety practices should always be followed when preparing and preserving homemade products.
1. Choose Bones, Vegetables, Or Plant Bases
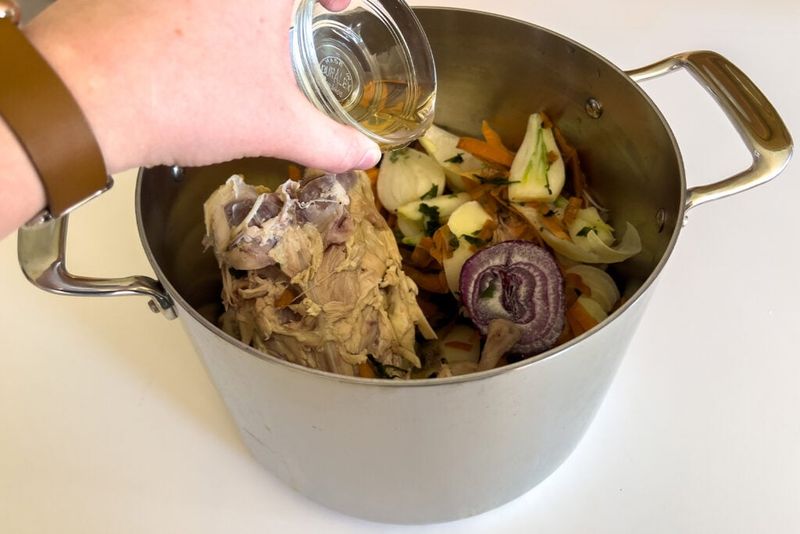
Your stock starts with picking the right foundation. Chicken or beef bones give rich, meaty flavour, whilst vegetables like carrots, celery, and onions create lighter options.
Plant-based ingredients such as mushrooms and seaweed work brilliantly for vegetarian versions. Whatever you select sets the tone for your final cube, so think about what dishes you'll use them in most often.
2. Roast Ingredients For Deeper Flavour
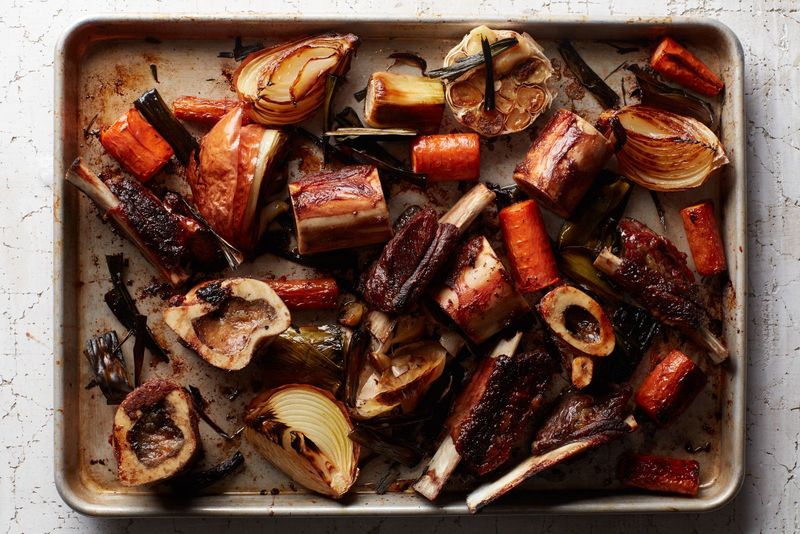
Roasting transforms ordinary ingredients into flavour powerhouses. Spread your bones and vegetables on a baking tray and pop them in a hot oven until golden brown.
This caramelisation process creates complex, savoury notes that you simply can't achieve by boiling alone. The darker the roast, the richer your stock becomes, so don't rush this crucial step.
3. Simmer Slowly With Water
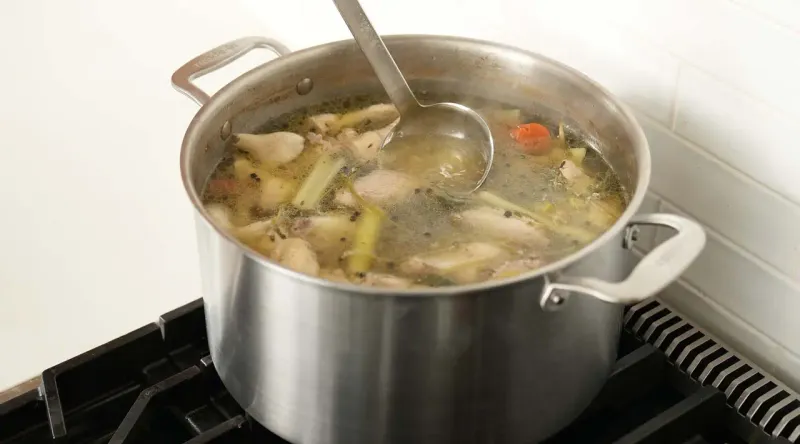
Patience really pays off when building a good stock. Transfer your roasted ingredients to a large pot and cover them generously with cold water, giving everything plenty of room to mingle.
Bring it up to a gentle simmer, then lower the heat and let it quietly bubble away for several hours.
This slow cooking coaxes out deep flavour and natural richness, creating that glossy, comforting liquid every great stock is known for.
4. Skim Impurities From The Surface
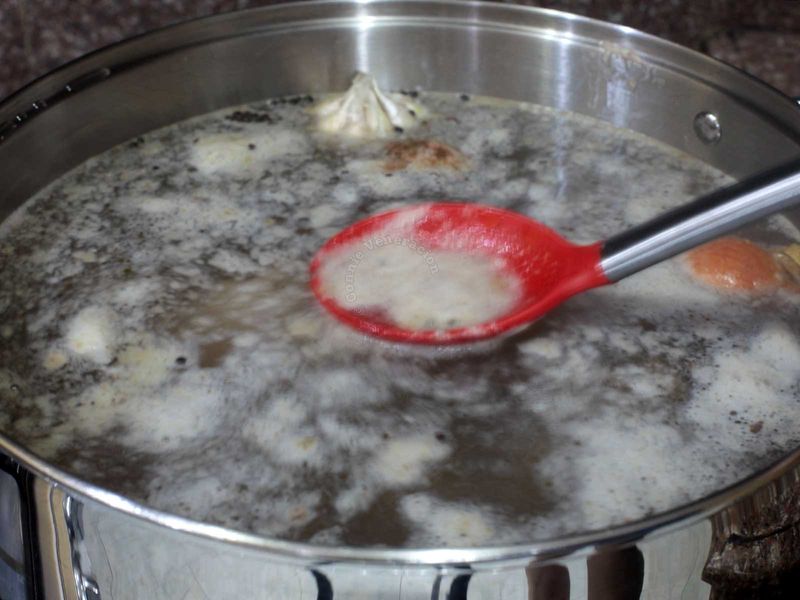
As the stock simmers, a light foam often gathers on the surface. Skimming it away with a spoon or fine mesh strainer helps keep the liquid clear and visually appealing.
Removing this foam also creates a cleaner, smoother-tasting stock without any cloudy residue. It’s a small habit that quietly improves the final result without adding much extra effort.
5. Add Herbs And Seasonings

Herbs and spices bring your stock to life with aromatic complexity. Bay leaves, thyme, parsley stalks, and peppercorns are classic choices that never disappoint.
Add them during the last hour of cooking to preserve their delicate flavours. Fresh herbs work wonderfully, but dried versions are perfectly fine too.
Season carefully - remember, you'll reduce this liquid later, concentrating everything.
6. Strain The Liquid
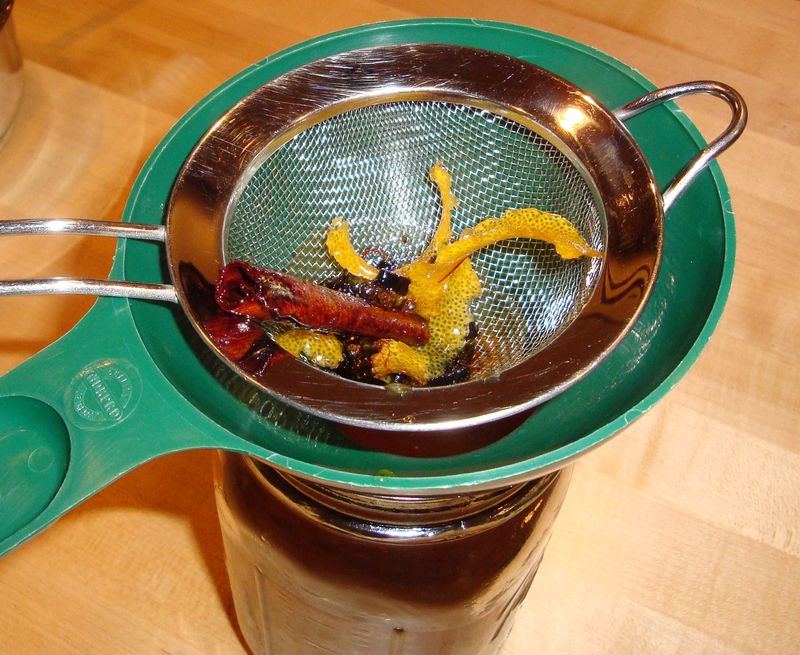
Once the stock has finished simmering, it’s time to separate the liquid from the solids. Pour everything carefully through a fine sieve or cheesecloth into a clean container, letting gravity do most of the work.
A gentle press on the vegetables and bones releases those last flavourful drops without forcing sediment through. What you’re left with is a beautifully clear, aromatic base ready for concentrating.
7. Reduce Until Concentrated
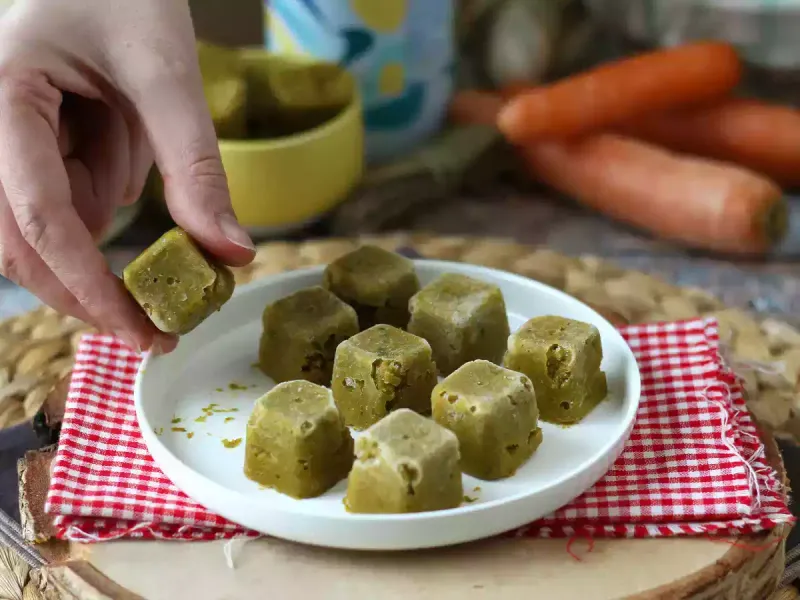
Now comes the magic that turns stock into cubes. Return your strained liquid to the heat and simmer steadily until it reduces by about three-quarters.
This concentration process intensifies all those lovely flavours into a thick, syrupy consistency. Keep tasting as you go - when it's deeply savoury and rich, you've nailed it perfectly.
8. Portion And Freeze
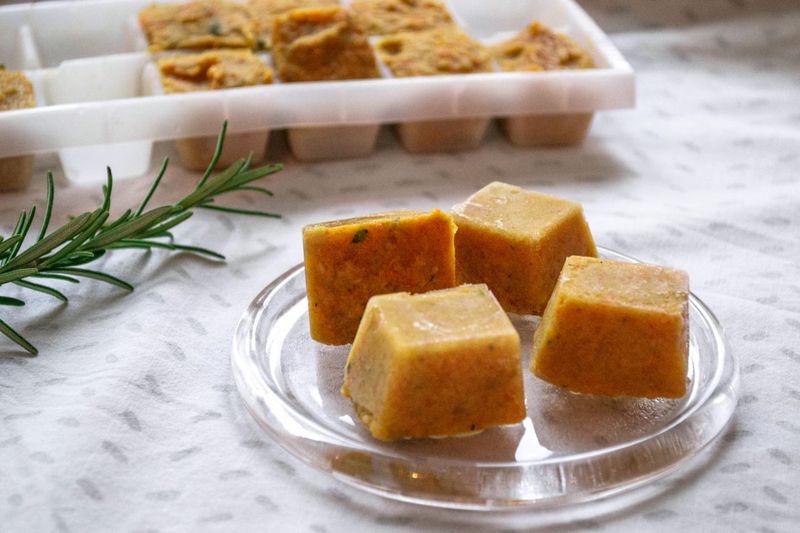
After cooling, the concentrated stock can be portioned into ice cube trays or small silicone moulds for easy storage. Once frozen solid, the cubes can be transferred into labelled freezer bags to keep everything organised.
Having ready-made portions tucked away makes weeknight cooking feel effortlessly efficient. Simply drop a cube into sauces, soups, or stews whenever a quick flavour boost is needed.



