













Making bagels at home often sounds more complicated than it needs to be, especially for anyone without specialist baking tools. In reality, a few basic kitchen items and simple ingredients are enough to produce reliable results with a little patience and planning.
With National Bagel Day marked on 15th January, it is a timely moment to explore how homemade baking can fit comfortably into everyday routines without unnecessary complexity.
Understanding the core steps helps build confidence and encourages more flexible, hands on cooking at home.
All information is provided for general information only. Taste, appearance, and availability may vary.
Photos are for illustrative purposes only.
1. Choosing Simple Ingredients
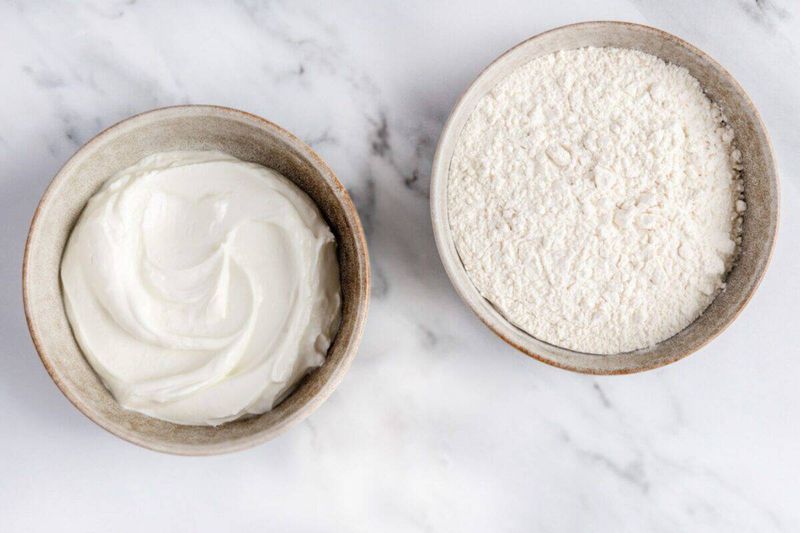
All-purpose flour, Greek yogurt, baking powder, and a pinch of salt are all you need to get started. No exotic ingredients, no specialist flours, just the basics you probably already have tucked away in the cupboard.
The yogurt adds a lovely tang and keeps the dough soft without requiring yeast or hours of proving.
If you fancy a bit of variation, swap in whole meal flour for half the all-purpose, or add a spoonful of honey for a subtle sweetness.
The beauty of this recipe is its flexibility, so feel free to experiment once you've nailed the classic version.
2. Mixing And Resting The Dough
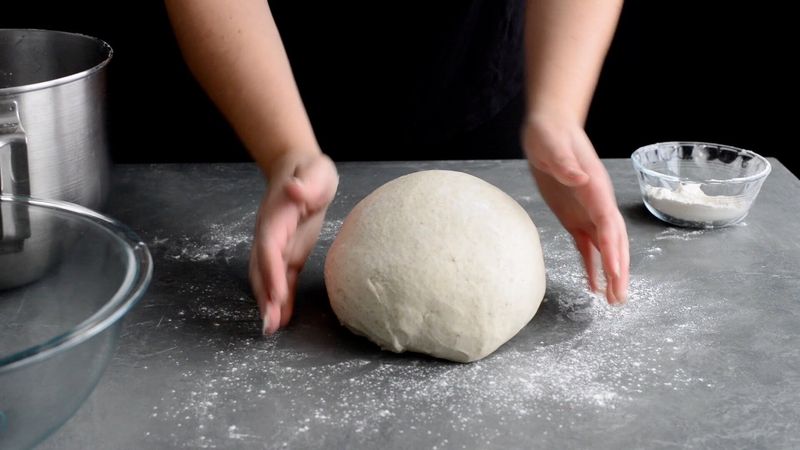
Combine your dry ingredients first, then fold in the yogurt until everything comes together into a sticky, shaggy dough. Don't stress if it looks a bit rough at this stage; bagel dough isn't meant to be silky smooth like bread dough.
Use your hands to bring it all together, adding a touch more flour if it's too wet or a dash more yogurt if it's crumbly.
Let the dough rest for a few minutes while you clear the counter. This short breather makes shaping far easier and gives the flour time to hydrate properly.
3. Shaping Bagels At Home
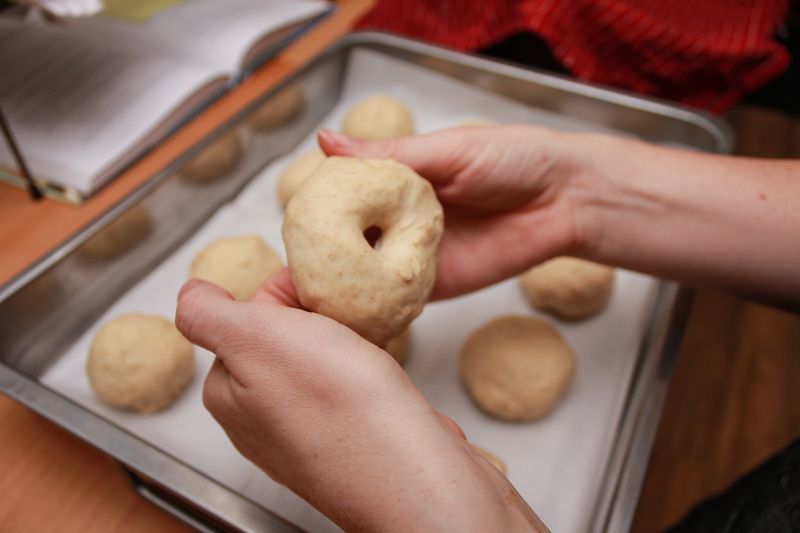
Divide your dough into eight equal portions, rolling each into a smooth ball before poking a hole through the centre with your finger. Gently stretch the hole to about two inches wide, remembering that it'll shrink a bit during boiling and baking.
The key is to keep the ring fairly even so they cook uniformly.
Don't worry if your first batch looks a bit wonky; bagels have character, and homemade ones rarely look factory-perfect. That's part of their charm, and they'll taste brilliant regardless of whether they're perfectly round.
4. Boiling Before Baking
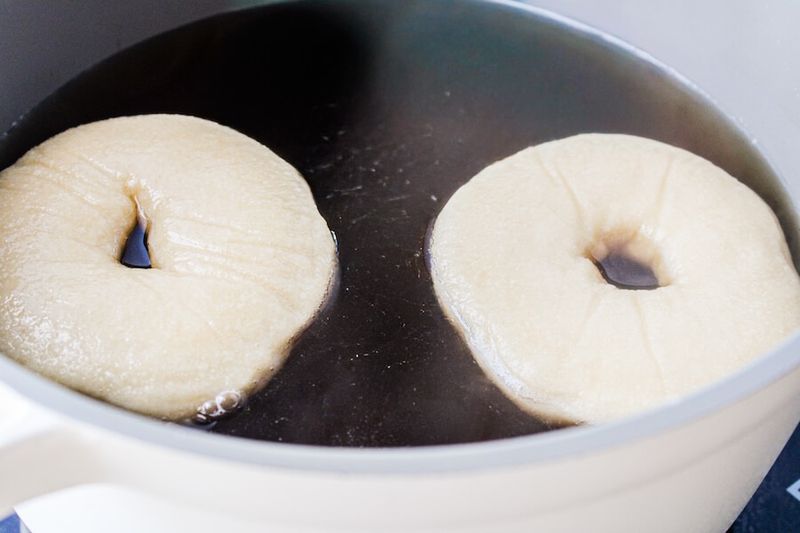
Bring a large pot of water to a rolling boil, then gently lower each bagel in for about 30 seconds per side. This quick dip is what gives bagels their signature chewy crust and dense interior, setting them apart from ordinary bread rolls.
You can skip this step if you're truly in a rush, but the texture won't be quite the same.
Use a slotted spoon to lift them out and let the excess water drip off before transferring to your baking tray. Some recipes call for adding a bit of honey or malt syrup to the water for extra flavour and shine.
5. Baking For Even Texture
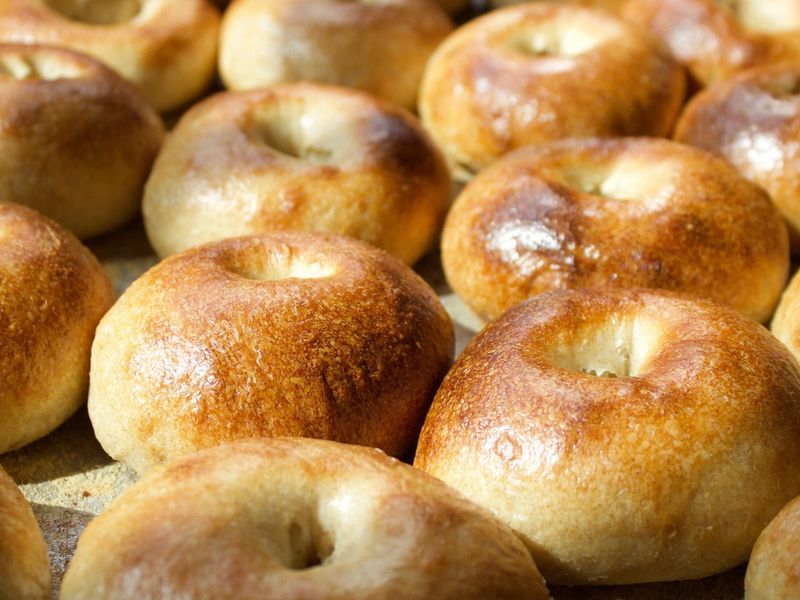
Pop your bagels onto a parchment-lined baking tray and slide them into a preheated oven at 190°C.
Bake for around 25 minutes, keeping an eye on them towards the end to make sure they turn golden brown without overdoing it.
Rotate the tray halfway through if your oven has hot spots, ensuring an even bake all round.
When they're done, the bagels should sound hollow when tapped on the bottom and have a lovely deep colour. Let them cool on a wire rack so the bottoms don't get soggy from trapped steam.
6. Topping And Flavour Options
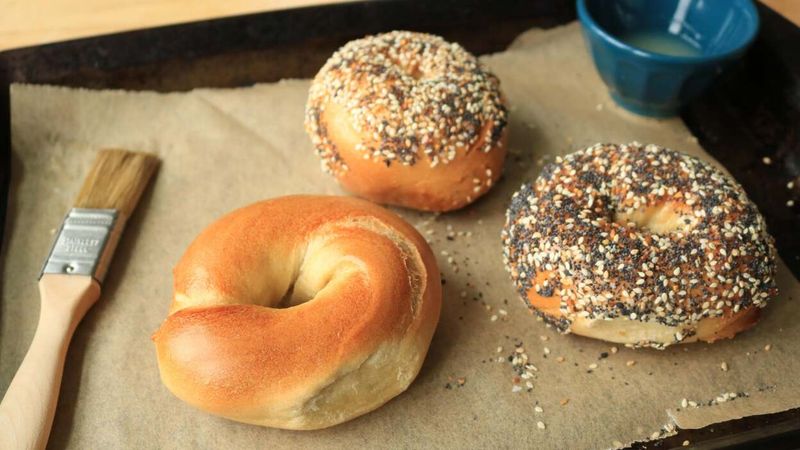
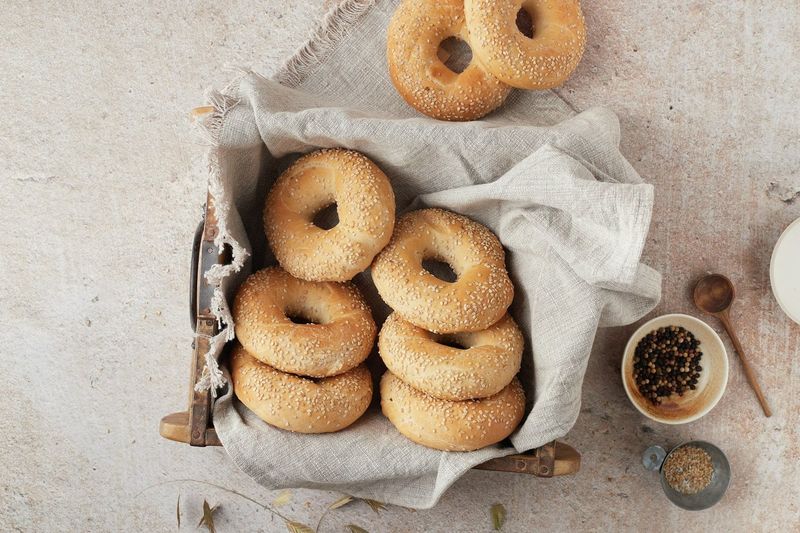
Brush your bagels with an egg white wash just before baking, then sprinkle on whatever takes your fancy: sesame seeds, poppy seeds, everything bagel seasoning, dried onion flakes, or even a dusting of cinnamon sugar for a sweet twist.
The egg wash acts like glue, helping toppings stick and giving the crust a glossy finish.
Get creative with combinations, mixing garlic powder with sea salt or trying za'atar for a Middle Eastern vibe. You can also fold flavourings like grated cheese or dried herbs directly into the dough for an all-over taste.
7. Storage And Freshness Tips
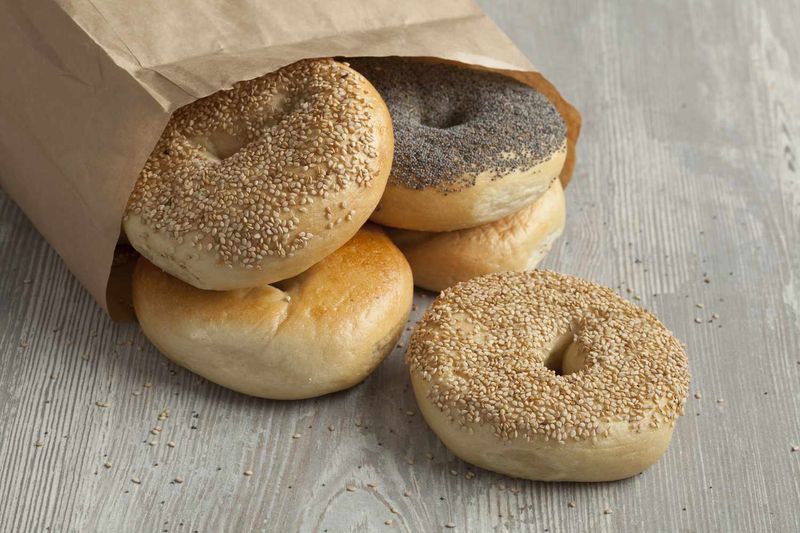
Once cooled completely, store your bagels in an airtight container or a resealable bag at room temperature for up to four days. They'll stay soft and chewy if kept sealed, but if they start to firm up, a quick toast brings them right back to life.
Avoid the fridge, as it tends to dry them out faster than leaving them on the counter.
For longer storage, slice them in half and freeze in a zip-top bag for up to four months. Pull out individual bagels as needed and toast straight from frozen for a quick breakfast.
8. Serving And Filling Ideas
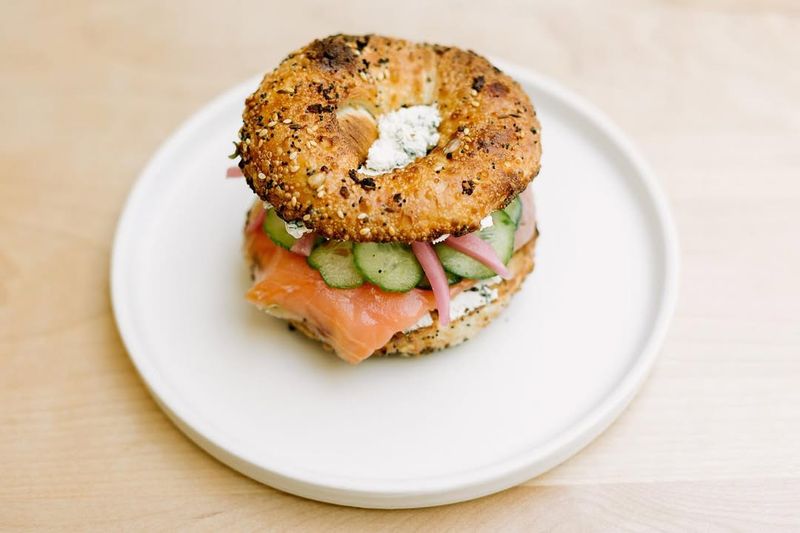
Slice your bagels horizontally and slather them with cream cheese, smoked salmon, and a few capers for a classic combo that never gets old.
Or go savoury with scrambled eggs, bacon, and a dollop of ketchup for a proper breakfast sandwich.
The sturdy texture of a homemade bagel holds up brilliantly to generous fillings without falling apart.
Sweet toppings work just as well: try peanut butter and sliced banana, or Nutella with fresh strawberries. Bagels are endlessly versatile, so let your cravings guide you and don't be afraid to pile on the good stuff.
9. Common Mistakes To Avoid
Overmixing the dough is a rookie error that leads to tough, rubbery bagels instead of soft, chewy ones. Mix just until everything comes together, then stop.
Another pitfall is skipping the boiling step entirely, which robs your bagels of that distinctive texture and crust. Yes, it's an extra faff, but it's absolutely worth it.
Finally, don't underbake them in a bid to keep them soft. Pale bagels lack flavour and structure, so let them develop a proper golden colour.
Trust the process, and you'll be rewarded with bakery-quality results every time.



