













Few things are more disappointing than cutting into a scone that looks promising but turns out dry, dense, or heavy.
Achieving soft, fluffy results is not about complicated techniques or specialist equipment – it comes down to understanding a handful of simple principles and applying them consistently.
From how cold your butter should be to the way the dough is mixed and handled, small details make a noticeable difference to texture, rise, and flavour.
This article is for general informational purposes only.
Baking results may vary depending on ingredients, equipment, technique, and environmental conditions.
Photos are for illustrative purposes only.
1. Choosing The Right Flour And Raising Agents
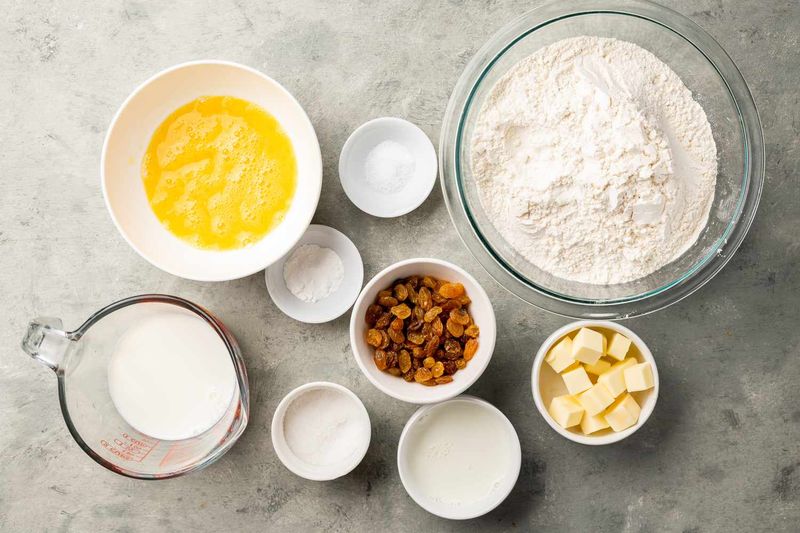
Plain flour is your best mate when it comes to scones.
It strikes that lovely balance between structure and tenderness, giving you a scone that rises beautifully without turning into a dense brick.
Baking powder is the magic dust that makes everything puff up nicely.
Make sure yours is fresh, though, because stale baking powder is about as useful as a chocolate teapot.
Sifting your flour before mixing adds air and prevents lumps, creating a lighter, more delicate crumb.
It's a small step that makes a noticeable difference in the final texture of your scones.
2. Why Cold Butter Makes All The Difference
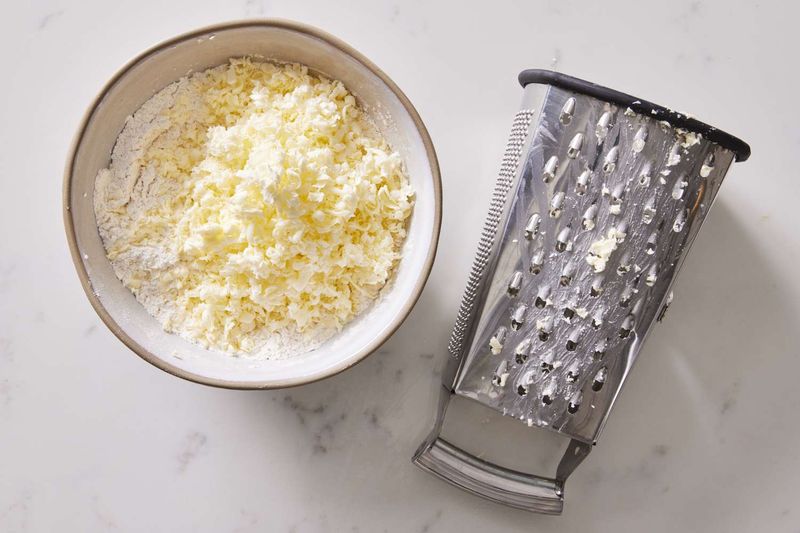
Cold butter is absolutely non-negotiable if you want flaky, layered scones.
When those little chunks of butter hit the hot oven, they create steam pockets that lift the dough and give you those gorgeous, airy layers.
Room temperature butter just melts into the flour, creating a greasy, dense mess instead of the fluffy texture you're after.
Keep your butter in the fridge until the very last moment, and even consider popping it in the freezer for ten minutes beforehand.
Grate frozen butter directly into your flour for the easiest incorporation without warming it up with your hands.
3. Getting The Milk And Liquid Ratios Just Right
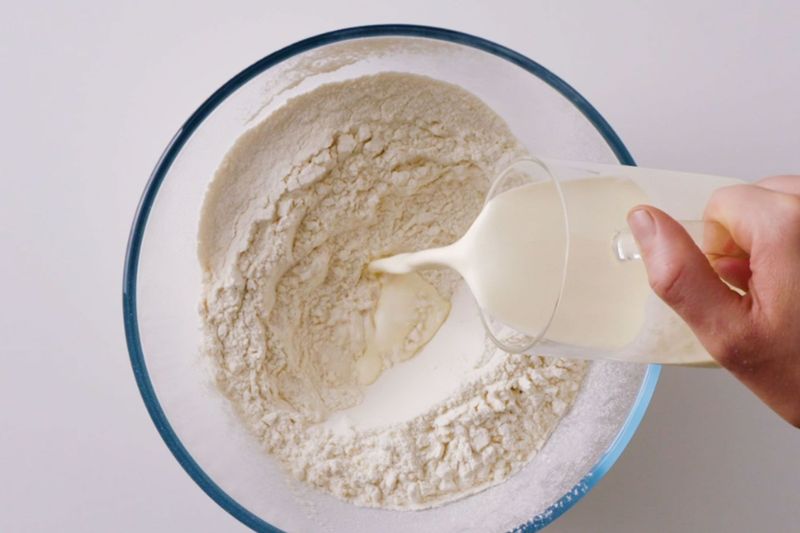
Too much liquid and your dough becomes a sticky nightmare.
Too little and you'll end up with dry, crumbly disasters that fall apart before they even reach your mouth.
Start with slightly less liquid than the recipe calls for, then add more gradually until the dough just holds together.
Different flours absorb liquid differently, so you need to adjust based on what you're seeing and feeling.
Cold milk works best, keeping everything chilled.
Full-fat milk adds richness and helps with browning, giving you that golden, appetising finish on top.
4. How To Mix The Dough Without Overworking It
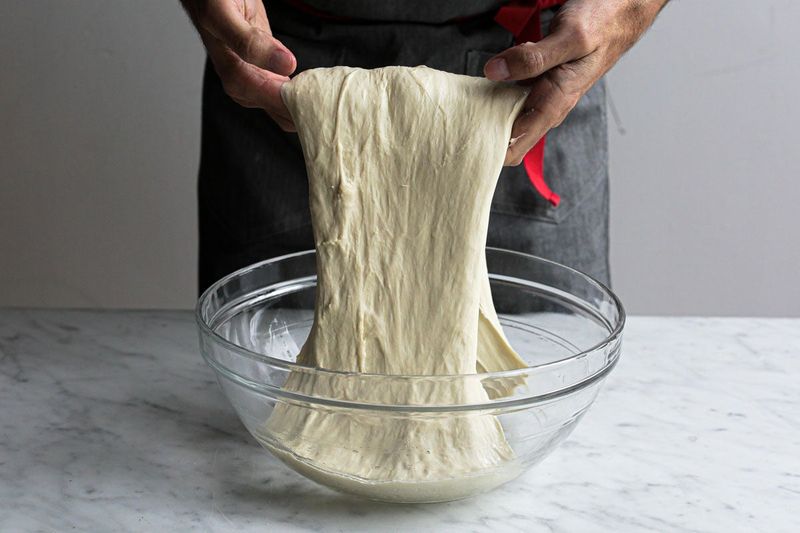
Here's where many bakers go wrong: treating scone dough like it's bread dough.
Overworking develops gluten, which turns your scones tough and chewy rather than tender and crumbly.
Mix just until the ingredients barely come together, even if the dough looks a bit shaggy.
Those rough edges are your friends, not your enemies.
Use a light hand and think of it more as folding than mixing.
A few gentle turns with a spatula or your fingertips is all you need.
Stop while you still see a few dry bits, they'll hydrate as the dough rests.
5. Rolling And Cutting For Maximum Rise
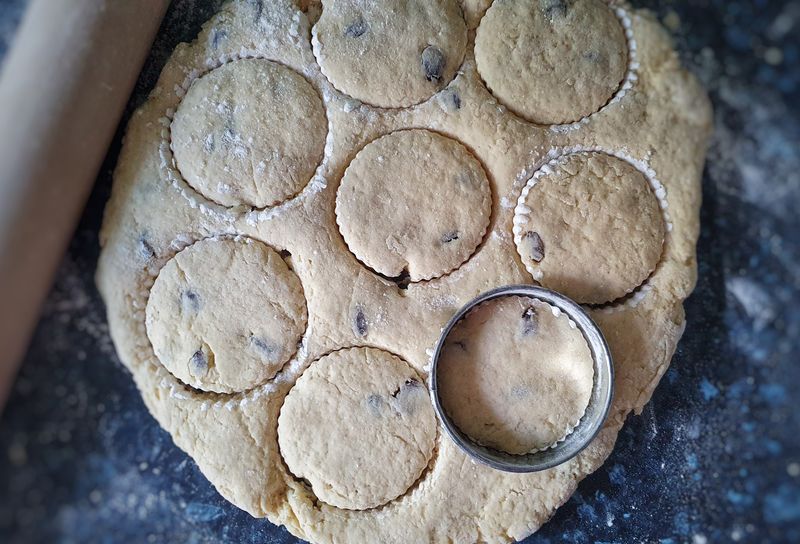
Rolling your dough too thin is a rookie mistake.
Aim for about an inch thick, maybe slightly more, to give your scones room to rise properly and develop that lovely soft interior.
When cutting, press straight down with a sharp cutter and resist the urge to twist.
Twisting seals the edges, preventing them from rising evenly and giving you lopsided scones.
Flour your cutter between cuts to prevent sticking.
Place your cut scones close together on the baking tray so they support each other as they rise, creating taller, fluffier results.
6. Oven Temperature And Baking Time Explained

A scorching hot oven is essential for proper scone rising.
Preheat to 220°C (that's about 425°F for our American friends) and make absolutely certain it's fully heated before your scones go in.
That blast of heat creates immediate steam from the cold butter and liquid, forcing the scones upward quickly.
Lower temperatures mean slow rising, which gives you flat, disappointing results.
Bake for 12 to 15 minutes until golden on top.
They should sound slightly hollow when tapped on the bottom.
Overbaking dries them out, so keep a close eye during those final minutes.
7. How To Keep Scones Soft After Baking
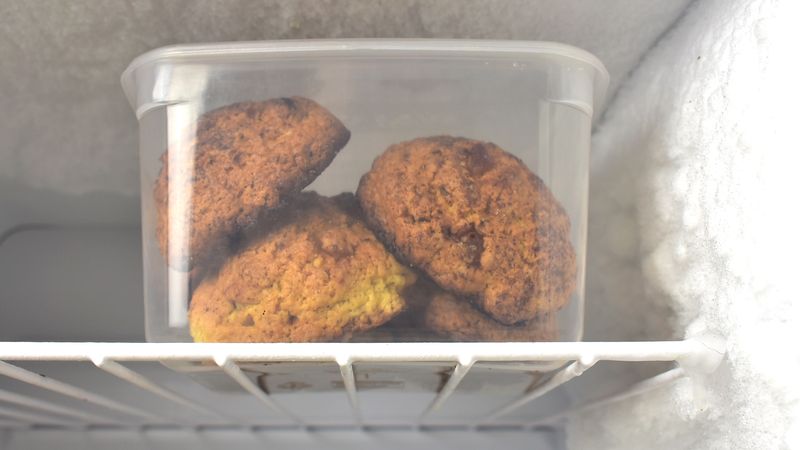
Scones are at their absolute best within a few hours of baking, but life happens and sometimes you need them to last a bit longer.
Once cooled completely, store them in an airtight container lined with kitchen paper to absorb any moisture.
This prevents them from becoming soggy whilst keeping them from drying out too quickly.
For longer storage, freeze them individually wrapped in cling film, then pop them in a freezer bag.
Reheat from frozen in a moderate oven for five minutes, and they'll taste freshly baked.
Avoid the microwave, it makes them rubbery and sad.
8. Common Scone Mistakes And How To Avoid Them
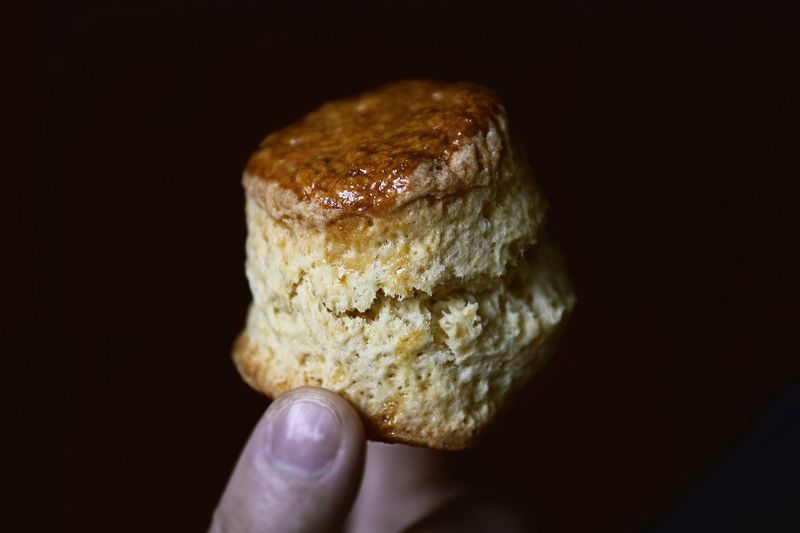
Forgetting to check if your baking powder is still active?
That's mistake number one.
Test it by adding a spoonful to hot water.
If it doesn't fizz enthusiastically, bin it and get fresh.
Using warm ingredients is another disaster waiting to happen.
Everything from butter to milk needs to be properly cold, or your scones will spread instead of rise.
Finally, opening the oven door too early causes a temperature drop that deflates your beautifully rising scones.
Be patient and resist peeking until at least ten minutes have passed.
Trust the process, mate.



