













There’s nothing more frustrating than beautifully whipped cream that softens and slides before you’ve even finished decorating.
With the right technique, cream can stay light, fluffy, and stable long enough to crown cakes, spoon over puddings, or swirl into hot drinks without losing its shape.
A few small adjustments in temperature, timing, and handling make all the difference in achieving reliable results at home.
All information is provided for general interest only.
Taste, appearance, and availability may vary.
Photos are for illustrative purposes only.
1. Choosing The Right Cream For Stable Whipping

Fat content makes all the difference when you're after cream that stays put.
Look for heavy or double cream with at least 35% fat, which creates sturdy air bubbles that resist collapsing.
Single cream and half-fat versions simply don't have enough richness to maintain structure once whipped.
The extra fat molecules trap air more effectively, giving you that dreamy, cloud-like texture.
Check the label before buying, because using the wrong type guarantees disappointment no matter how perfectly you whip it.
2. Why Temperature Makes Or Breaks Whipped Cream
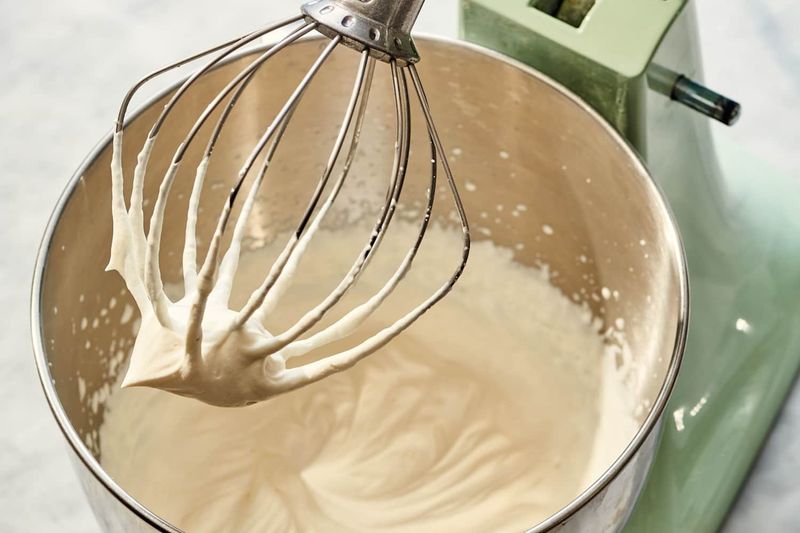
Cold cream whips faster and holds its shape far better than room-temperature stuff.
Pop your bowl and whisk attachments in the freezer for 15 minutes before you start, and keep the cream chilled until the last moment.
Warmth causes fat molecules to soften and lose their ability to trap air properly.
If your kitchen is sweltering, work quickly or even set your bowl over a larger bowl filled with ice.
Temperature control sounds fussy, but it's genuinely the easiest way to guarantee success every single time.
3. Hand Whisking Versus Electric Mixers – What Works Best
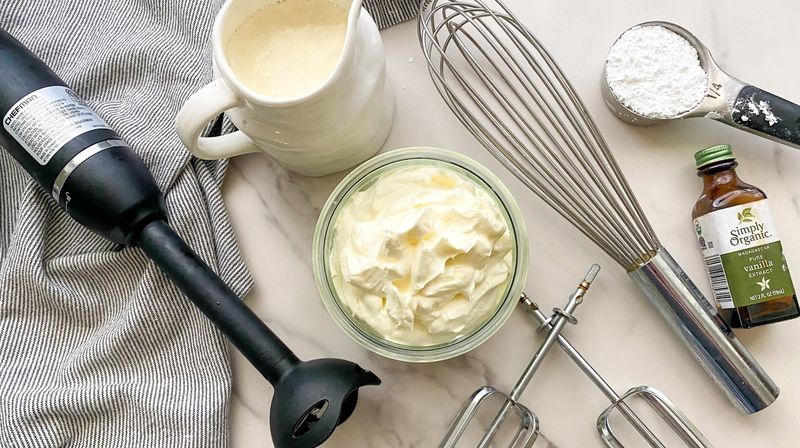
Electric mixers save your arm from falling off, but hand whisking gives you more control over the final texture.
With a mixer, you can reach stiff peaks in two to three minutes, whilst a balloon whisk takes closer to eight or ten.
The downside to electric speed?
It's easier to overshoot and end up with grainy, buttery mess.
Hand whisking lets you feel the resistance change as the cream thickens, giving you precious extra seconds to stop at the perfect moment.
Choose based on quantity and your patience level.
4. How To Spot Soft Peaks And Stiff Peaks Properly
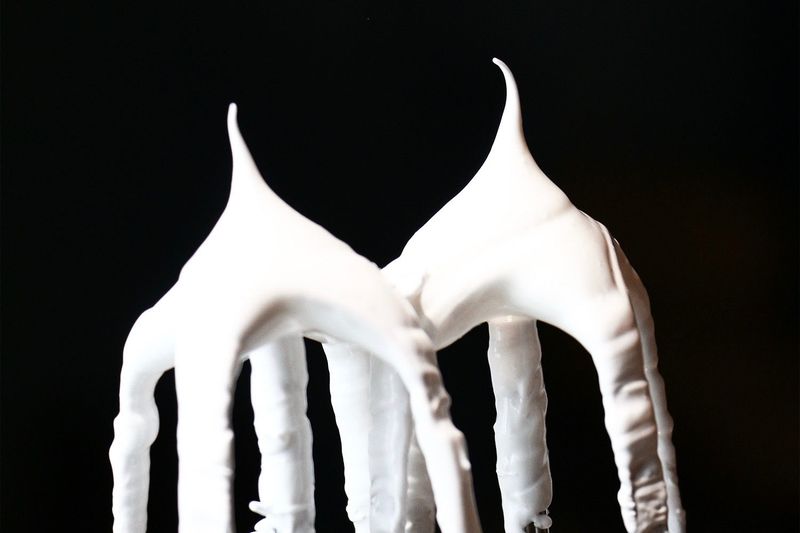
Recognising the stages of whipped cream prevents disasters and saves wasted batches.
Soft peaks form gentle mounds that flop over when you lift the whisk, perfect for folding into mousses or spooning onto desserts.
Stiff peaks stand upright with sharp tips that hold their shape completely, ideal for piping decorations or layering in trifles.
Between these stages, there's only a few seconds of whipping, so watch closely rather than wandering off.
Stop before the cream looks grainy or curdled, because there's no fixing overwhipped cream once you've crossed that line.
5. Common Whipping Mistakes That Cause Collapse
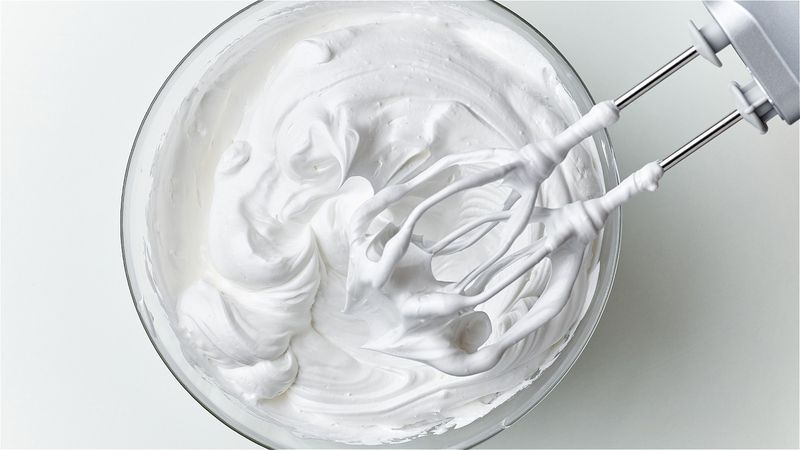
Overwhipping turns smooth cream into grainy butter-flecked disappointment faster than you'd think.
Starting at high speed splatters cream everywhere and incorporates air unevenly, creating an unstable foam.
Adding sugar too early weighs down the bubbles before they've had a chance to form properly.
Warm equipment, old cream, or insufficient fat content all sabotage your efforts before you even begin.
Most collapses happen because people rush the process or ignore the fundamentals, so slow down and follow the steps in order for reliable results.
6. When And How To Sweeten Without Losing Structure
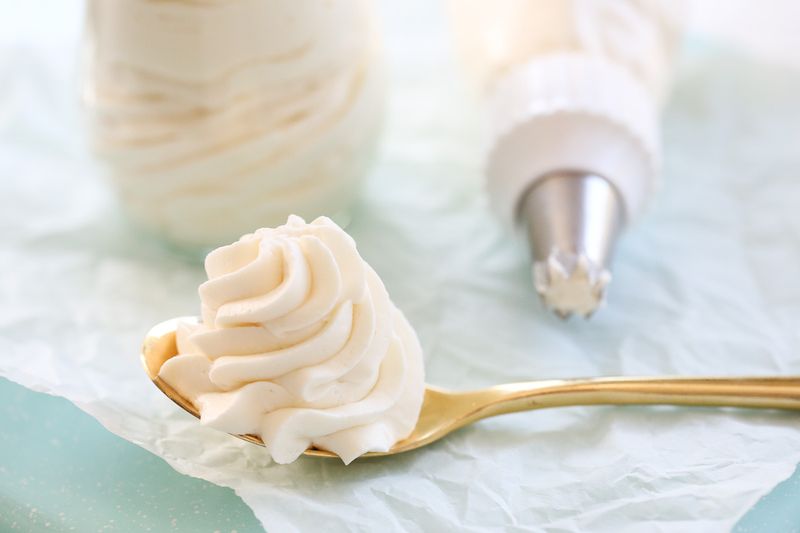
Timing matters when you're adding sweetness to whipped cream.
Granulated sugar can make the texture grainy, so swap it for icing sugar, which dissolves instantly and contains a bit of cornflour that helps stabilise the foam.
Add your sweetener once the cream reaches soft peaks, then continue whipping to your desired consistency.
If you add it too early, the sugar dissolves into the liquid and weighs everything down.
One to two tablespoons per 250ml of cream is plenty; too much sweetness masks the lovely dairy flavour anyway.
7. Simple Stabilising Tricks For Longer-Lasting Cream
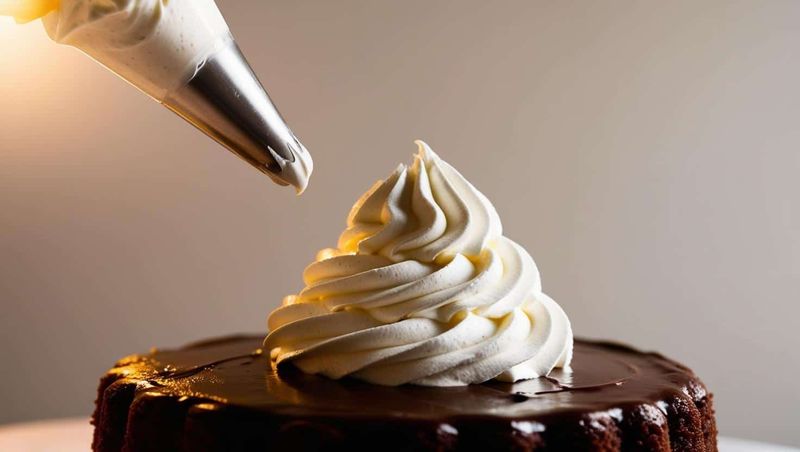
Stabilisers keep whipped cream perky for days instead of hours, essential if you're prepping desserts ahead.
A teaspoon of cornflour mixed with icing sugar works brilliantly without altering flavour or texture.
Alternatively, dissolve half a teaspoon of unflavoured gelatine in a tablespoon of water, let it bloom, then gently warm until liquid and fold it into soft peaks.
Cream cheese or mascarpone beaten in at the start creates a tangy, ultra-stable version perfect for piping.
Each method extends shelf life to two or three days in the fridge.
8. How To Store Whipped Cream So It Keeps Its Shape
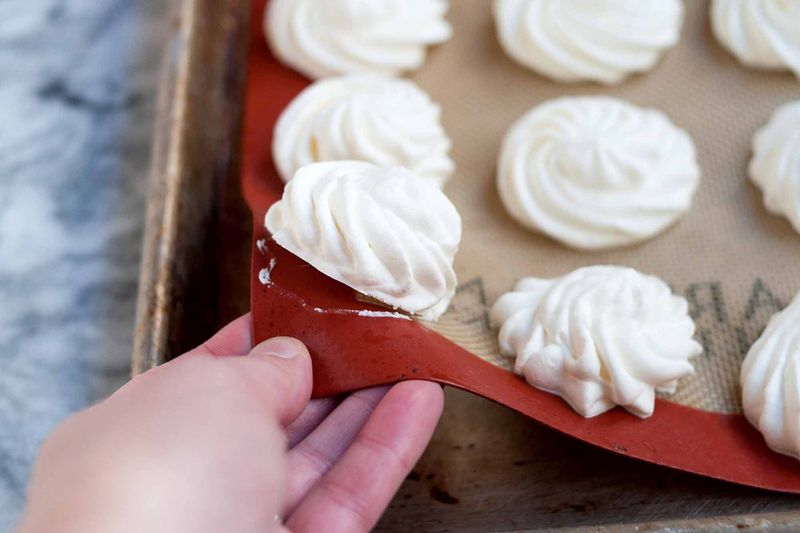
Proper storage prevents your hard work from deflating overnight.
Transfer whipped cream to an airtight container immediately after whipping, pressing clingfilm directly onto the surface to prevent a skin forming.
Keep it in the coldest part of your fridge, usually the back of the middle shelf, where temperature stays
most consistent.
Stabilised cream lasts two to three days, whilst plain whipped cream starts weeping after about 24 hours.
If it softens slightly, give it a quick whisk before serving to perk it back up without overworking it.



