













Making bread at home isn't just about creating something delicious – it's about connecting with an ancient tradition that spans cultures worldwide. The smell of freshly baked bread wafting through your kitchen brings comfort like nothing else.
With these essential steps, you'll be well on your way to creating perfect homemade loaves that will impress family and friends alike.
This article is for general information and entertainment purposes only. Recipes, ingredients, and results may vary depending on preparation, equipment, and individual skill level.
1. Gather All Ingredients
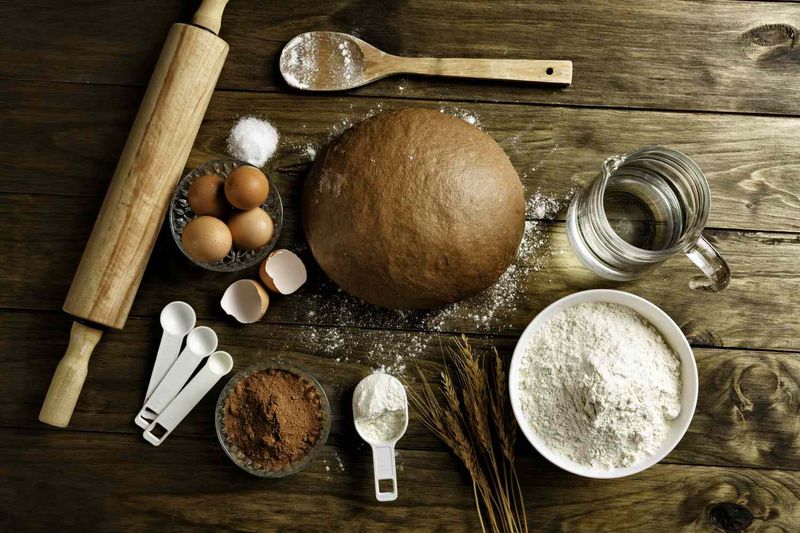
Start your bread-making adventure by collecting everything you'll need before the first pinch of flour hits the bowl. Having ingredients ready prevents that frantic cupboard-searching halfway through mixing.
Quality matters tremendously – fresh flour, active yeast, and proper salt make all the difference between ordinary and extraordinary bread.
2. Measure Accurately
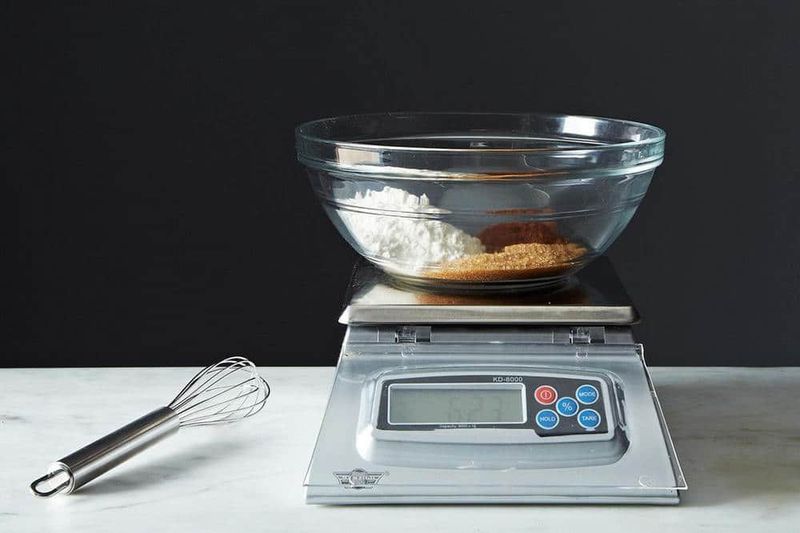
Baking is chemistry, and precision makes perfect bread. Using digital scales rather than cups gives consistent results every time you bake.
Even slight variations in flour amounts can transform your loaf from light and airy to dense and heavy. Temperature matters too – water that's too hot kills yeast, while too cold slows rising.
3. Activate The Yeast
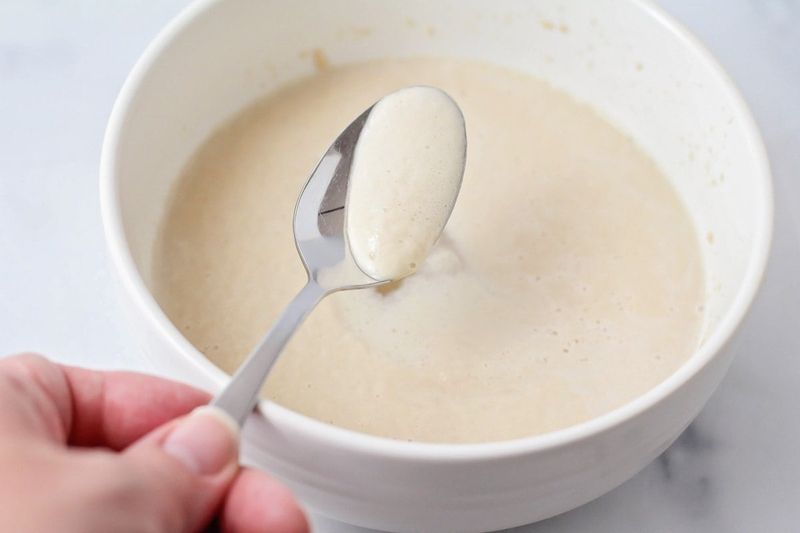
Sprinkle your yeast into warm water (about 38°C – feels slightly warm, not hot, to your wrist) with a pinch of sugar. Watch the magic happen as it bubbles and foams within minutes!
This crucial step confirms your yeast is alive and ready to work. If nothing happens after 10 minutes, your yeast might be old or the water temperature incorrect.
4. Mix Dry And Wet Ingredients
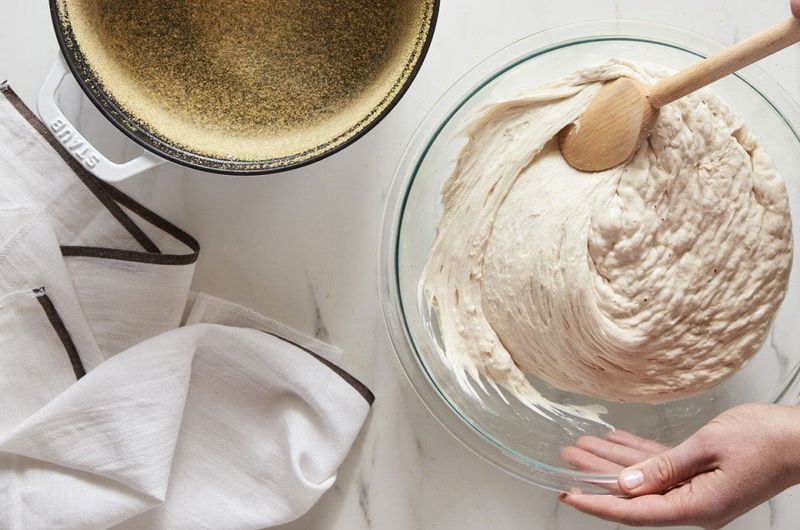
Form a small well in your flour mixture before pouring in the activated yeast solution. Gradually incorporate wet into dry, maintaining control over the developing texture.
Mixing slowly prevents flour clouds while ensuring even hydration. The dough should pull together cohesively but still feel slightly sticky – resist adding too much extra flour!
5. Knead The Dough Well
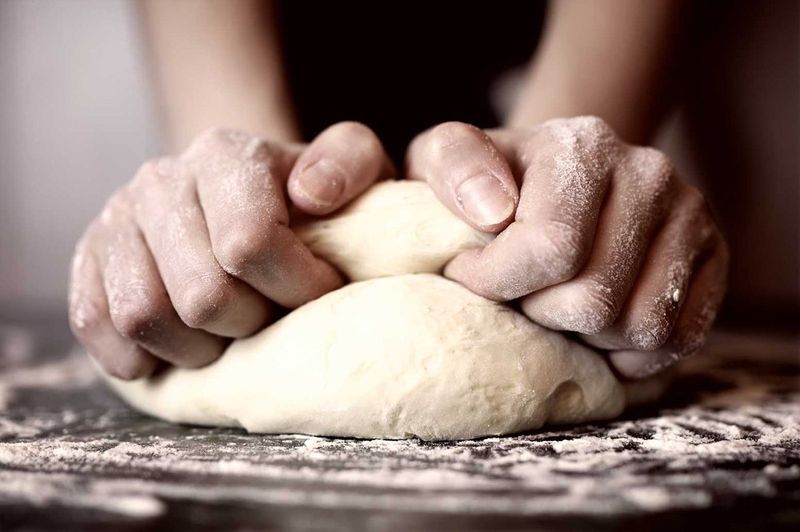
Turn your shaggy mixture onto a lightly floured surface and push into it with the heels of your hands. Fold, turn, and repeat this rhythmic dance for 8-10 minutes until smooth and elastic.
Proper kneading develops gluten strands that trap air bubbles, creating that perfect chewy texture. The dough should stretch without tearing when it's ready.
6. Let Dough Rise Until Doubled
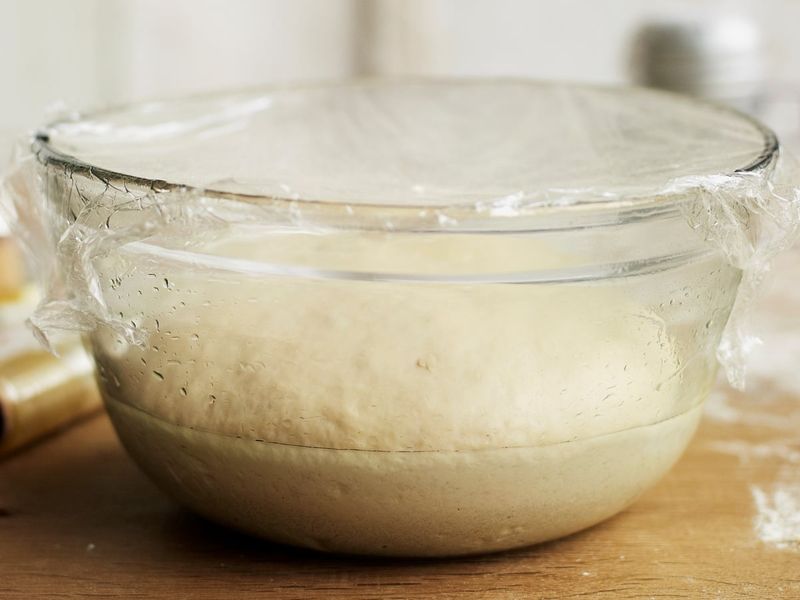
Place your kneaded masterpiece in an oiled bowl, cover with a damp cloth, and find a draft-free warm spot. Patience becomes your greatest virtue during this first rise.
The yeast feasts on sugars, creating carbon dioxide that inflates your dough. This slow development builds complex flavours while creating the airy structure that makes homemade bread special.
7. Punch Down The Dough
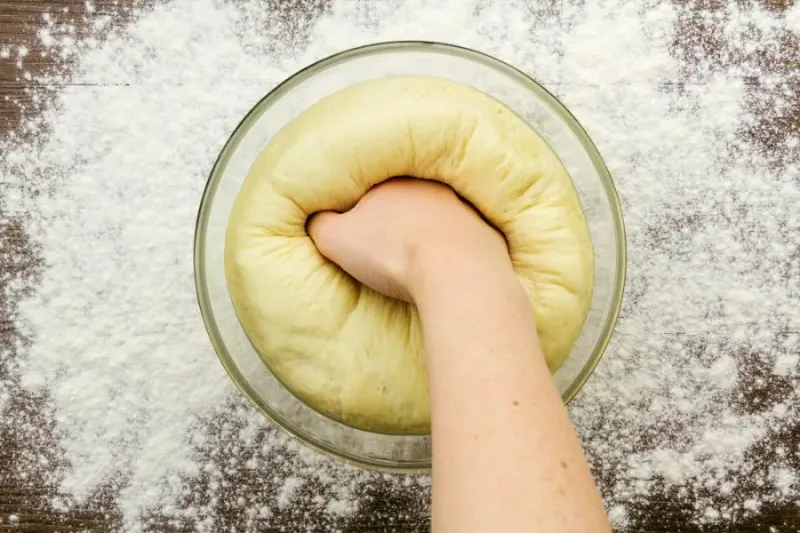
After doubling in size, press your fist gently into the dough's center. This oddly satisfying step releases trapped carbon dioxide and redistributes yeast cells throughout.
Don't pummel aggressively – a gentle deflation preserves the delicate structure you've developed. The dough should collapse easily, showing it's properly fermented and ready for shaping.
8. Shape Into Loaf Or Rolls
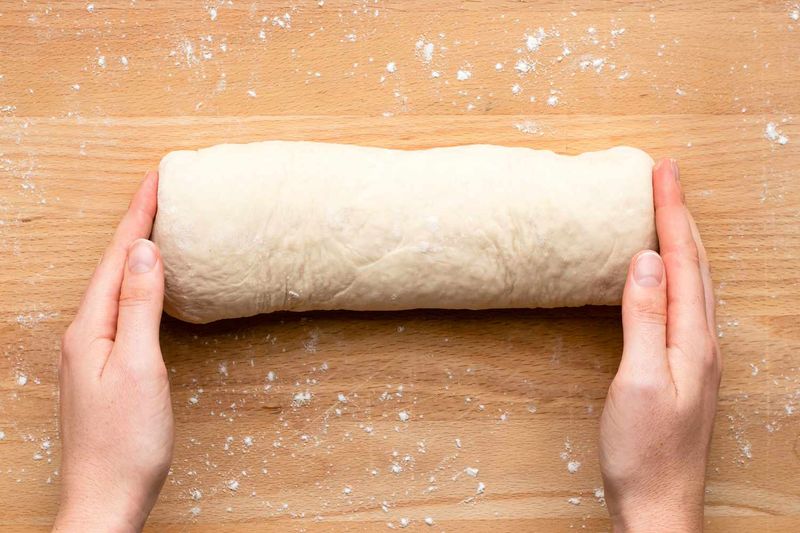
Flatten your dough into a rectangle, then roll it tightly like a Swiss roll for a traditional loaf. Creating surface tension by tucking edges underneath is the secret professional bakers rarely share.
For dinner rolls, divide evenly and shape each piece by pulling dough edges downward, creating tight, smooth tops. This tension helps bread rise upward rather than outward.
9. Allow Second Rise
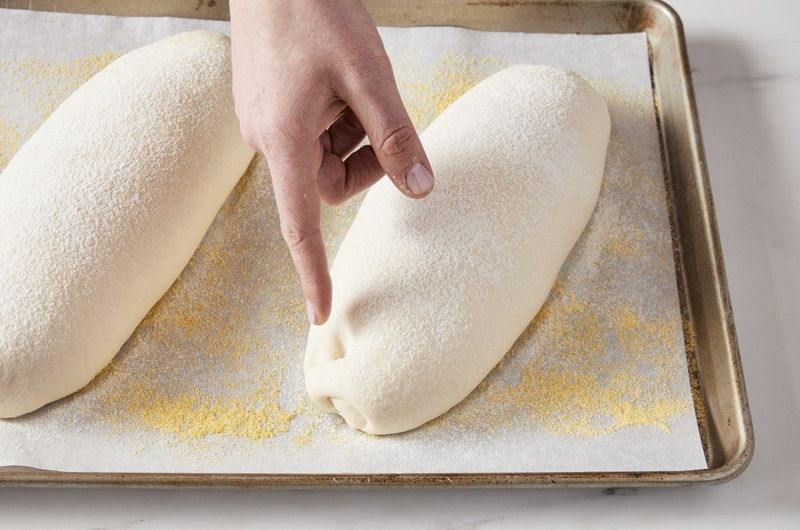
Transfer your shaped dough to its final baking vessel – loaf tin, baking sheet, or proving basket. Cover loosely and let rise again until visibly puffy but not quite doubled.
This second rise, called proofing, creates additional flavor complexity while improving texture. Test readiness by pressing lightly with your finger – properly proofed dough springs back slowly, leaving a slight indentation.
10. Preheat The Oven Properly
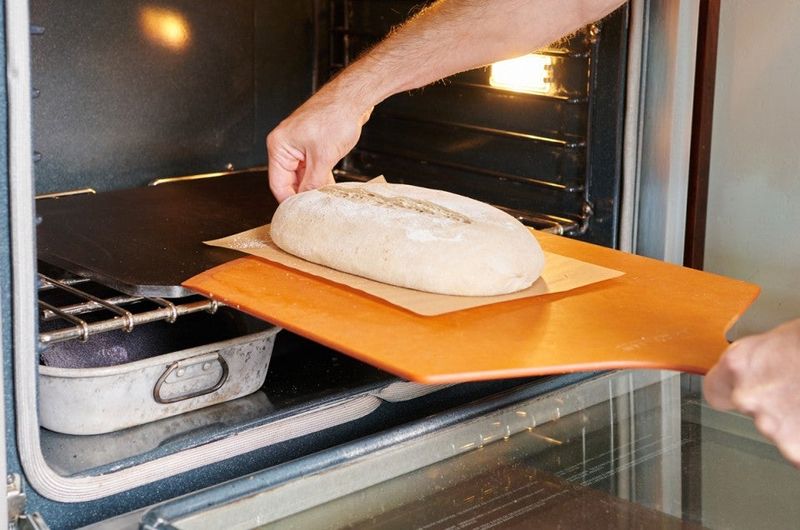
Heat your oven thoroughly before baking – at least 20 minutes at the recipe's specified temperature. A baking stone or upturned tray creates professional-quality heat distribution.
Steam improves crust development dramatically. Place a metal tray in the bottom of your oven while preheating, then add boiling water just before loading your bread for that bakery-style finish.
11. Bake Until Golden Brown
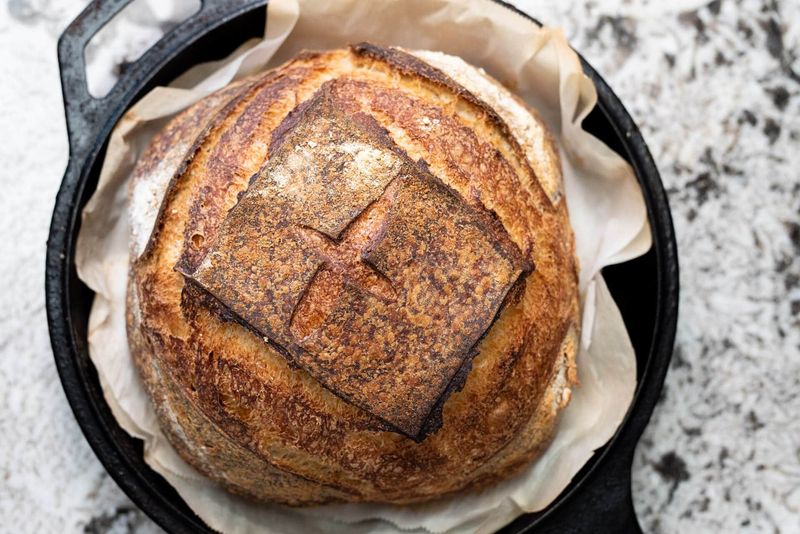
Place your bread in the hot oven and resist the temptation to peek during the first 15 minutes. This crucial period determines how high your bread will rise.
The transformation happens as crust caramelizes to golden perfection. Test doneness by tapping the bottom – a hollow sound indicates it's ready, while a dull thud means it needs more time.
12. Cool On A Wire Rack
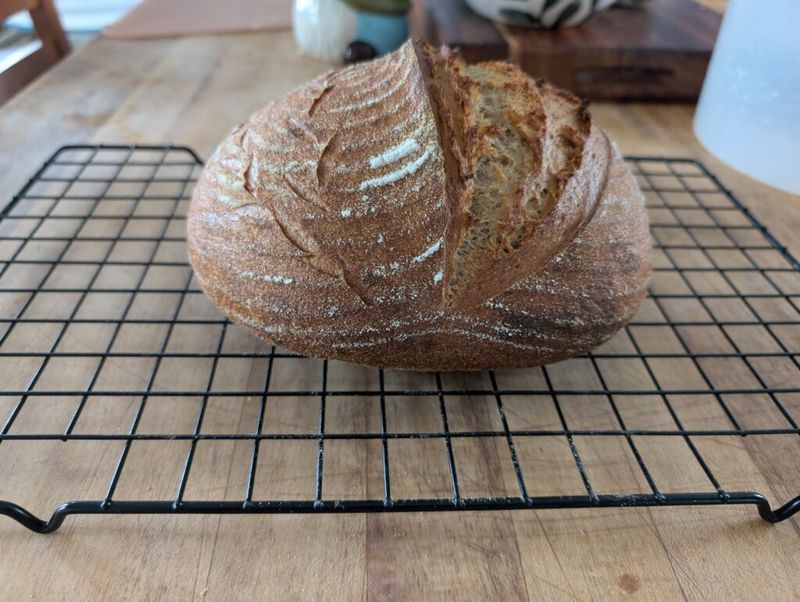
Exercise restraint when your bread emerges fragrant from the oven. Transferring immediately to a wire rack prevents soggy bottoms as steam escapes from all sides.
Cutting too soon ruins texture – wait at least 30 minutes for proper setting. This cooling period completes the baking process as residual heat continues working its magic inside your perfect homemade loaf.



