













Chicken is one of the most versatile ingredients in our kitchens, but getting it just right can be trickier than it seems.
Whether you're a novice cook or seasoned home chef, mastering some techniques could help your ordinary chicken meals be requested by your family again and again.
These tips are based on widely recommended cooking practices. Cooking times and results may vary depending on chicken size, cut, equipment, and individual technique.
1. Bring To Room Temperature
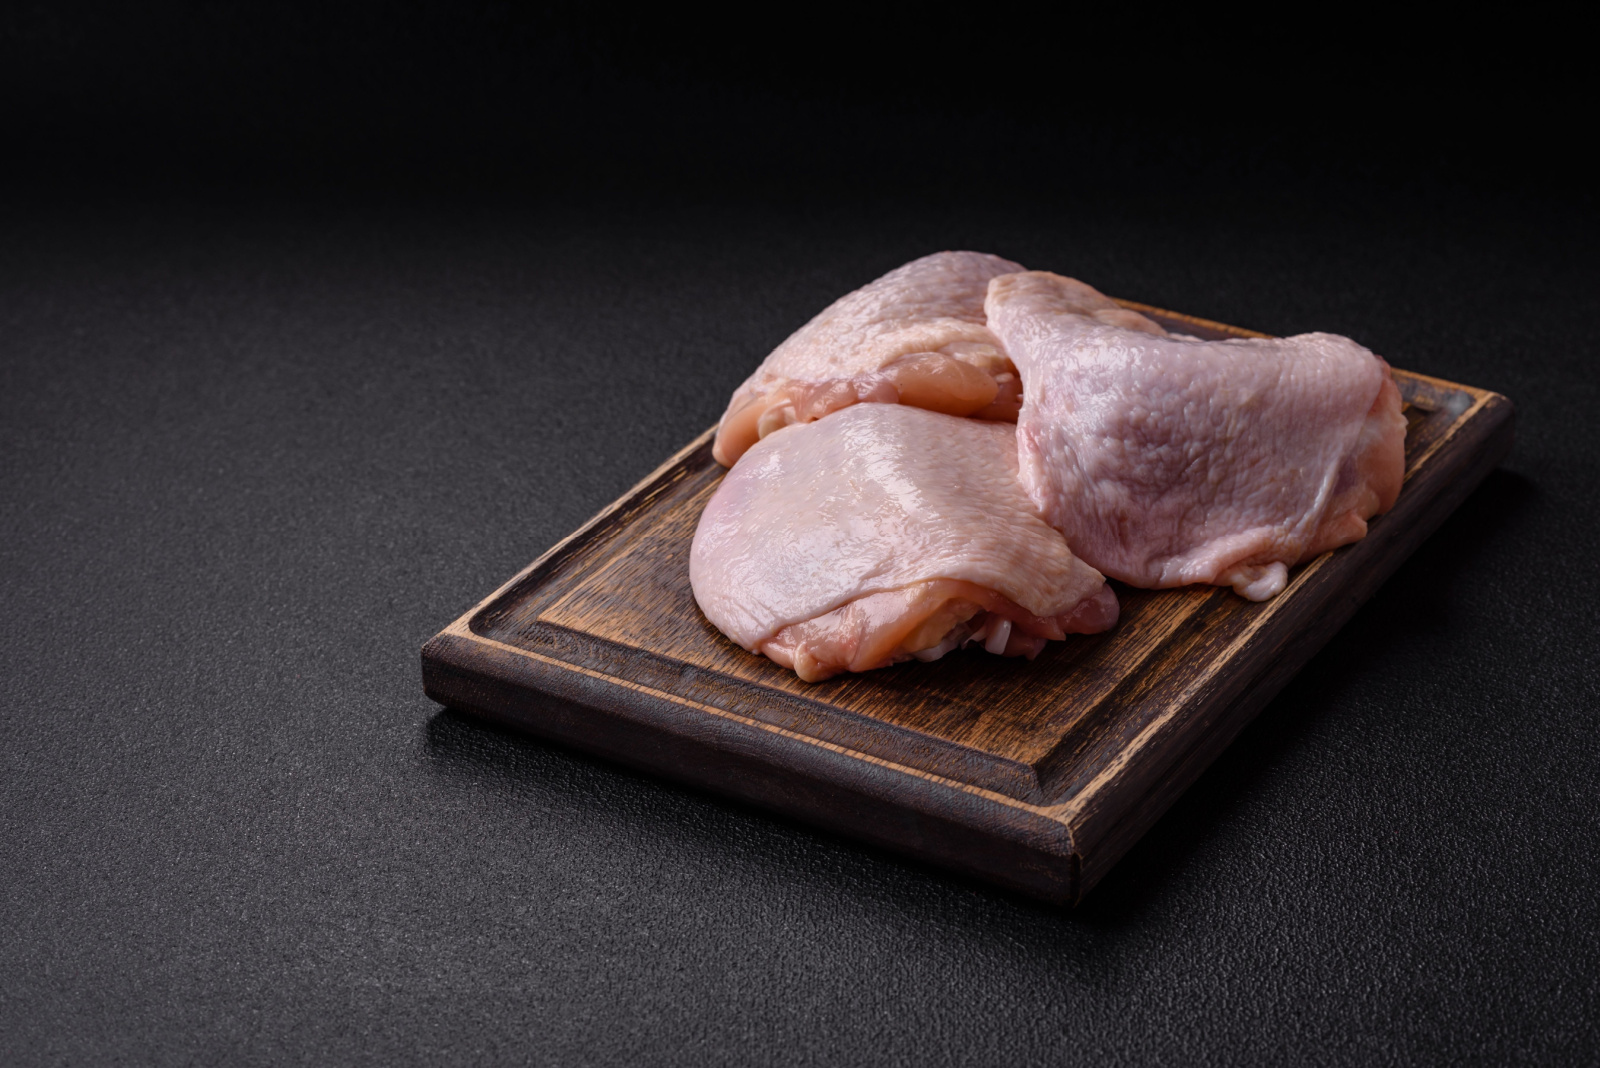
Cold chicken straight from the fridge cooks unevenly, often resulting in dry edges before the middle is done. Taking 20-30 minutes to let your chicken rest on the counter equalises the temperature.
The meat will cook more uniformly and retain more moisture this way. For food safety, don't leave it out longer than 30 minutes, especially in warmer kitchens.
2. Season Generously
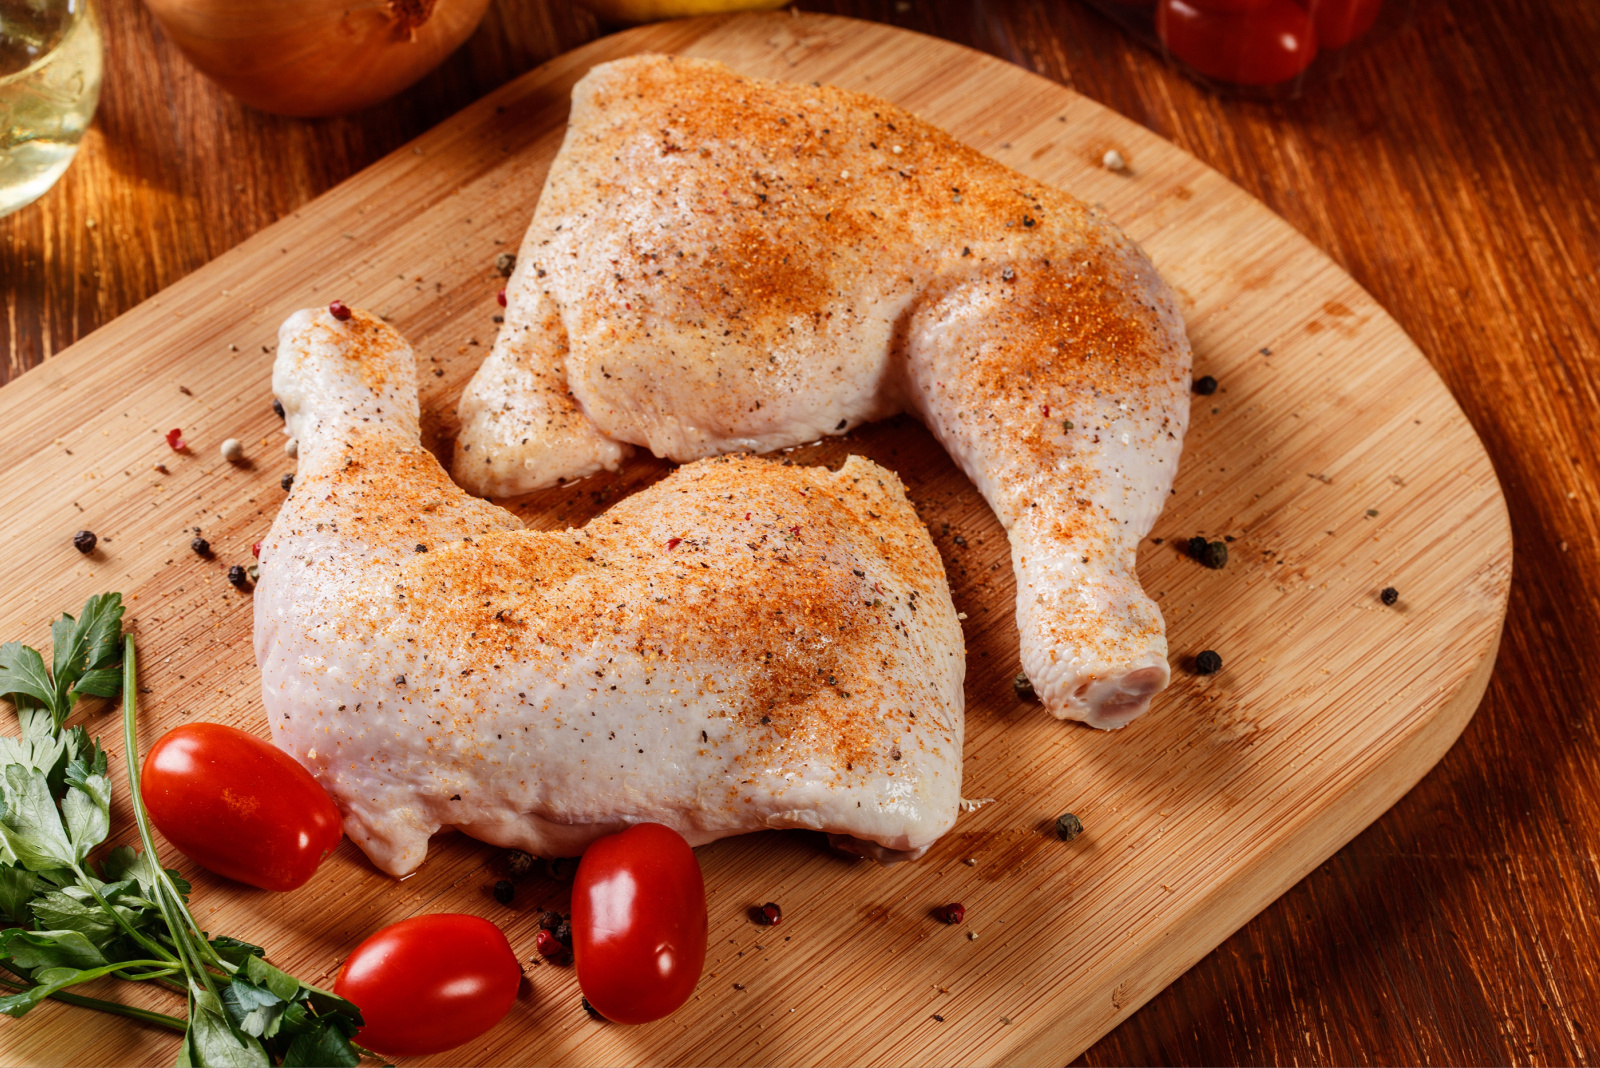
Chicken needs more seasoning than you might think. Salt is your best friend here. It penetrates the meat, enhancing natural flavours while helping retain moisture during cooking.
Apply salt at least 40 minutes before cooking to allow it to work its magic. Don't stop at salt though! Herbs like thyme and rosemary or spices like paprika and garlic powder create delicious flavour profiles.
3. Pat The Skin Dry
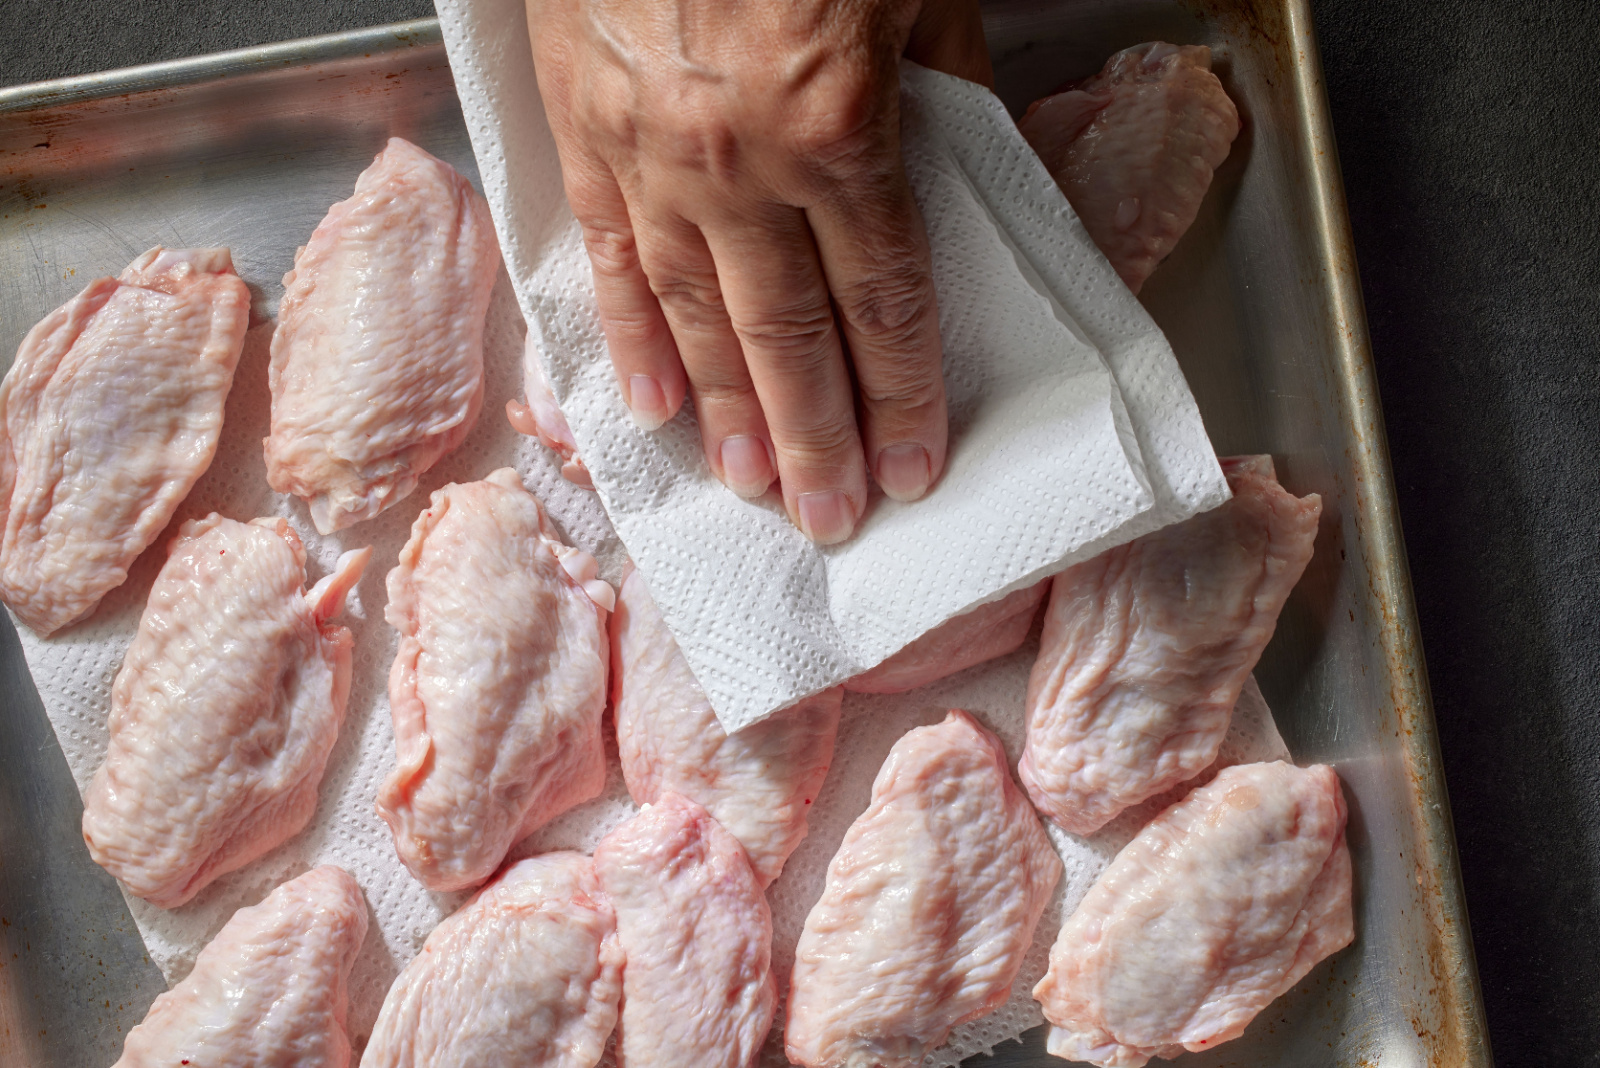
The secret to crispy, golden chicken skin? Moisture is the enemy. Before cooking, thoroughly pat the skin with kitchen paper to remove surface moisture.
This simple step prevents steaming and promotes beautiful browning. For extra-crispy results, leave the salted chicken uncovered in the fridge overnight, the air circulation will dry the skin further, creating that amazing crispy texture.
4. Use A Meat Thermometer
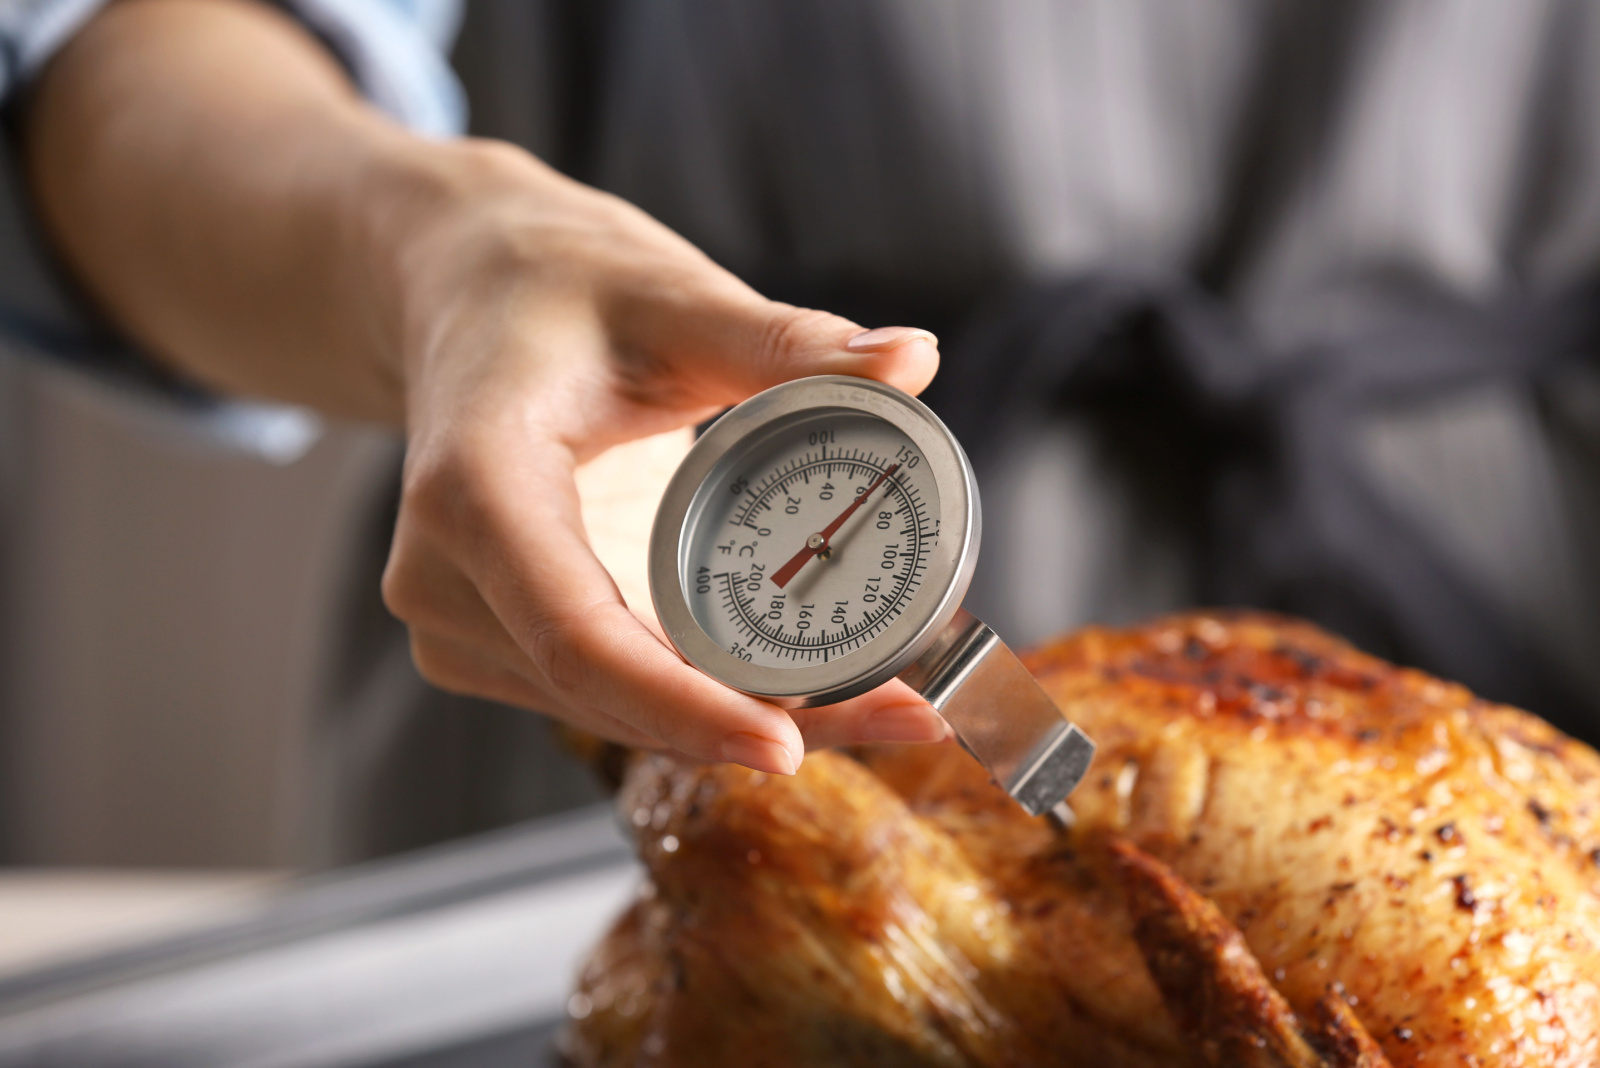
Guesswork leads to either unsafe or overcooked chicken. A good meat thermometer eliminates doubt, insert it into the thickest part without touching bone.
The magic number is 75°C (165°F), which kills harmful bacteria while keeping the meat juicy. For large cuts, check multiple spots. This simple tool costs little but transforms your cooking confidence and results.
5. Marinate For Maximum Flavour
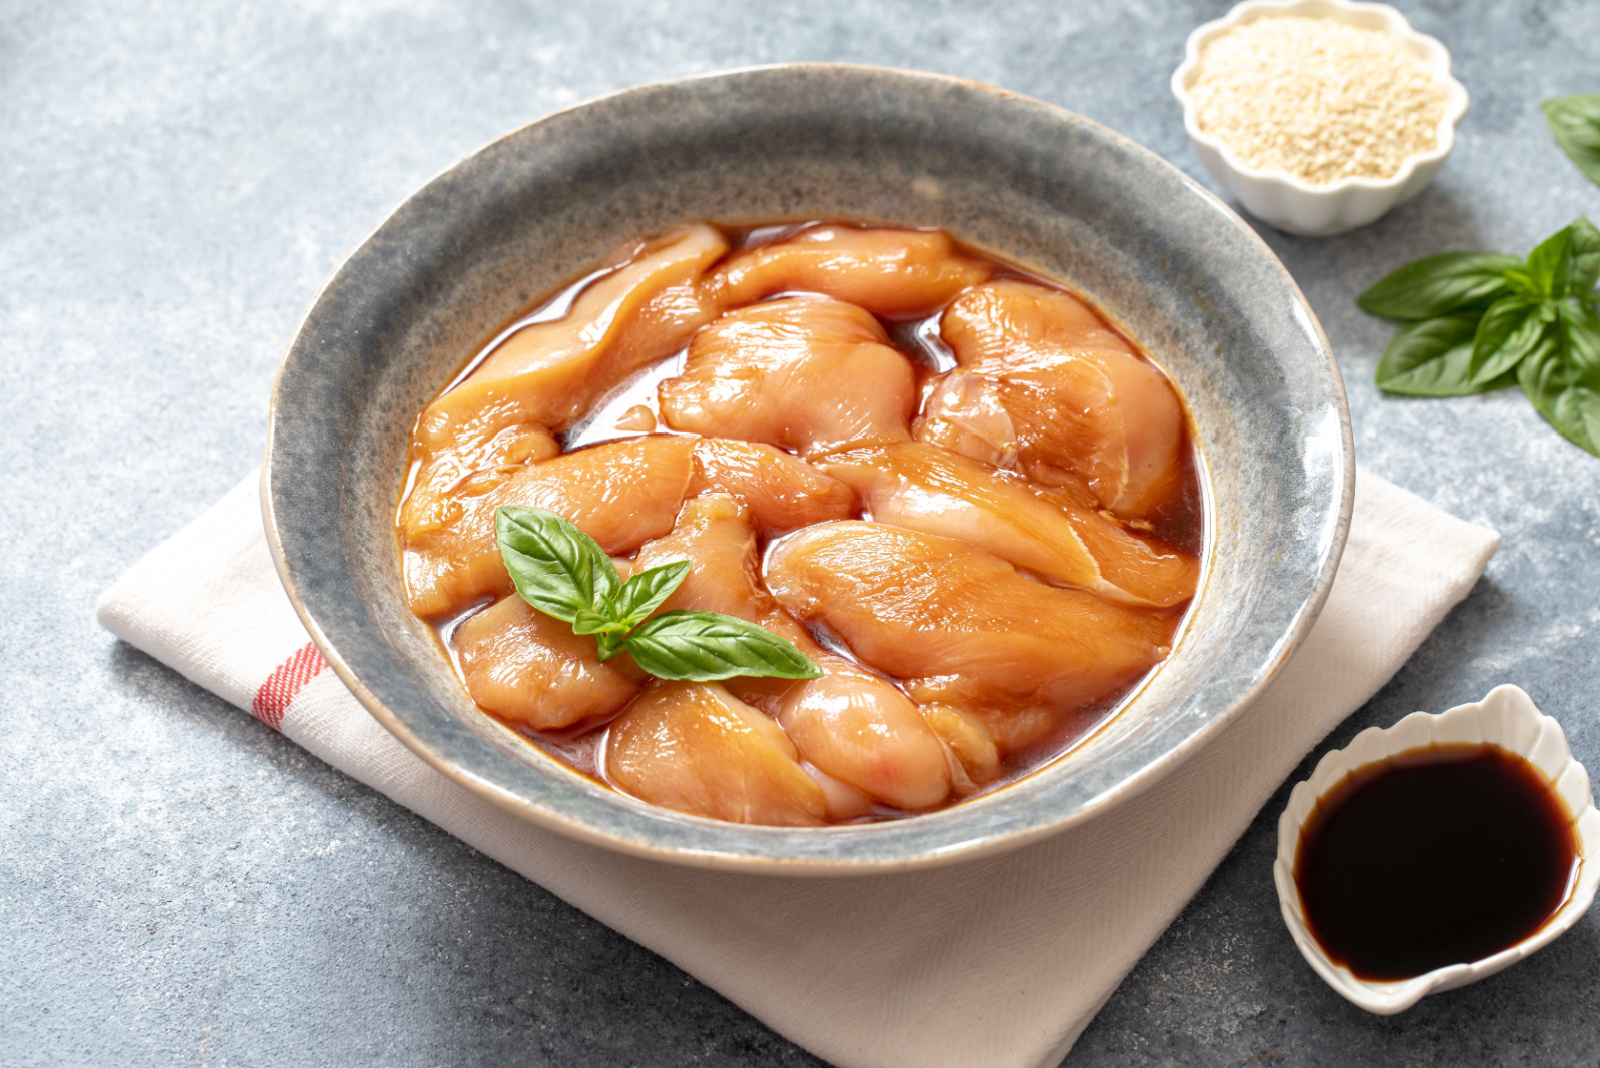
Marinades work double duty. They tenderise and flavour simultaneously. The acid component (lemon juice, vinegar, yoghurt) breaks down tough proteins, while oils carry flavour deeper into the meat.
Thirty minutes works for thin cuts, but overnight marinating creates magic for larger pieces. Use zip-top bags to ensure even coating with minimal marinade. Remember to pat dry before cooking to prevent steaming.
6. Give Each Piece Space
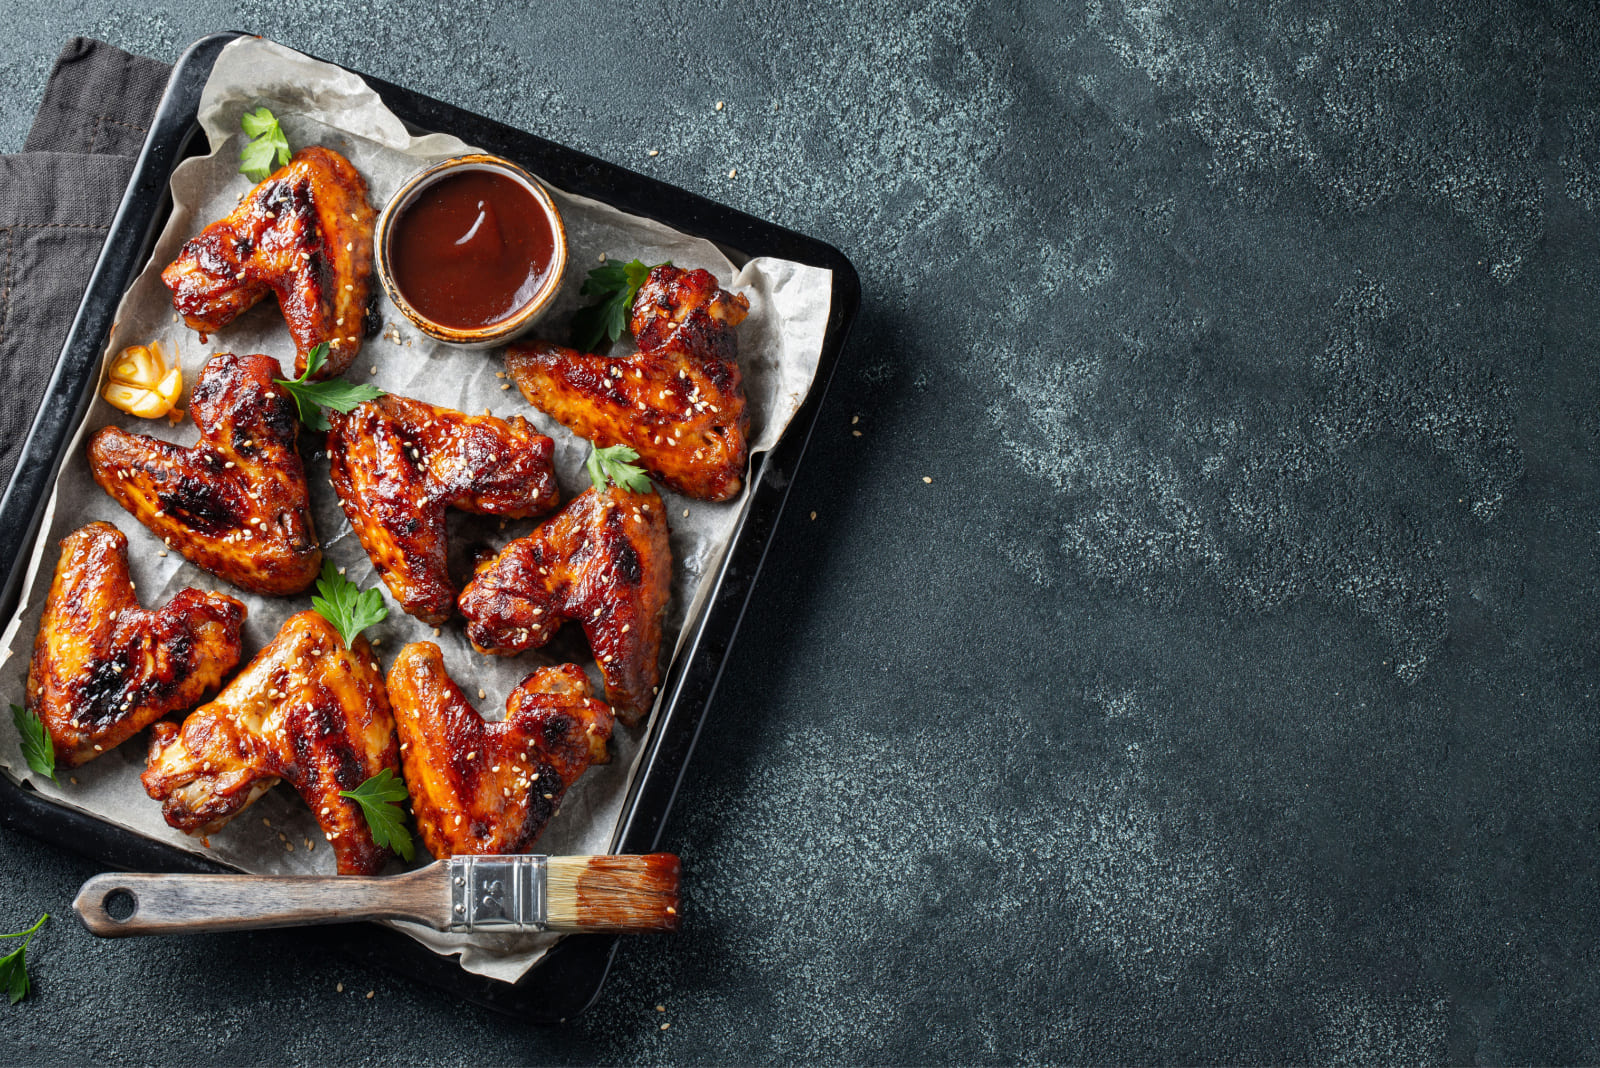
Overcrowding can be a cause of properly cooked chicken getting ruined. When pieces touch in the pan or roasting tray, they steam rather than brown, resulting in pale, soggy skin and uneven cooking.
Leave at least 2cm between pieces to allow hot air circulation. If cooking for a crowd, work in batches or use multiple pans. Your patience will be rewarded with beautifully caramelised, evenly cooked chicken.
7. Choose Bone-In Cuts
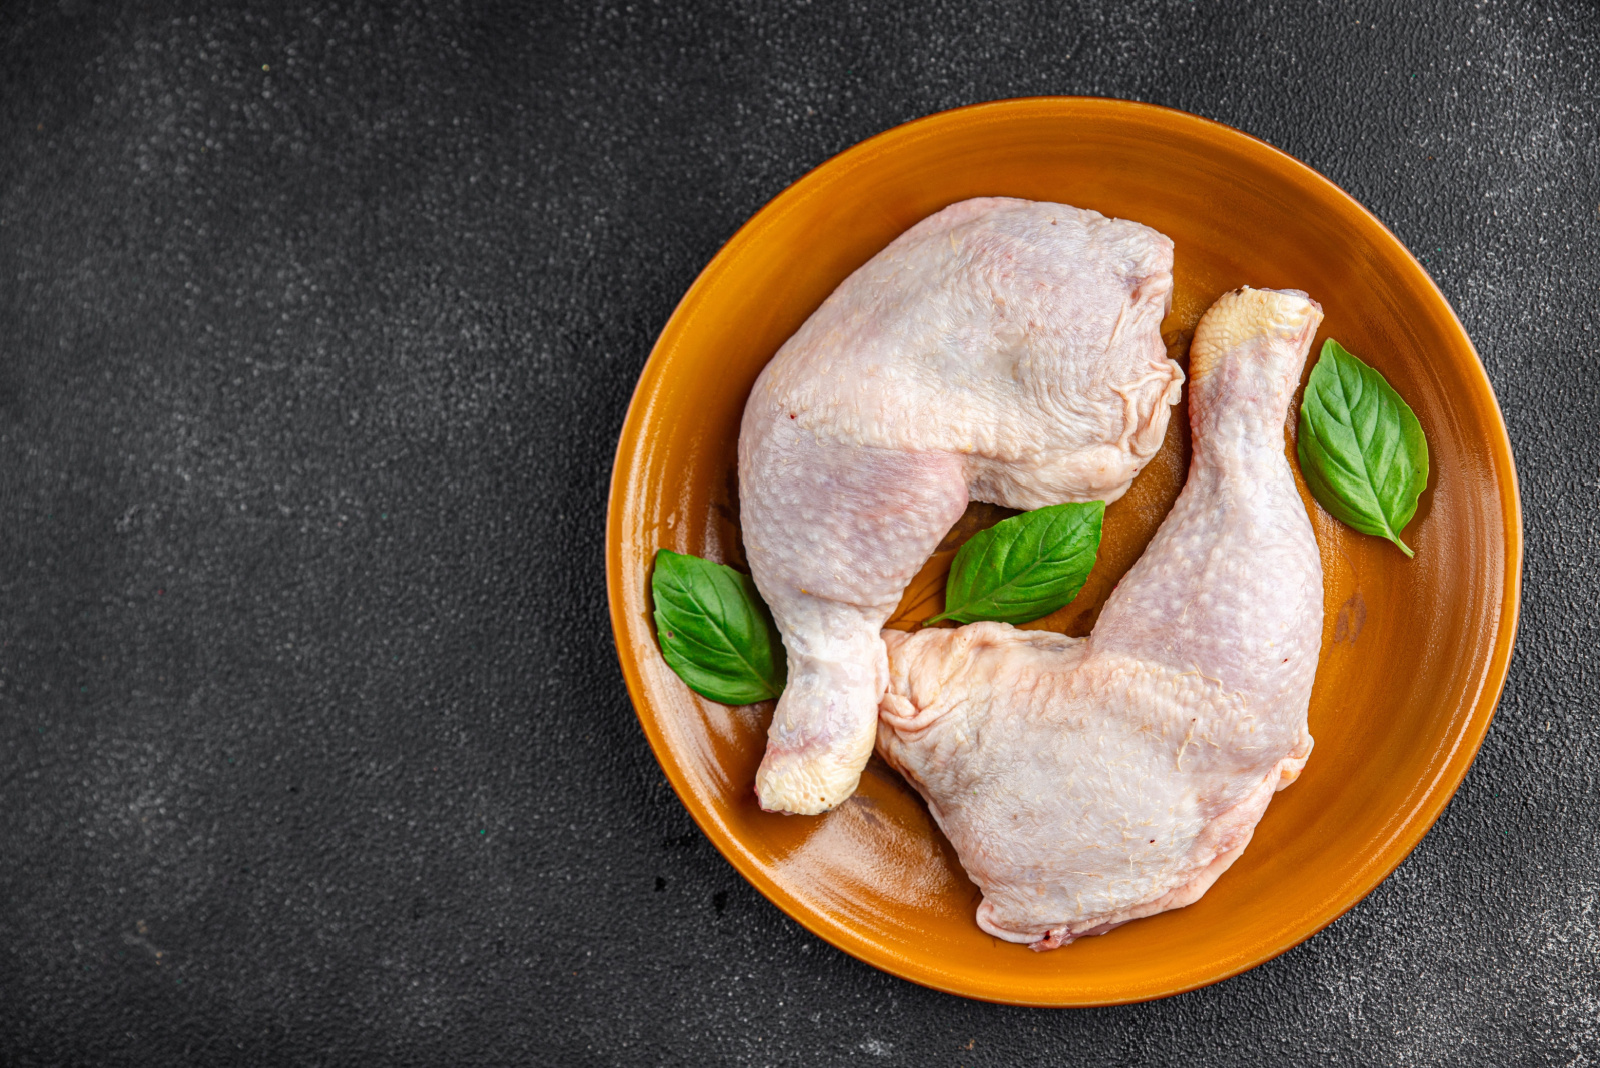
Bone-in chicken parts might take longer to cook, but they deliver superior flavour and moisture. The bone acts as a heat conductor while simultaneously slowing cooking, preventing the dreaded dryness of overcooked meat.
Thighs and drumsticks are particularly forgiving for beginners. They contain more fat than breasts, making them nearly impossible to dry out completely. Perfect for when you're building confidence.
8. Master The Resting Period
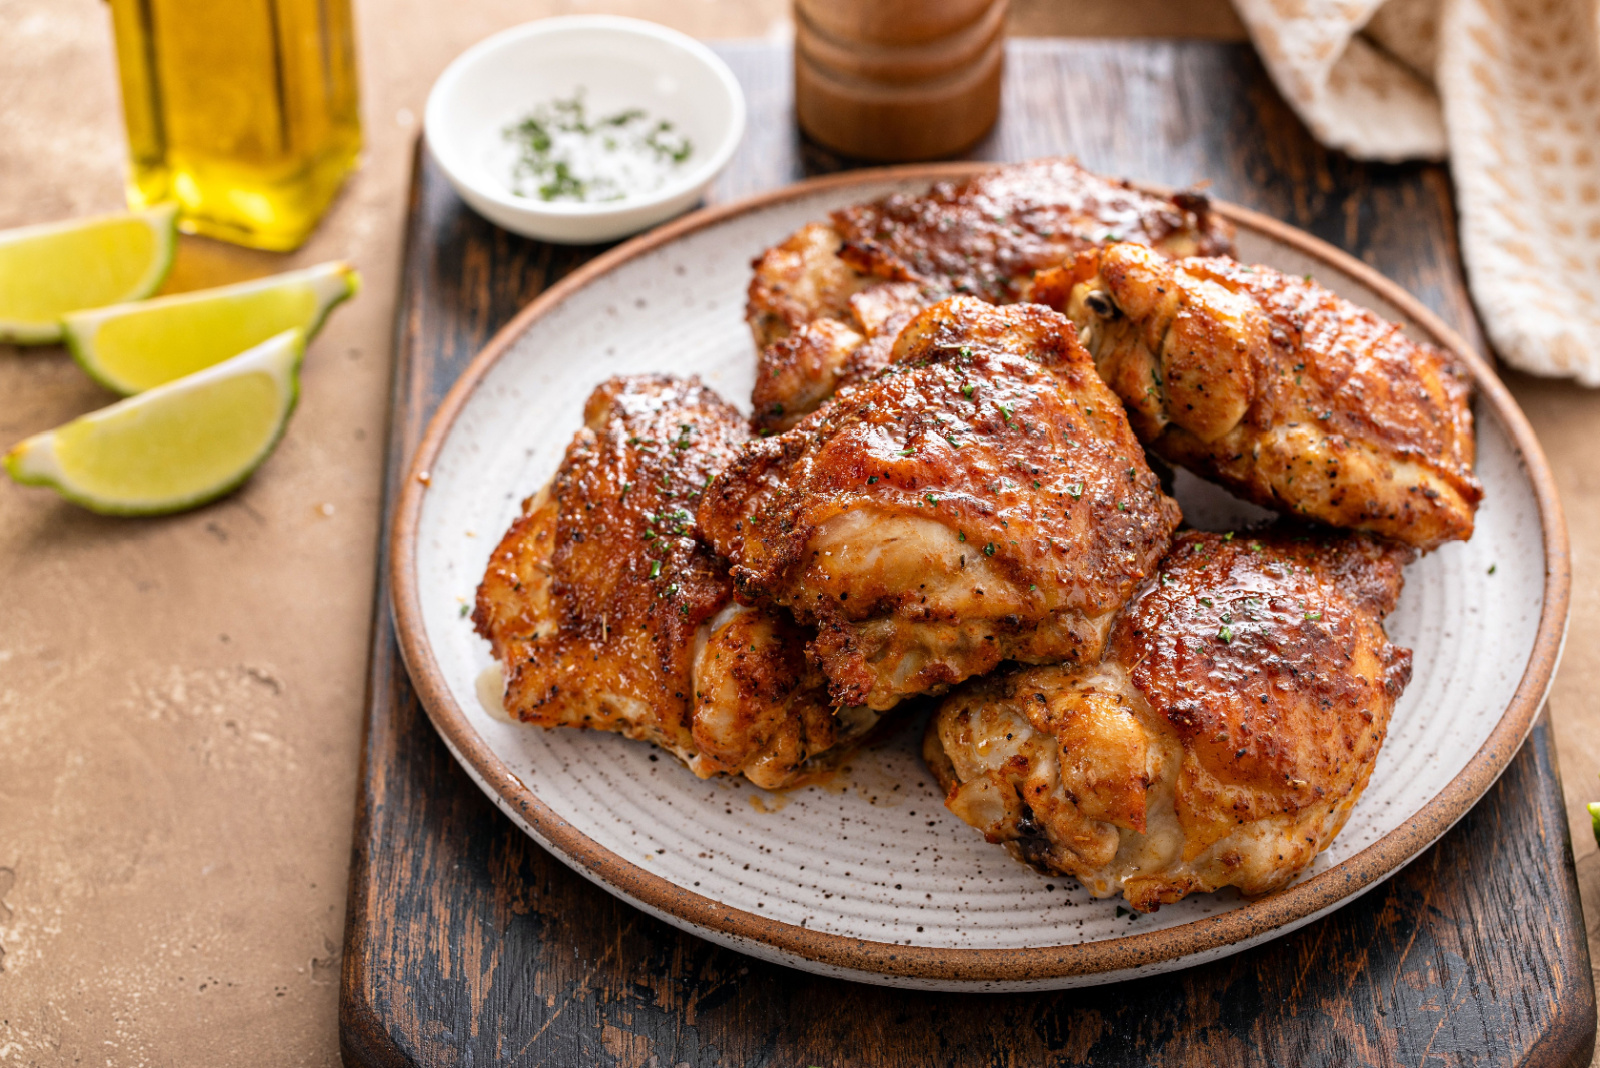
Cutting into chicken straight from the oven is tempting but counterproductive. During cooking, juices rush to the surface; resting allows them to redistribute throughout the meat.
Five minutes suffices for boneless cuts, while bone-in pieces benefit from 10 minutes. Simply tent with foil to keep warm without trapping steam. This patience pays off with dramatically juicier results with minimal effort.
9. Sear Then Finish In Oven
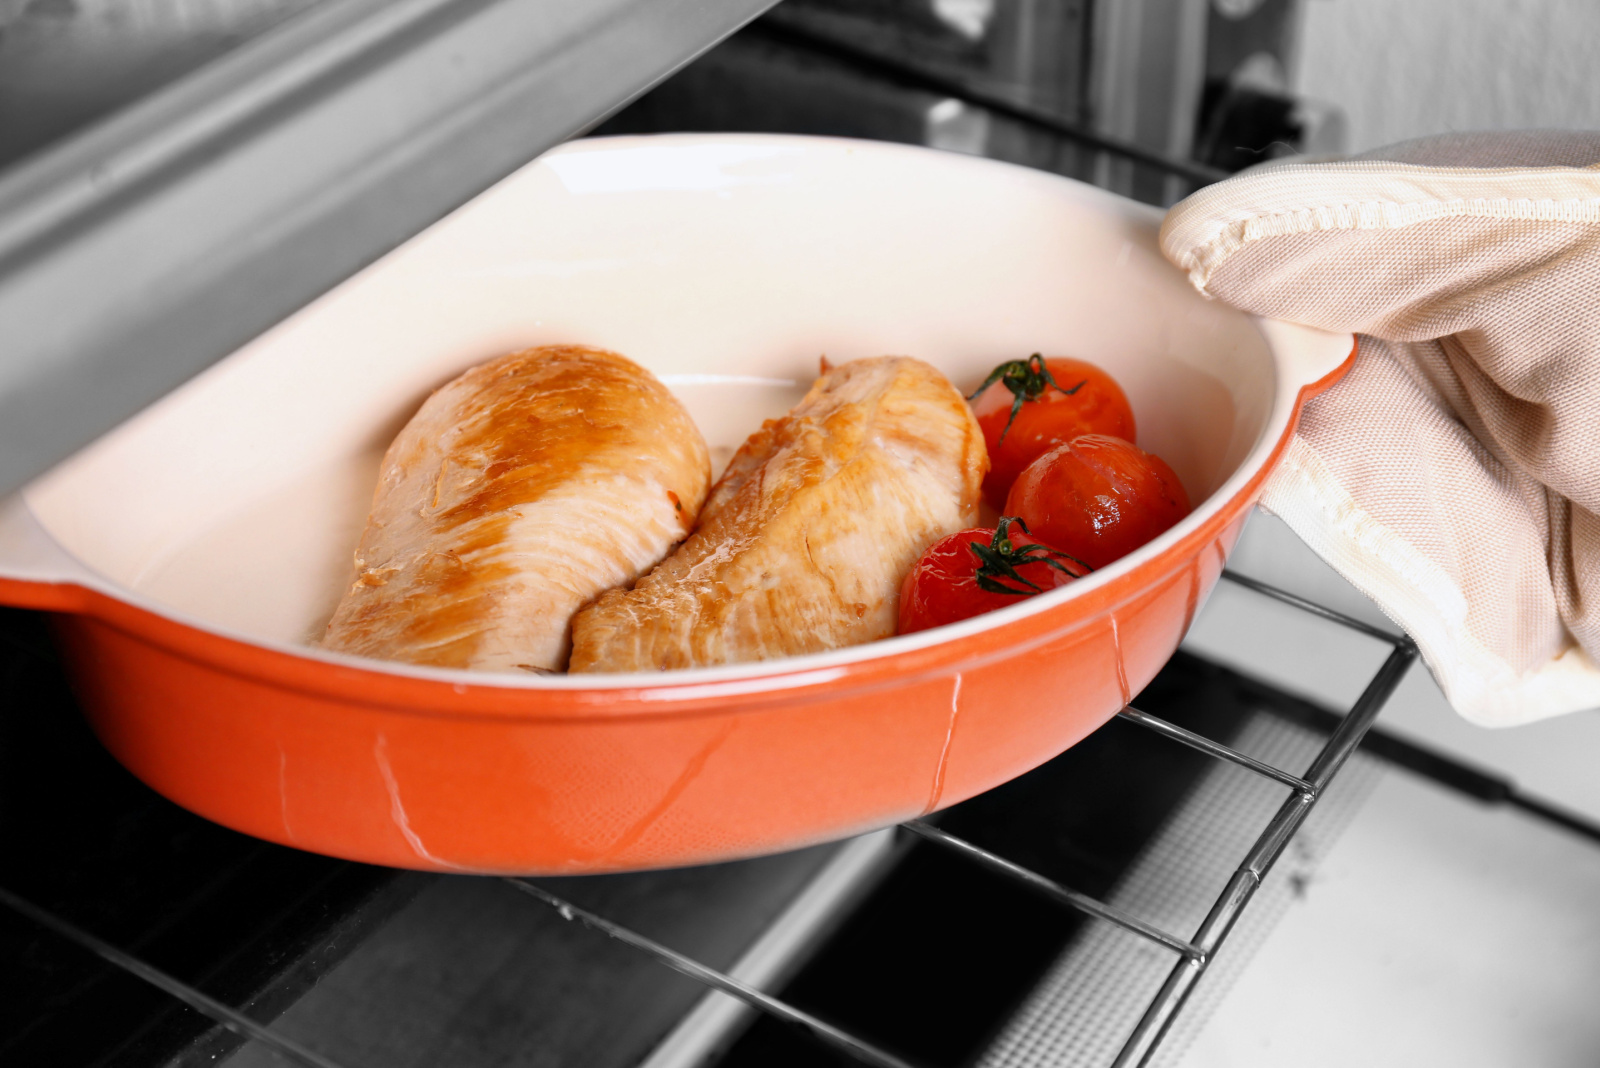
Some chefs swear by this two-step method for perfectly cooked chicken. Start with a smoking-hot pan to develop a golden crust and intense flavour through the Maillard reaction.
Then transfer to a 180°C oven to finish cooking gently from all sides. It combines beautiful colour with a tender, even cook inside. Works brilliantly for chicken breasts that tend to dry out.
10. Try Brining For Juiciness
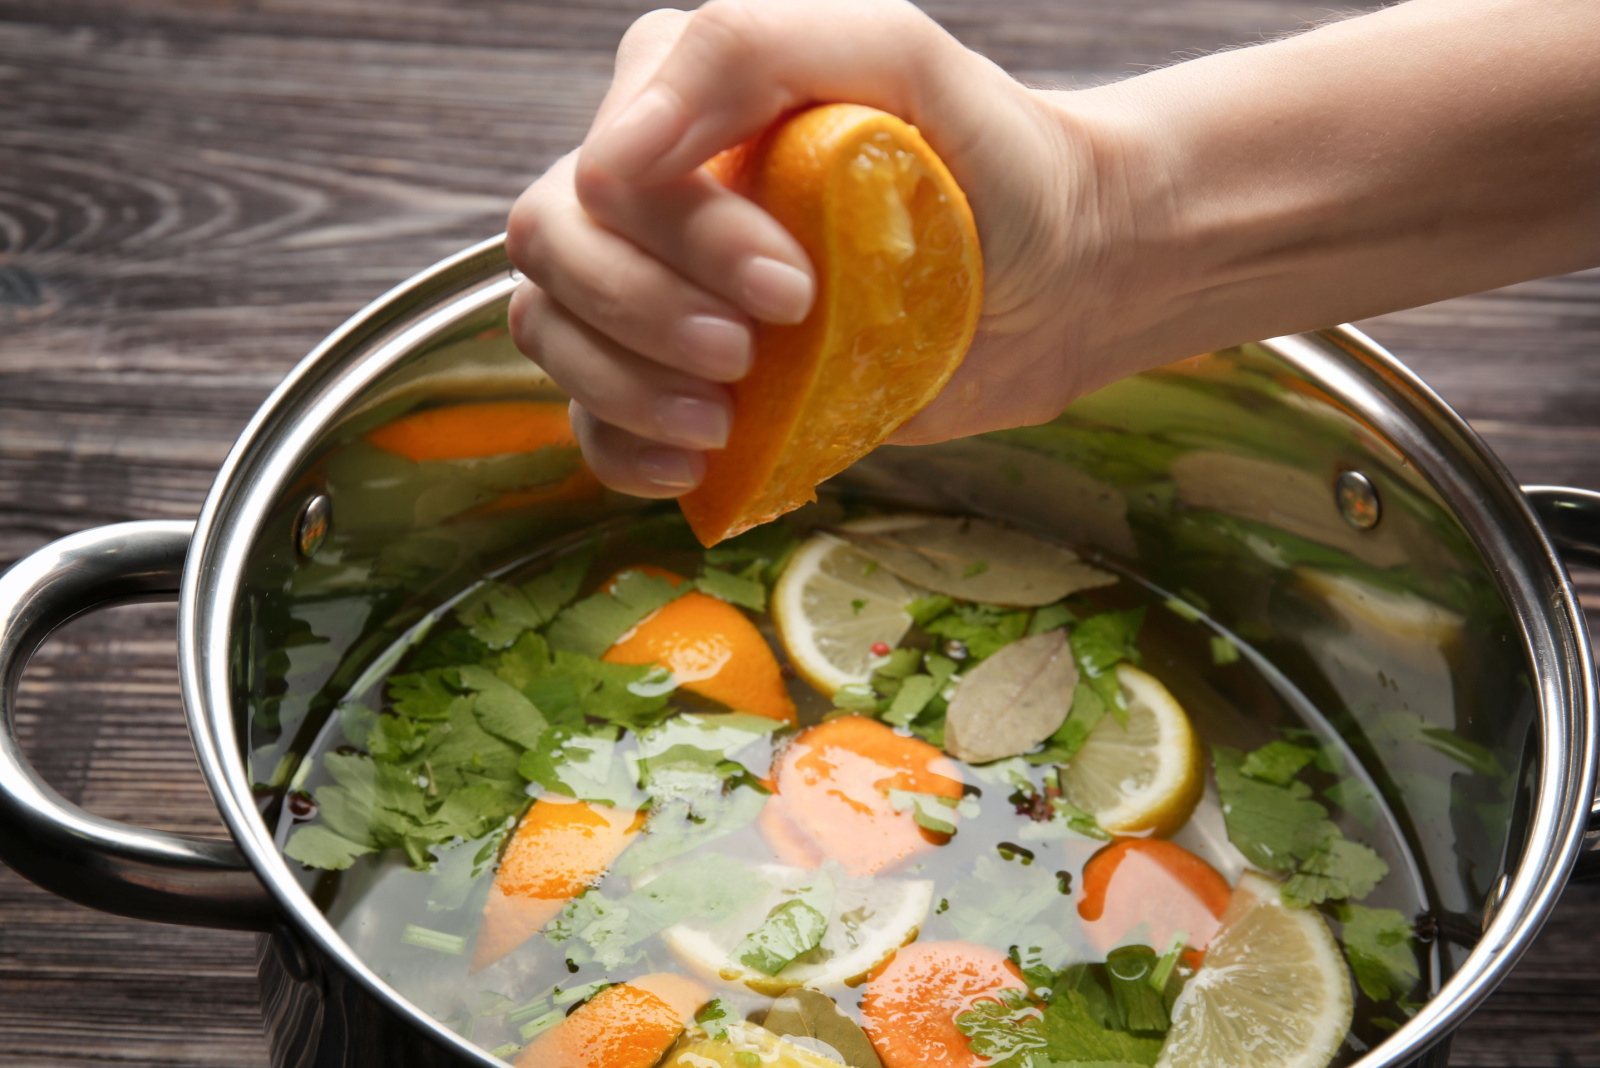
Brining is the secret weapon against dry chicken breasts. A simple solution of salt and water (about 1 tablespoon per cup) helps retain moisture through osmosis.
Even a quick 30-minute brine makes a noticeable difference, though 2-4 hours is ideal. Add herbs, garlic, or lemon for extra flavour. Just remember to rinse and pat dry before cooking.
11. Perfect Your Flipping Technique
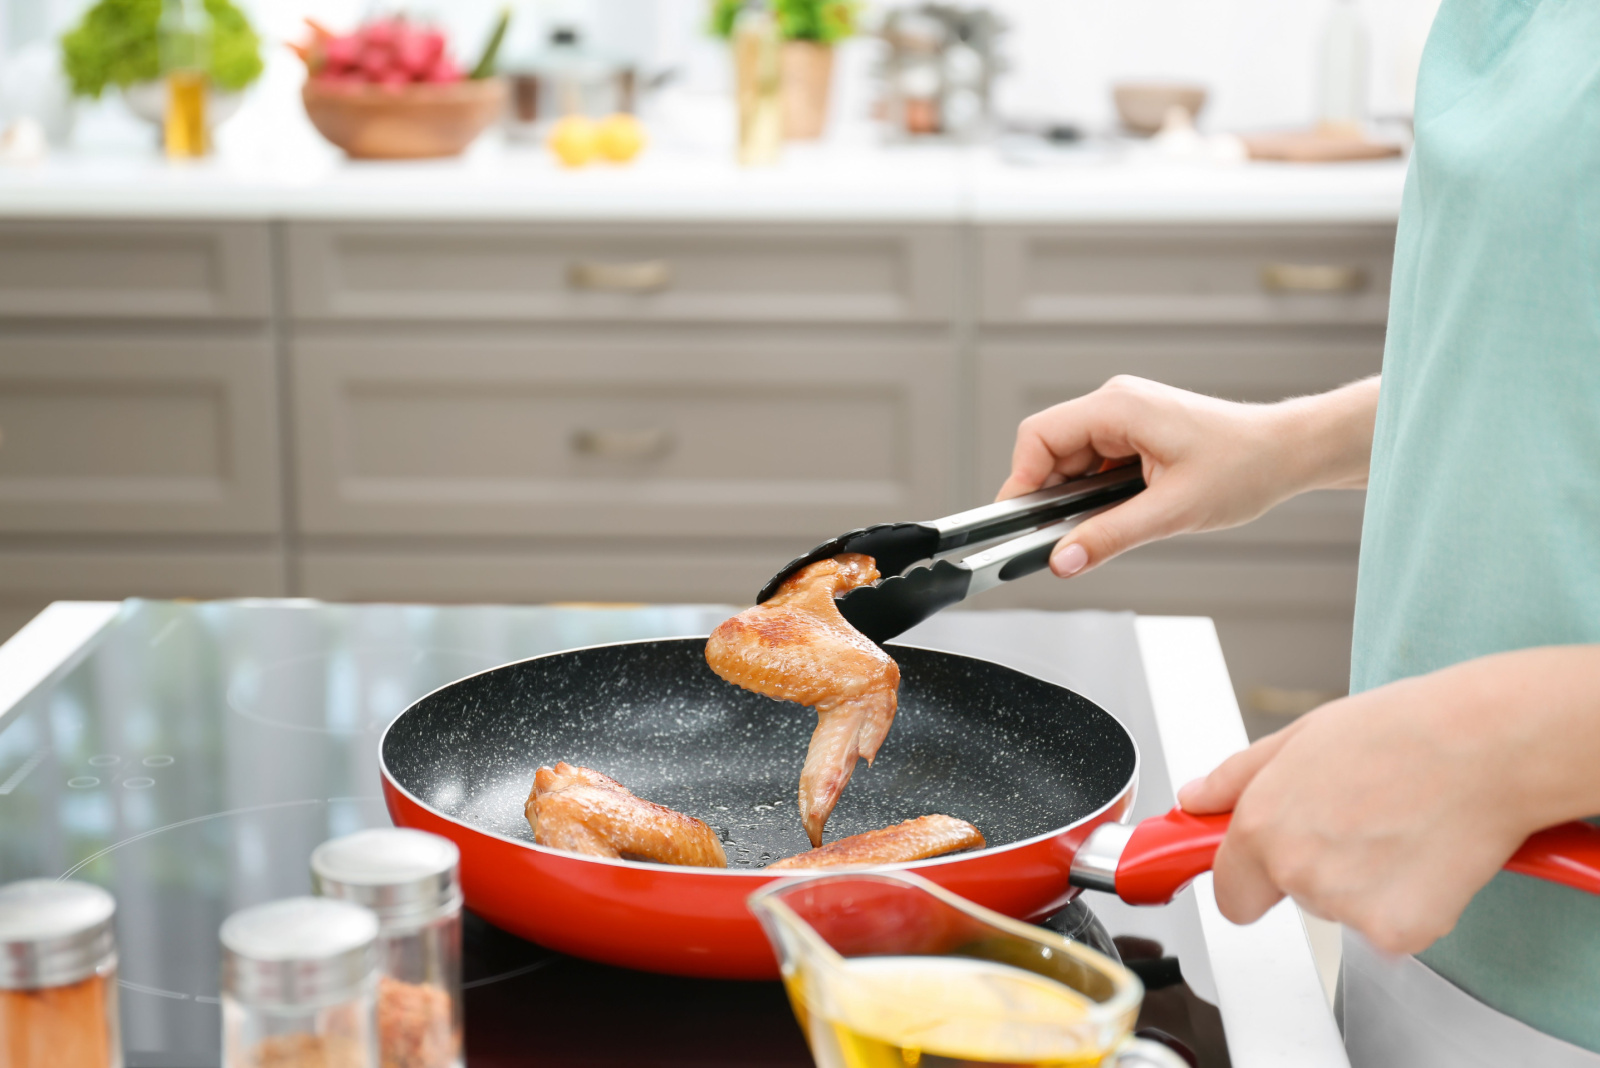
Premature flipping is a common mistake that ruins good chicken. When meat hits a hot pan, it initially sticks, then naturally releases once properly seared.
If you're forcing it to flip, it's not ready yet. For boneless cuts, one flip is often enough. The first side should cook for about 70% of the total time.This patience helps form a golden crust while keeping the interior moist.
12. Add Sauces At The Right Time
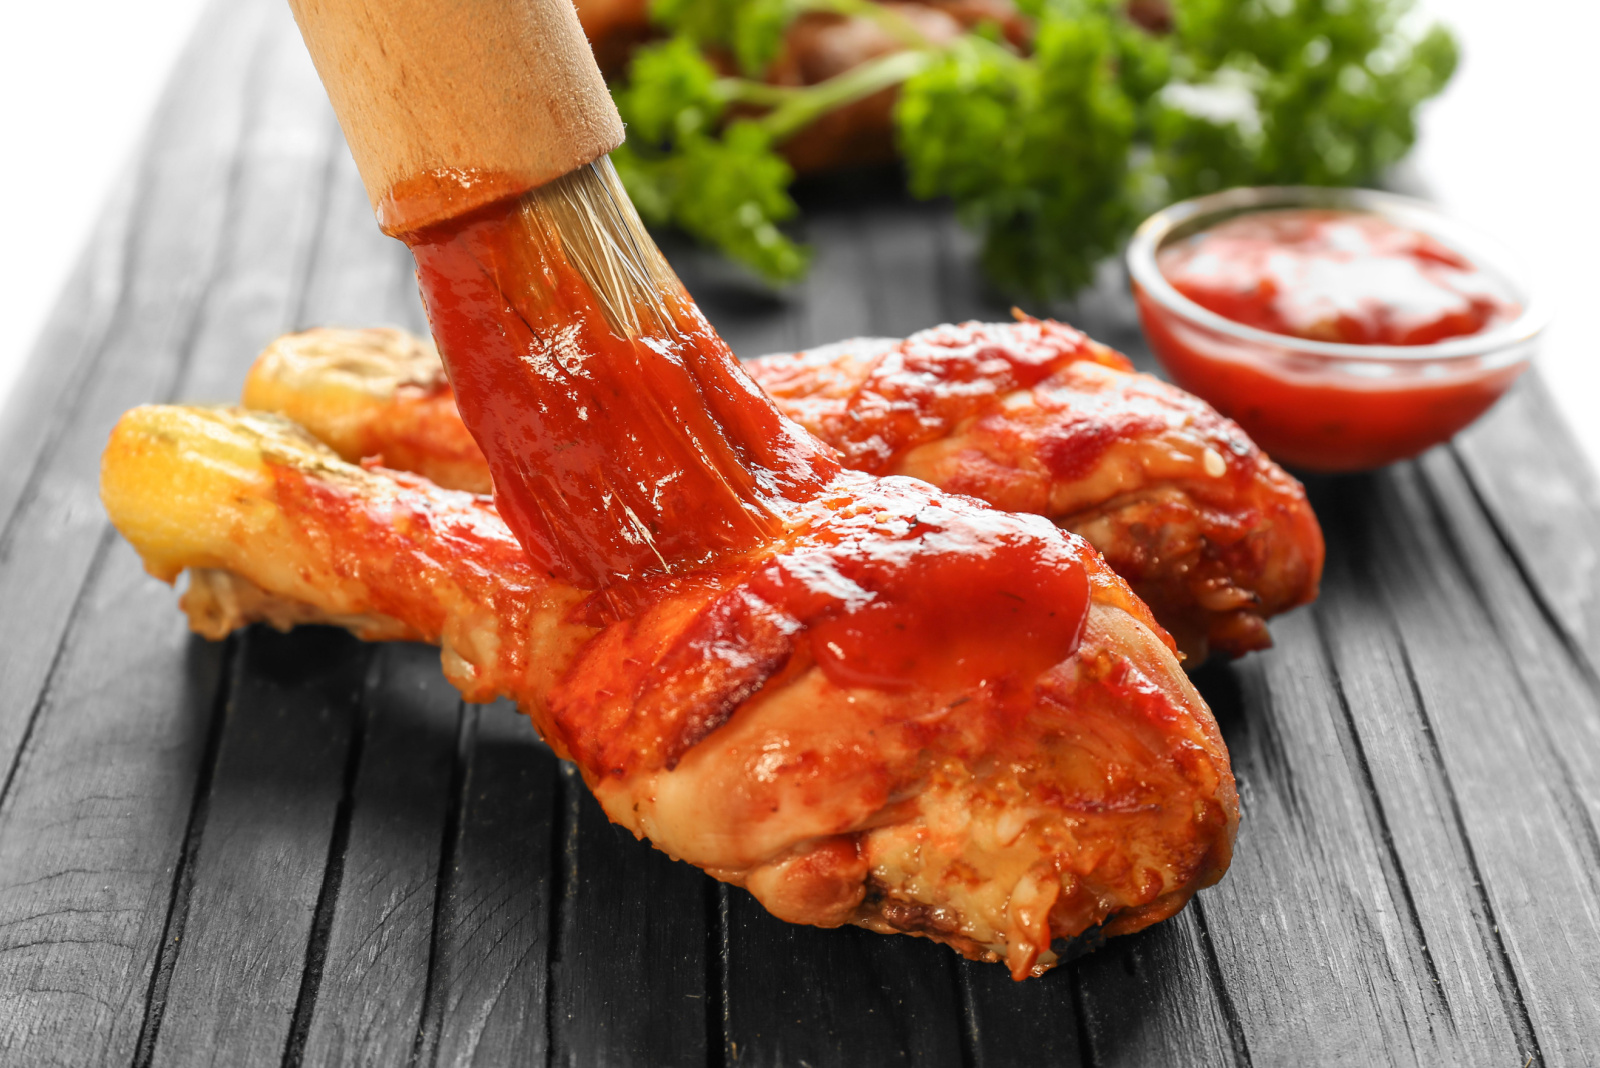
Timing is everything with sauces, especially those containing sugar. Applied too early, they burn before the chicken cooks through; too late, and they don't develop that sticky, caramelised quality we love.
The sweet spot? The final 5-10 minutes of cooking. Brush on in thin layers, allowing each to set slightly before adding more. This creates depth of flavour without the burnt, bitter notes.
13. Skip The Pre-Cooking Rinse
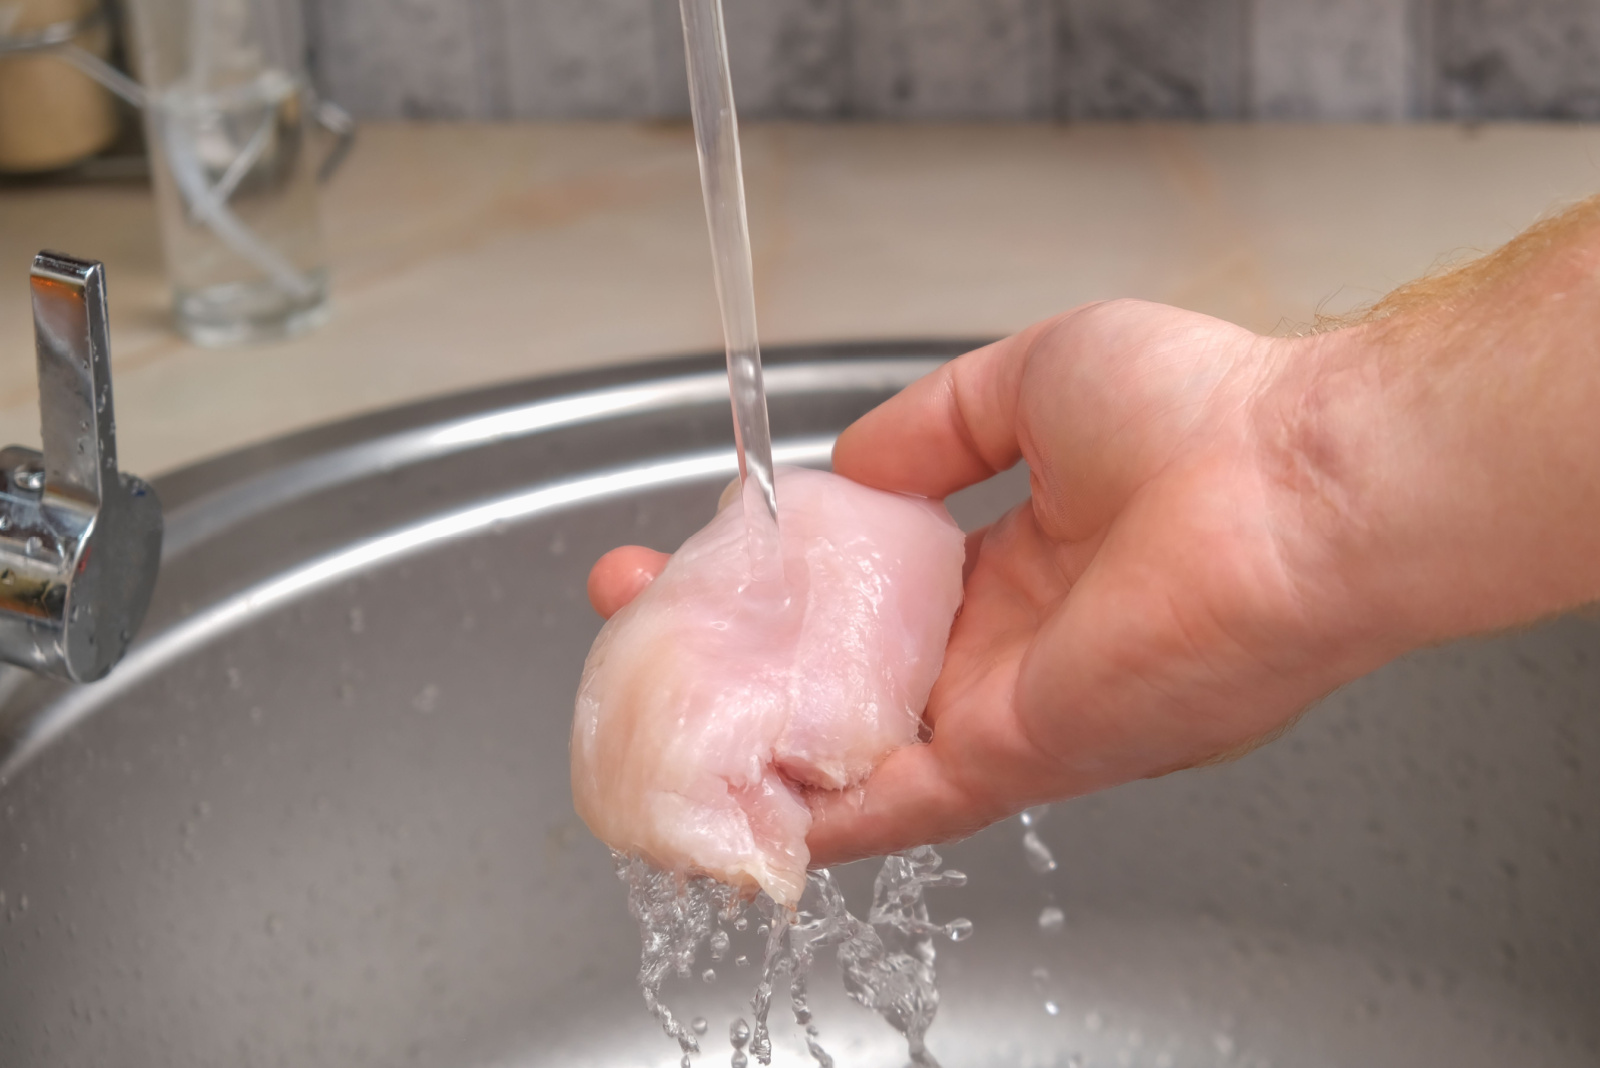
Contrary to what many of us might have been taught, rinsing raw chicken is unnecessary and potentially dangerous. Water splashes can spread bacteria up to 80cm around your sink area, contaminating counters and utensils.
Proper cooking kills all harmful bacteria more effectively than rinsing ever could. Simply remove chicken from packaging, pat dry with paper towels, and proceed with your recipe for safer, cleaner food preparation.



