













Nothing takes a meal from good to unforgettable quite like a rich, silky homemade gravy. Whether you're drizzling it over mashed potatoes, roasted chicken, or a holiday turkey, the right gravy can tie an entire meal together.
Many home cooks feel nervous about making gravy from scratch, but with the right tips, anyone can master it. Get ready to impress your family and friends with the best gravy they have ever tasted.
1. Start With Quality Drippings
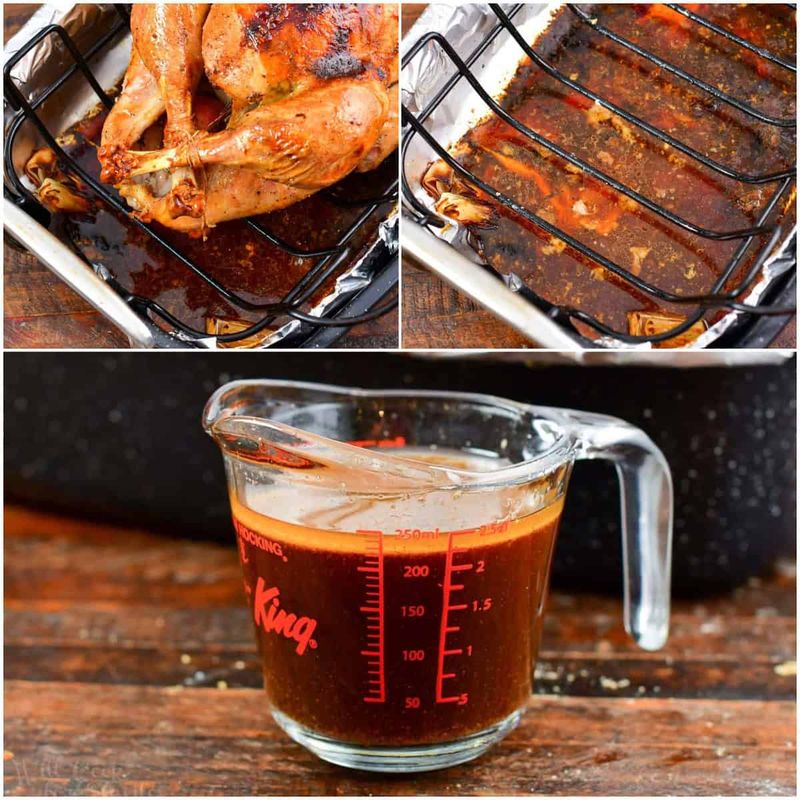
The secret weapon hiding in your roasting pan is often overlooked. Those browned bits and fat left behind after cooking meat are called drippings, and they are pure flavor gold.
Skipping them means missing out on the deepest, most savory taste your gravy can have.
Scrape every last bit from the pan before you start. The more drippings you collect, the richer your gravy will be.
Quality ingredients at the start always lead to a better finish.
2. Use the Right Fat-to-Flour Ratio
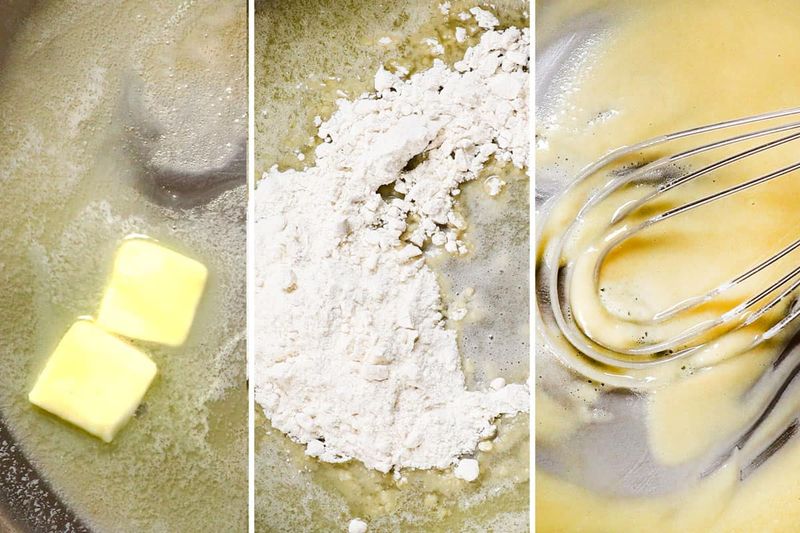
Getting the ratio right is what separates a lumpy mess from a smooth, velvety gravy. A classic roux uses equal parts fat and flour, usually one tablespoon of each per cup of liquid.
This balance creates the perfect thickness without making your gravy taste like paste.
Measure carefully instead of eyeballing it, especially when you are just learning. Once you nail the ratio, adjusting for thicker or thinner gravy becomes easy and second nature.
3. Cook Your Roux Long Enough
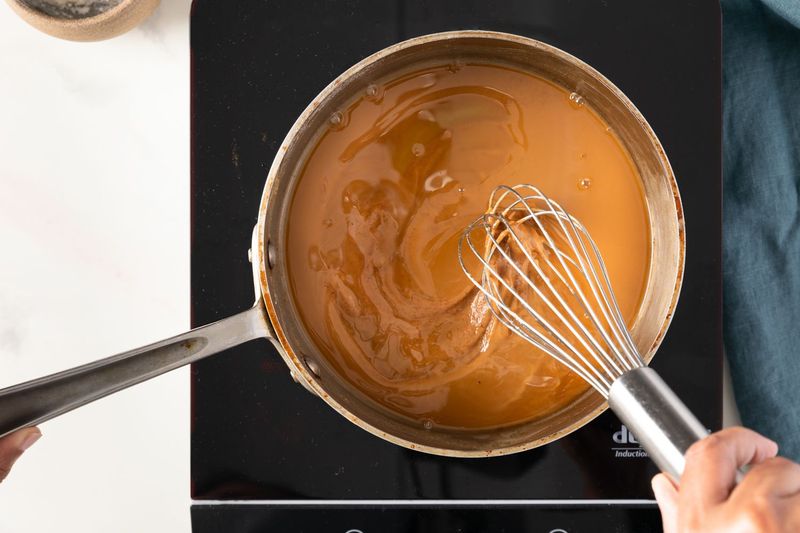
Raw flour has a starchy, almost chalky taste that can ruin an otherwise great gravy. Cooking your roux for at least two minutes over medium heat removes that unpleasant flavor.
You want it to smell nutty and look lightly golden before adding any liquid.
Patience here really does pay off. Keep stirring constantly so it does not burn on the bottom.
A well-cooked roux is the foundation every great gravy is built on.
4. Warm Your Stock Before Adding It
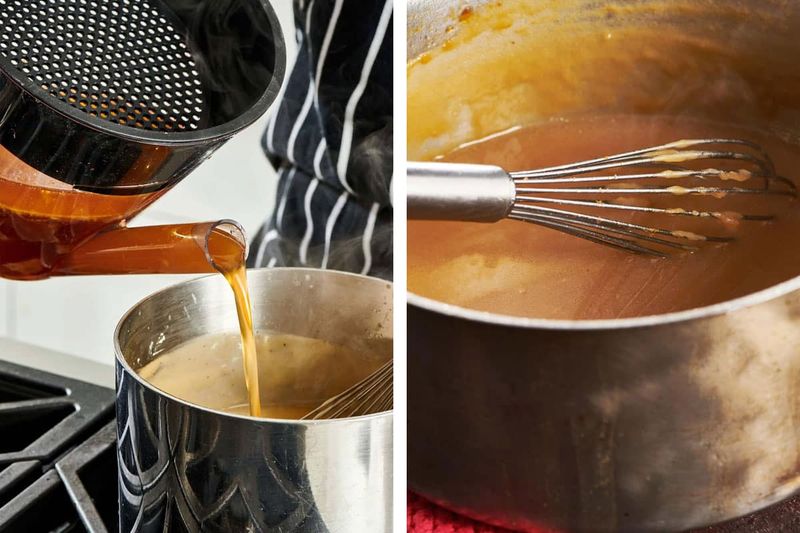
Cold stock poured into a hot roux is one of the most common reasons gravy turns lumpy. The sudden temperature difference causes the flour to seize up and clump before it can blend smoothly.
Warming your stock first keeps everything at a similar temperature and helps it incorporate evenly.
Just heat the stock in a separate pot or microwave until it is warm to the touch. This small step makes a huge difference in the final texture of your gravy.
5. Whisk Constantly While Adding Liquid
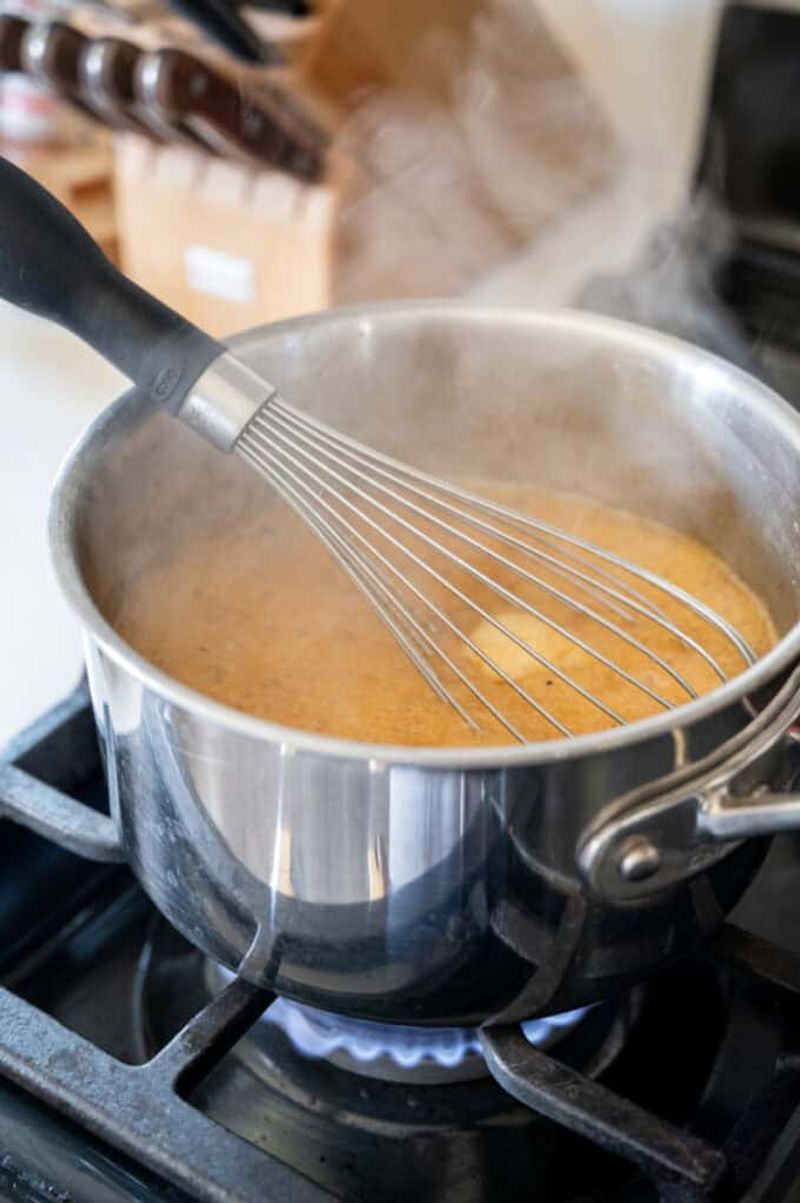
Your whisk is your best friend when making gravy from scratch. Adding liquid slowly while whisking non-stop keeps the mixture smooth and lump-free from the very beginning.
Pouring everything in at once and stirring lazily is a recipe for disaster.
Use a balloon whisk if you have one because it covers more surface area with each stroke. Keep the motion consistent and steady the whole time.
A few extra minutes of whisking is absolutely worth the silky result.
6. Choose the Right Stock for the Job
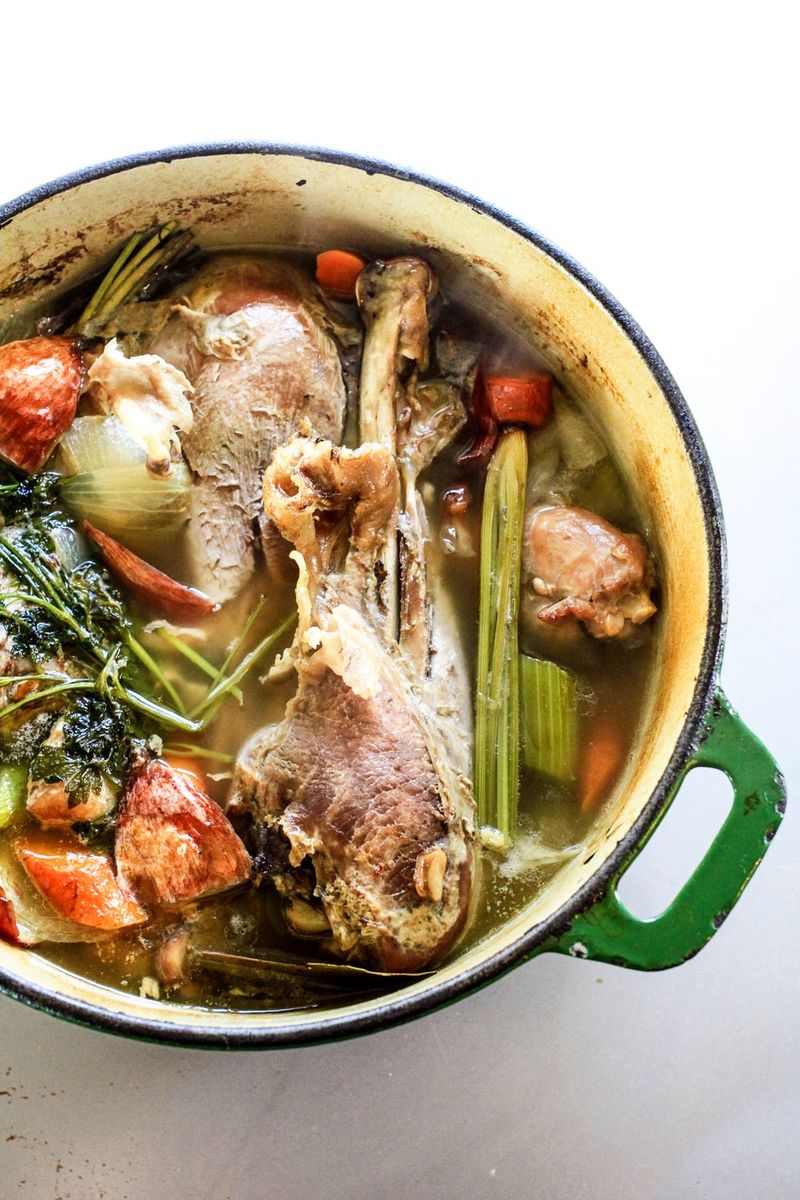
Not all gravies are created equal, and the stock you choose sets the entire flavor profile. Chicken stock pairs beautifully with poultry, while beef stock creates a bold, hearty gravy perfect for roasts.
Turkey stock is the ultimate choice for Thanksgiving, giving that classic holiday flavor everyone craves.
Always try to match your stock to the protein you cooked. Using the wrong stock can make the gravy taste oddly mismatched with the rest of the meal on the plate.
7. Season in Layers, Not All at Once
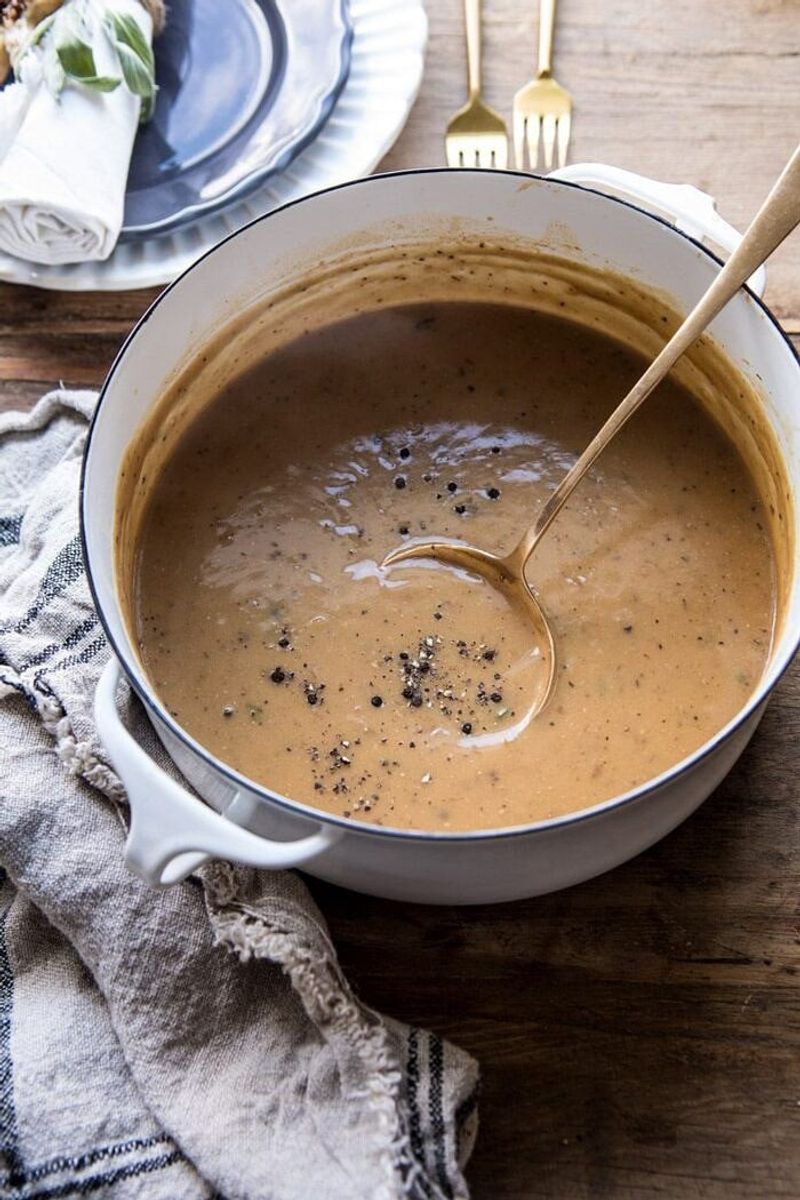
Dumping all your salt and pepper in at the end is a shortcut that often leads to flat, one-dimensional gravy. Seasoning in layers throughout the cooking process builds a more complex and balanced flavor.
Add a little at each stage and taste as you go.
Remember that drippings and store-bought stock can already be quite salty. Start light and adjust gradually.
You can always add more seasoning, but you cannot take it away once it is in.
8. Add a Splash of Wine or Vinegar
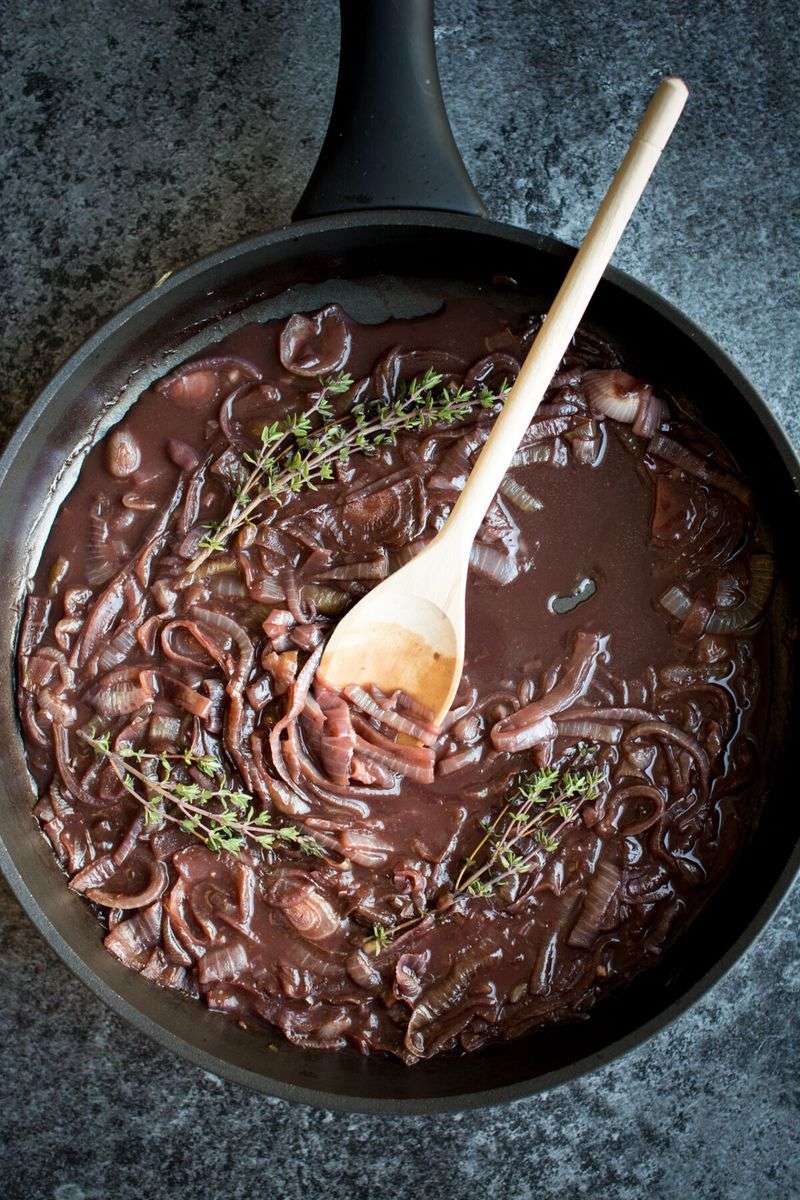
A little acidity can completely transform a gravy that tastes too flat or heavy. A small splash of red or white wine, apple cider vinegar, or even a squeeze of lemon brightens the whole dish.
It cuts through the richness and makes every other flavor pop more clearly.
Add it early so the alcohol cooks off and the sharpness mellows. Start with just a tablespoon and taste before adding more.
Acidity is a powerful tool when used thoughtfully.
9. Simmer Low and Slow to Develop Flavor
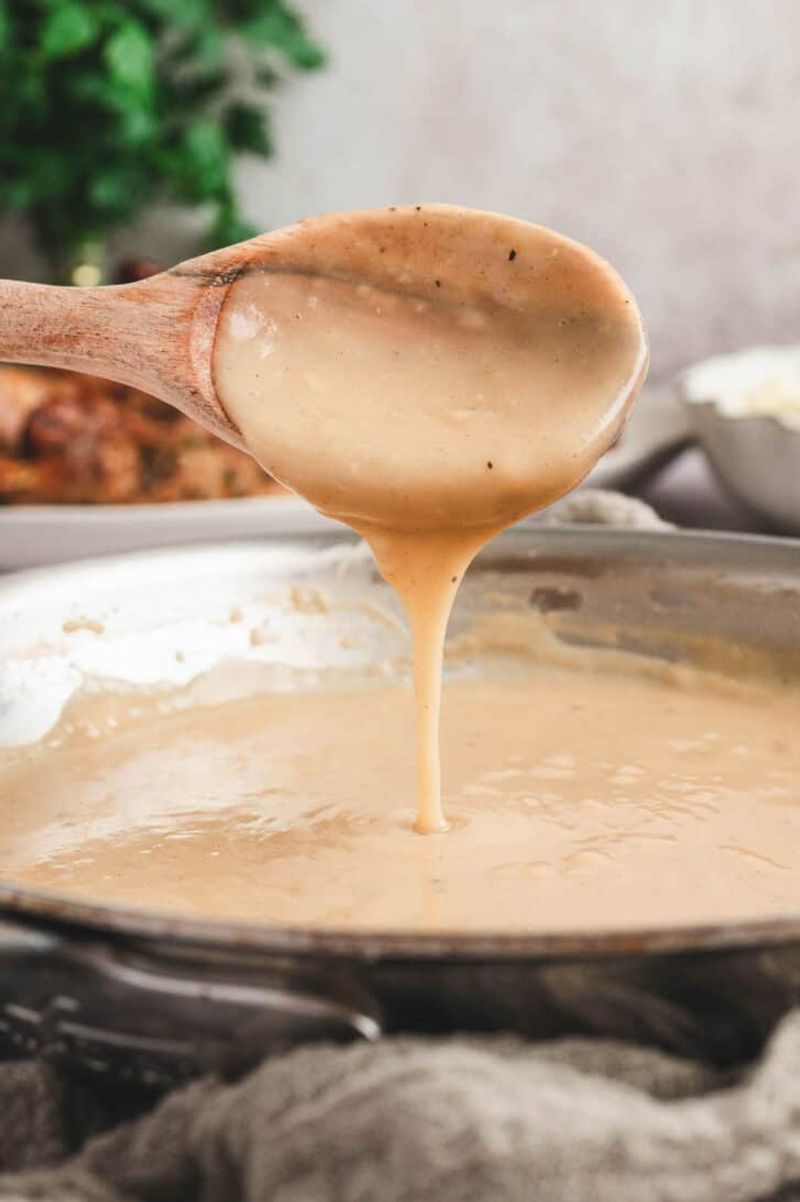
Cranking the heat to speed things up is tempting, but high heat is the enemy of great gravy. A gentle simmer over low to medium heat allows the flavors to meld together slowly and deeply.
Rushing this step often leads to a gravy that tastes thin and underdeveloped.
Give your gravy at least ten to fifteen minutes of quiet simmering time. Stir occasionally to prevent sticking.
The wait is always rewarded with a fuller, more satisfying flavor that fast cooking simply cannot deliver.
10. Strain It for a Silky Smooth Finish
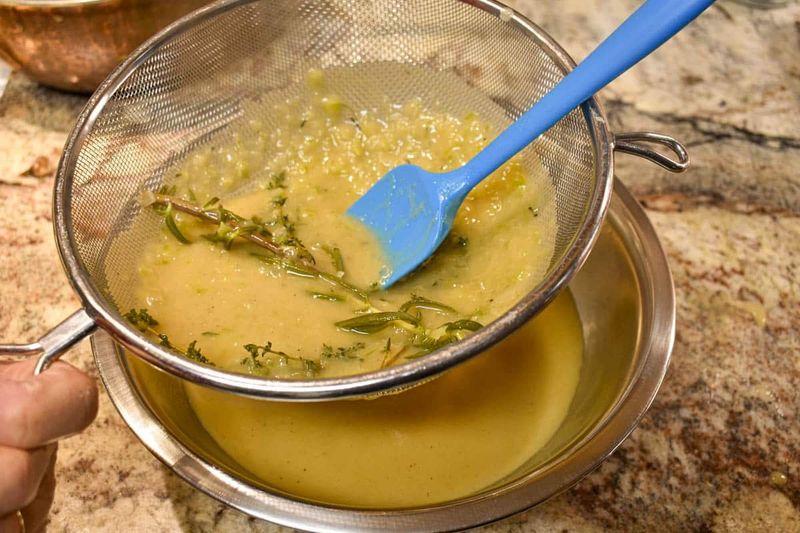
Even the most carefully made gravy can end up with a few lumps or bits of cooked herbs floating around. Straining it through a fine mesh sieve right before serving gives you that restaurant-quality smoothness every time.
It takes about thirty seconds and makes a noticeable visual difference.
Place your strainer over a bowl or gravy boat and pour slowly. Use the back of a spoon to push any thick bits through.
The result is a glossy, polished gravy that looks as good as it tastes.
11. Fix a Thin Gravy Without Panic
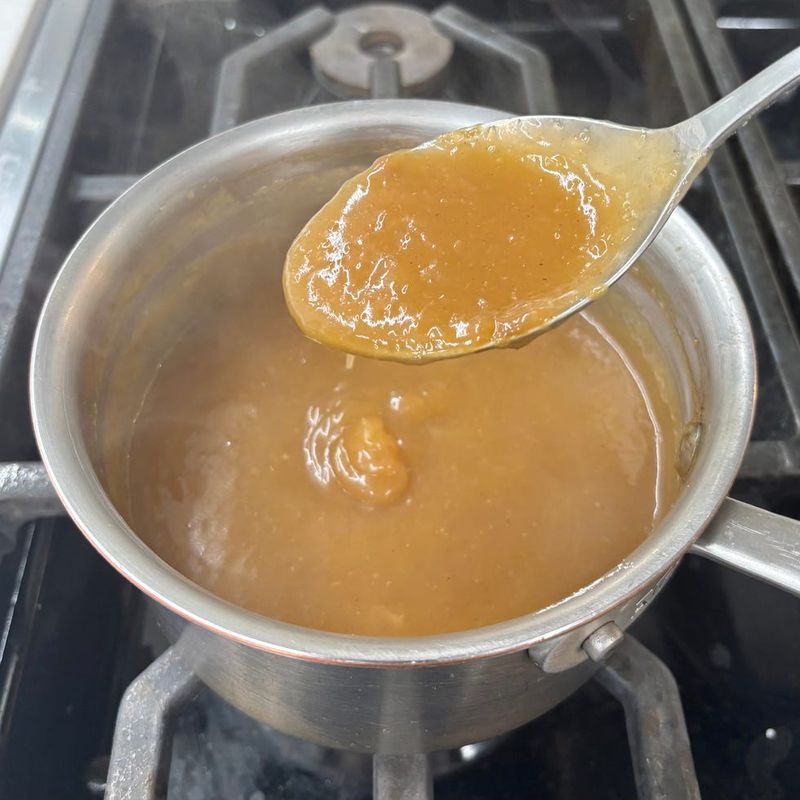
Watery gravy is a common problem, but it is one of the easiest things to fix on the fly. Mix one tablespoon of cornstarch with two tablespoons of cold water to create a smooth slurry.
Slowly whisk it into your simmering gravy and watch it thicken up within minutes.
Add the slurry gradually and keep stirring so you do not accidentally make it too thick. A little goes a long way with cornstarch.
Stay calm and adjust until you reach the consistency you want.
12. Fix an Over-Thickened Gravy Too
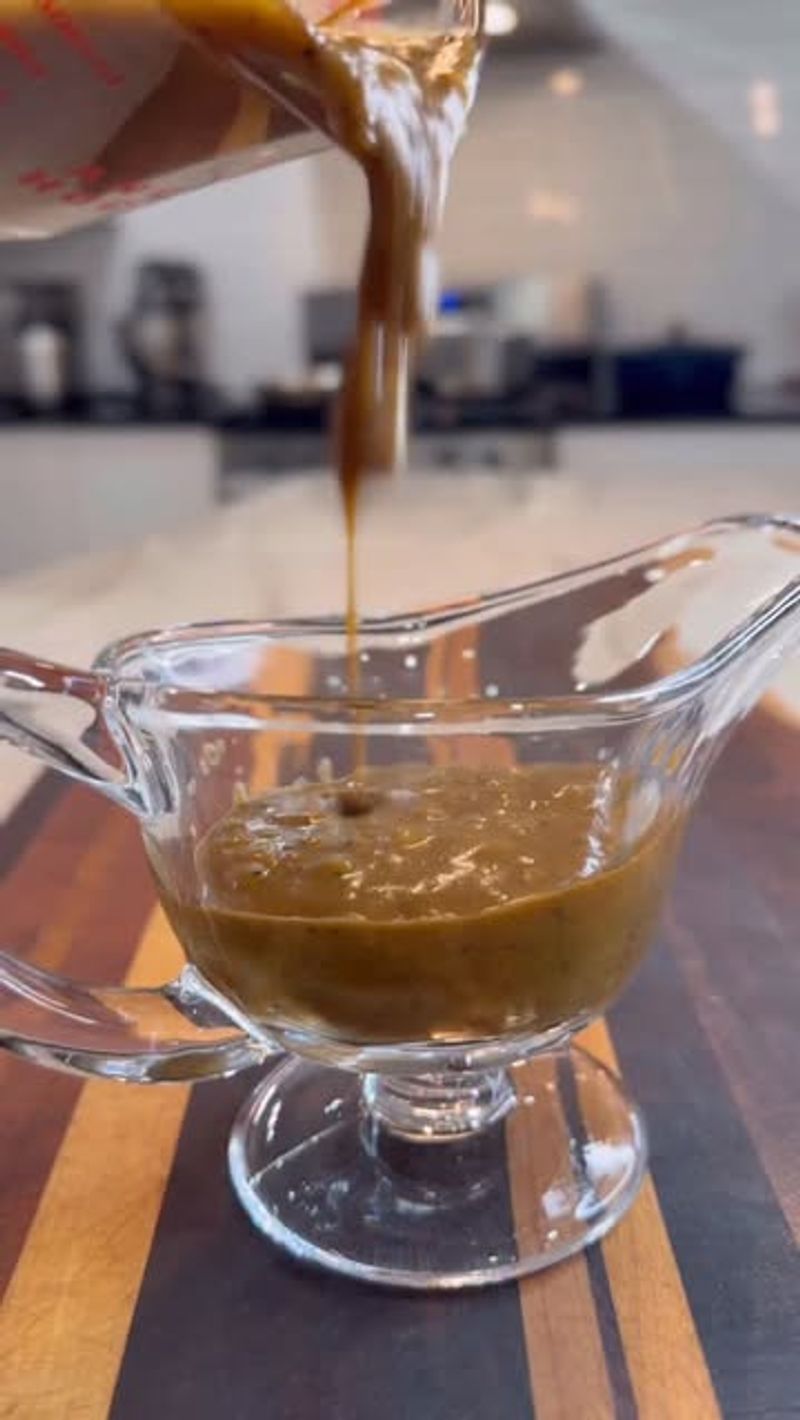
Sometimes gravy gets too thick, especially after sitting on the stove for a while. The fix is simple: add warm stock or water, a little at a time, while stirring continuously.
Never add cold liquid because it can cause uneven texture and cool the gravy down too quickly.
Go slowly and keep tasting as you thin it out. The goal is a gravy that coats the back of a spoon but still pours easily.
Over-thickened gravy is never a lost cause.
13. Boost Flavor With Aromatics
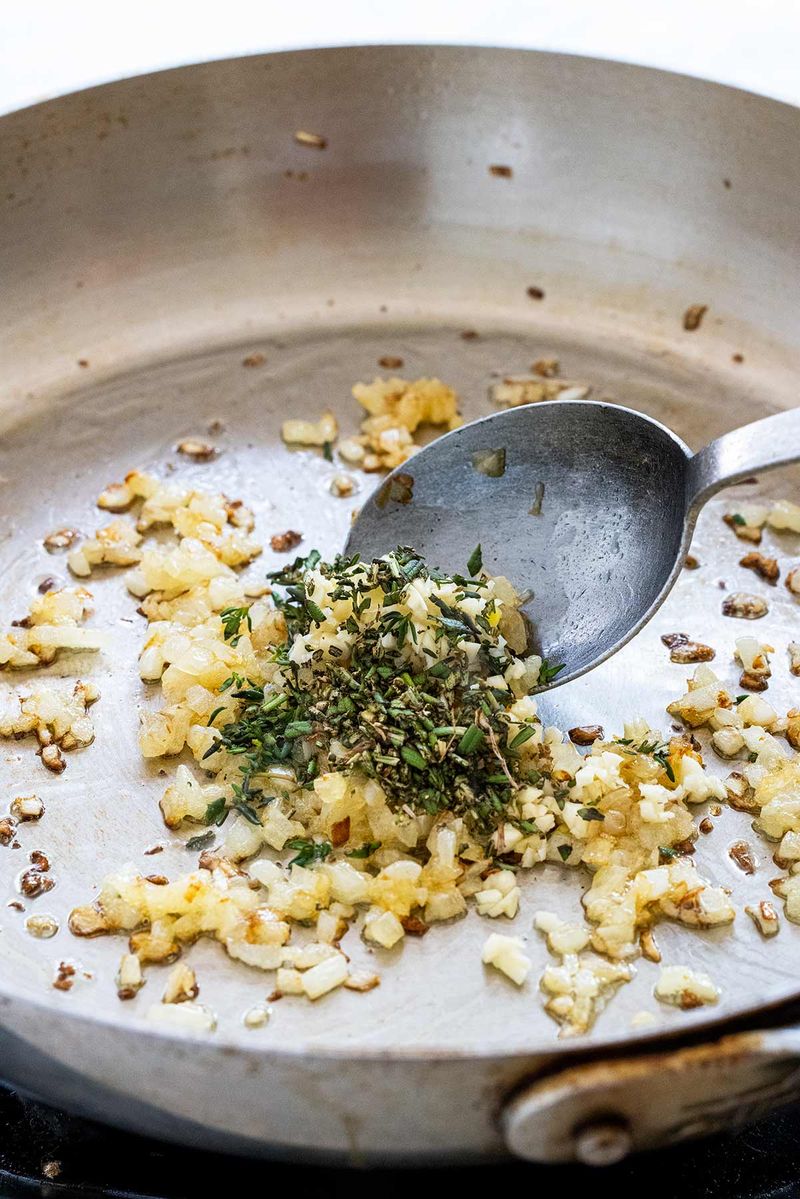
Aromatics like onions, garlic, thyme, and bay leaves can take your gravy from ordinary to extraordinary. Saute them in butter before adding your flour and liquid to build a deeply layered flavor base.
These ingredients add warmth and complexity that plain drippings alone cannot always provide.
Fresh herbs make a noticeably bigger difference than dried ones when possible. Remove bay leaves and large herb stems before serving or straining.
Aromatics are the quiet backbone of any truly memorable homemade gravy.
14. Finish With a Pat of Cold Butter
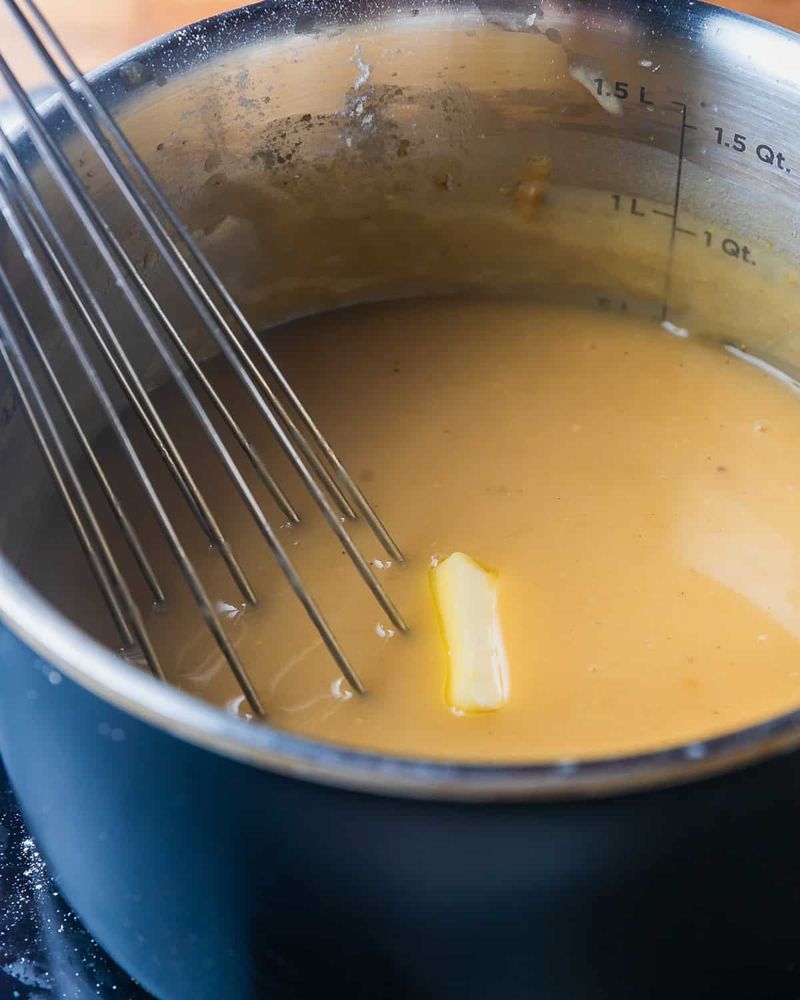
Professional chefs swear by this trick, and once you try it, you will never skip it again. Swirling a small pat of cold butter into your finished gravy right before serving adds a beautiful gloss and a silky richness that no other step can replicate.
It is called mounting the butter, and it is pure magic.
Take the pan off the heat before adding the butter so it melts gently rather than breaking. One tablespoon is usually enough.
The result is gravy that looks and tastes luxurious.
15. Make It Ahead and Reheat Like a Pro
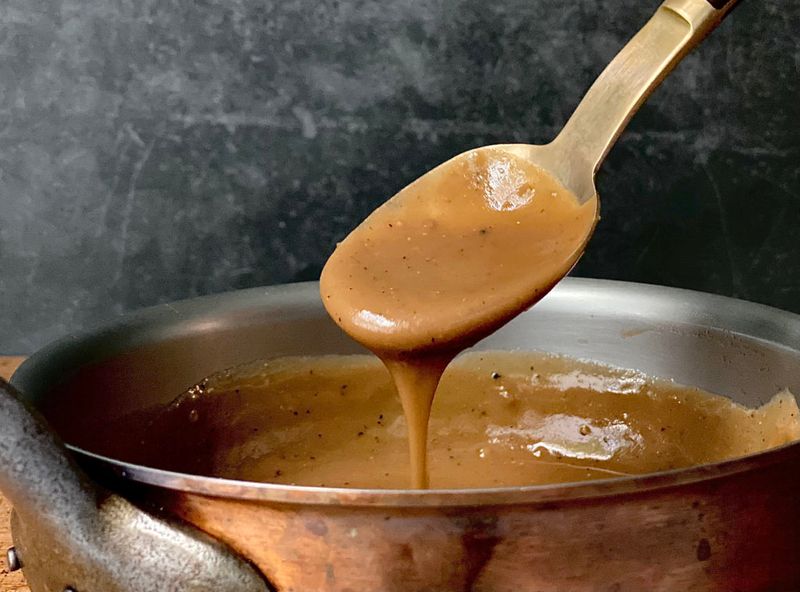
Gravy reheats beautifully, which makes it one of the most stress-free parts of a big meal to prepare in advance. Make it one or two days ahead, store it in an airtight container in the fridge, and gently reheat it on the stove over low heat when you are ready to serve.
Stir in a splash of warm stock while reheating to bring back the right consistency. Gravy thickens as it cools, so do not worry if it looks too thick straight from the fridge.
A little patience brings it right back to life.




Comments
No Comments